Hey there, fellow green thumbs! If you’ve ever wanted to dive into the exciting world of hydroponically grown microgreens, you’ve come to the right place. Today, I’m excited to share my personal experience and insights on how to grow these little powerhouses for some seriously high returns. Let’s jump right into the nitty-gritty!
Selecting the Right Microgreens
Understanding Microgreen Varieties
When it comes to choosing the right microgreens, not all varieties are created equal. I always recommend starting with the ones that are known for their flavor and growth potential. Think about classics like radish, basil, or arugula. They’re quick to sprout and have a taste that really packs a punch!
What I’ve found is that leafy varieties are generally more forgiving when it comes to growing conditions. If you’re just starting out, this can really ease the learning curve. Plus, you’ll be pleased with the results in no time!
Make sure to experiment a bit. You might discover that you have a knack for something unexpected. Keep your taste buds open and try rotating between different types until you find what you love the most!
Understanding Market Demand
Before you plant those seeds, it’s crucial to understand what people actually want to buy. After some trial and error, I learned the hard way that not every type of microgreen sells well. By paying attention to local eateries and farmers’ markets, I was able to pin down which varieties are hot commodities.
Networking with local chefs can also provide valuable insights. I’ve had fantastic conversations that not only informed me about popular microgreens but also led to some great sales opportunities!
Remember, market demand can be seasonal as well. Keep tabs on what’s trending, especially as the local food scene changes. Adjusting your strategy based on consumer interests can drastically increase your odds of success.
Sourcing Quality Seeds
Never underestimate the power of high-quality seeds. The difference is noticeable in growth rates and overall health. I’ve wasted time and resources on cheap seeds that resulted in underwhelming returns. Instead, I’ve found that investing a little more in reputable seed suppliers pays off in the end!
Organic seeds are often the best route if you’re looking to stay healthy and have a better flavor profile. Plus, many consumers are willing to pay a premium for organic products.
It’s also a good idea to keep an eye on seed catalogues. They often have unique varieties that are not available in mainstream stores. You never know, you might stumble across the next big hit!
Setting Up Your Hydroponic System
Choosing the Right Hydroponic Medium
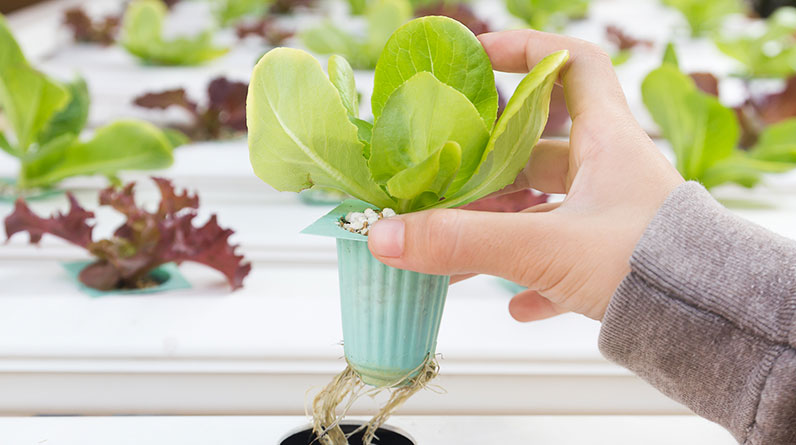
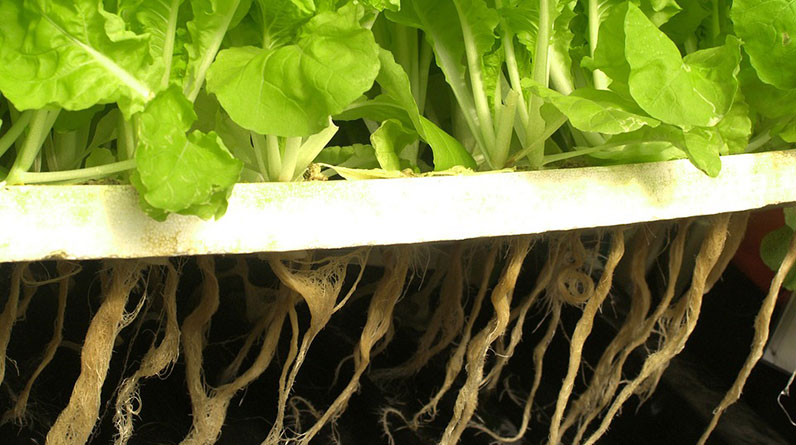
Now that you’ve got your seeds sorted, it’s time to think about the medium you’ll be using. I’ve experimented with several options, and I’ve found that coconut coir and rock wool are top-notch for microgreens. They both provide great water retention and aeration, which is essential for healthy growth.
Another medium you might consider is hydroponic mats, which can simplify the whole process. I’ve used them when I wanted a more straightforward setup, and they worked like a charm!
Whatever you choose, remember that the right medium can significantly affect germination rates and overall yield, so make a decision that aligns best with your growing conditions.
Lighting Considerations
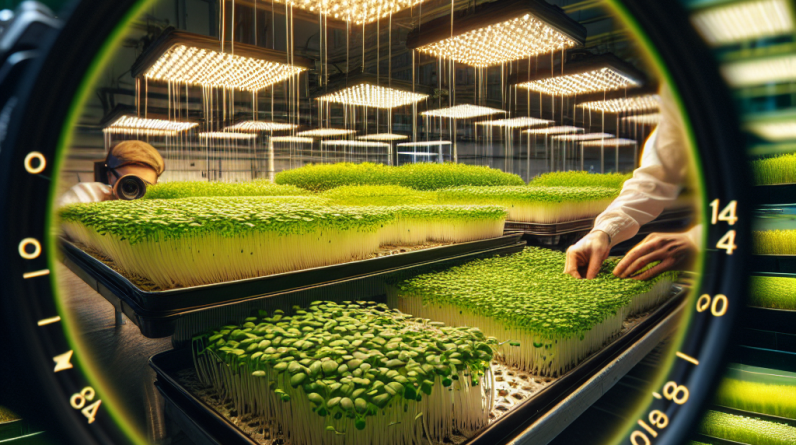
Lighting is a game changer when it comes to growing microgreens hydroponically. I first tried using regular fluorescent lights, but it wasn’t until I switched to full-spectrum LED lights that I really started to see the growth I was hoping for.
Microgreens thrive in bright light, so whether you’re growing indoors or outdoors, ensure they receive at least 12-16 hours of light daily. It’s a bit of a commitment, but your greens will thank you for it!
Additionally, monitor your plants closely to adjust the height of your lights as they grow taller. Trust me, it makes a difference in the quality of your harvest.
Watering Techniques
Watering microgreens in a hydroponic system might sound straightforward, but it’s all about balance. Overwatering can drown those delicate roots, while underwatering leads to wilting and poor growth. I’ve discovered that it’s best to start with a light misting technique to keep the seeds moist without going overboard.
Monitoring is key. I usually check my plants twice a day to see how they’re faring. In hotter conditions, I might need to adjust my watering schedule to ensure they stay hydrated.
Ultimately, keeping a close eye on your water levels will help you maintain healthy microgreens and ensure a bountiful harvest.
Harvesting and Selling Your Microgreens
Timing Your Harvest
Timing is everything, folks. I’ve learned that the best time to harvest microgreens is when they’re 1 to 2 inches tall, and the first true leaves begin to emerge. This is typically around 7-14 days after germination, depending on the variety.
Using a sharp knife to cut the microgreens just above the medium will help avoid any damage to the surrounding plants. It’s all about being gentle yet efficient!
Harvesting at the right time maximizes flavor and nutritional value, so keep a close watch on their growth to get that perfect timing down.
Packaging for Sale
Once you’ve harvested these beauties, it’s all about presentation. I’ve found that clear containers or compostable packaging works well as it showcases the vibrant colors of the microgreens. Customers love to see what they’re buying!
Labeling is also crucial. Including the type of microgreen, the date harvested, and any unique selling points (like organic or locally grown) can help entice buyers to make a purchase.
Remember that the first impression is everything. Good packaging not only preserves the freshness but also gives a professional look. It’s worth the extra effort!
Building Relationships with Customers
One of the coolest parts of growing microgreens is connecting with your customers. Whether you’re selling at a farmer’s market or through local restaurants, building relationships is invaluable. I always take the time to chat with customers, explaining the benefits of microgreens and sharing ideas on how to use them in cooking.
Social media can also play a major role in building a community. Posting updates and engaging with your followers has helped me increase my sales and build a loyal customer base.
Remember, happy customers are your best advertising, and word-of-mouth can lead to new opportunities!
Maximizing Returns on Your Microgreens
Pricing Strategies
Setting the right price might feel daunting, but I prefer to analyze the competition and see what similar products are going for. It’s a good starting point. I always remember to take into account the cost of my materials and time invested!
Don’t shy away from premium pricing for those gourmet varieties. Many consumers are willing to pay a bit more for unique flavors and organic certifications.
Be transparent with your customers about why your product is priced the way it is. Sharing your story about how and where the greens are grown can justify a higher price.
Exploring New Markets
Once you’ve got a foothold in your local scene, think about branching out. Wholesale opportunities might be lurking around the corner. I’ve found that working with restaurants can lead to long-term contracts, which can really stabilize your income.
Online sales are also worth exploring, especially if you have a strong social media following. Consider setting up an online store or using platforms that connect farmers with local consumers.
Don’t be afraid to get creative! Collaborate with local businesses for bundled products like combined salad kits featuring your microgreens. Partnerships can open the door to new customer bases.
Getting Feedback and Improving
Last but definitely not least, always seek feedback! I actively encourage my customers to share their thoughts on my microgreens. Their insights help me refine my techniques and adapt to what people truly enjoy.
If something isn’t working, don’t be afraid to pivot. It’s all part of the learning process. I constantly experiment to find better growth methods and varieties.
In the end, keeping a pulse on customer satisfaction can lead to increased loyalty and ultimately higher returns. Adaptability is your best friend in this business!
Frequently Asked Questions
1. What are microgreens?
Microgreens are young, edible plants harvested just after the first true leaves have developed. They’re packed with flavor and nutrients, making them a popular choice in salads, sandwiches, and garnishes.
2. Can I grow microgreens indoors?
Absolutely! Microgreens thrive indoors with proper lighting and temperature conditions. Just make sure they receive enough light, ideally from full-spectrum LED grow lights.
3. How long does it take to grow microgreens?
Most microgreens are ready to harvest in about 7 to 14 days, depending on the variety. Just keep an eye on their growth, and you’ll know when they’re at their best!
4. Do I need a special setup for hydroponics?
While a dedicated hydroponic system can be beneficial, you can start small using basic materials like trays and net pots. As you gain more experience, you might choose to invest in a more complex setup.
5. How do I store harvested microgreens?
Keep your harvested microgreens in a breathable container in the fridge to maintain freshness. They’re best consumed within a week for optimal flavor and nutritional content!


