Choosing the Right Hydroponic System
Understanding Hydroponic Systems
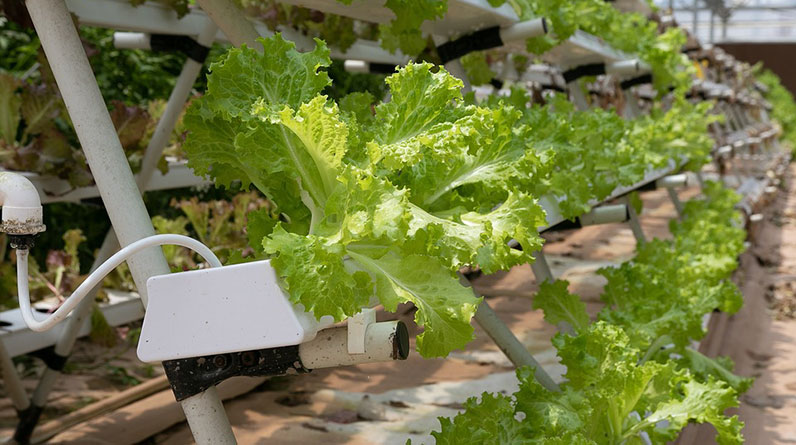
When I first jumped into the hydroponic world, I was blown away by the variety of systems available. There are several options, like deep water culture, nutrient film technique, and aeroponics. Each has its perks and quirks! Personally, I found it helpful to start with a simple deep water culture system. It’s user-friendly and perfect for beginners looking to grow those delicious carrots.
One thing to keep in mind is the amount of space you have. Some systems require more room than others, so measure your area ahead of time. Carrots, unlike leafy greens, need a bit of depth, so don’t forget to consider that when making your choice.
Above all, make sure the system you choose can hold the right amount of nutrients and can easily be maintained. After trying out different systems, I settled on one that I found easy to manage without compromising growth. Think about what suits you best!
Setting Up Your System
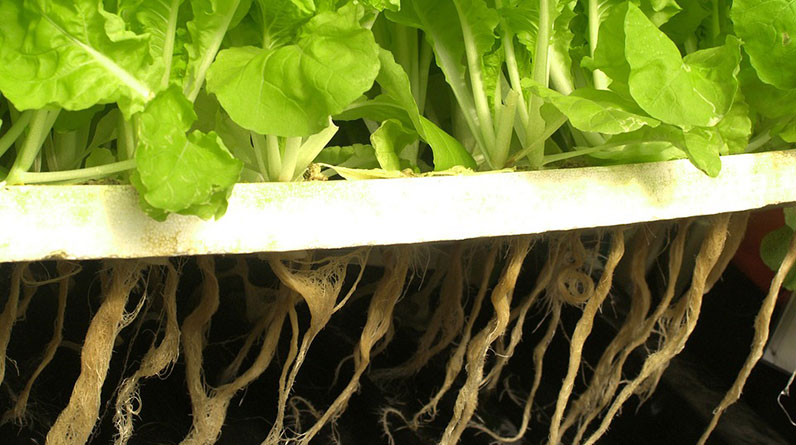
Now, let’s talk about the fun part—setting up your hydroponic garden! First, you’ll want to assemble your chosen system neatly. Trust me, there’s nothing worse than a tangled mess of tubes and wires. I learned this the hard way! It’s also crucial to set up a proper drainage system; carrots thrive when their roots can breathe.
While setting up, check all connections and ensure they’re tight to avoid leaks. I once lost half my nutrient solution to a small leak—definitely not ideal! After setting everything up, running a test cycle helps identify any hiccups before you introduce your precious seeds.
Lastly, try to position your system in a spot where it will get plenty of light. If you’re using artificial lights, you’ll want to be sure they’re strong enough to mimic sunlight effectively. Your carrots are going to absolutely love the attention!
Choosing the Right Growing Medium
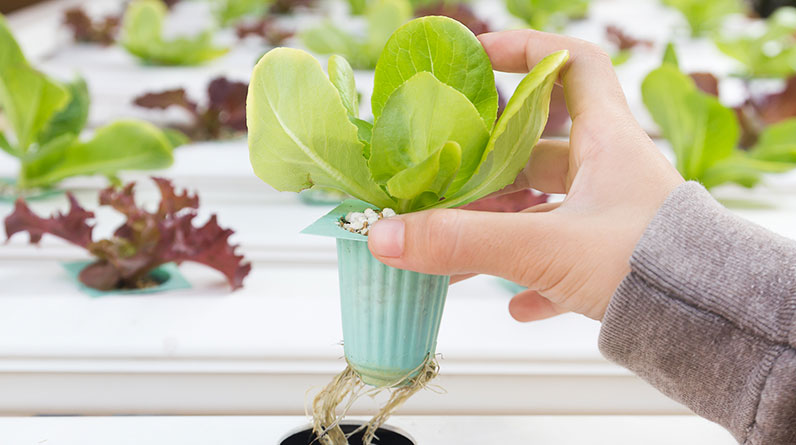
The growing medium is crucial in hydroponics, especially for carrots. I’ve played around with a few options, but my favorite has to be coconut coir mixed with perlite. This combo not only provides great aeration but also retains moisture, which is essential for developing those sweet flavors.
You might also want to consider rock wool or even clay pellets, but remember that each medium has different properties. I had a batch of carrots that just didn’t take off when I tried straight clay pellets—they needed more moisture than I anticipated!
It’s worth experimenting a bit to see what works best for you. Give it a test run with some seeds, and see how they respond. The right growing medium can make all the difference in achieving that perfect carrot texture.
Lighting and Temperature Control
Understanding Light Requirements
Ah, light—the secret ingredient to any garden! Carrots, like many other veggies, love at least 12-16 hours of light per day. I’ve tried natural sunlight, and while it produces amazing results, the consistency of artificial grow lights often works better when you’re aiming for the perfect texture.
Fluorescent lights are a good starting point, but I quickly moved up to LED lights because they’re more energy-efficient and last longer. They also emit less heat, which is a plus while maintaining your temperature.
Remember to raise the lights as your carrots grow. I made the mistake of setting mine too low once, and let’s just say my poor carrots ended up a bit frazzled. Keeping that light at the right distance will help promote healthy, straight growth.
Perfecting the Temperature
Temperature is another vital factor I learned to control effectively. Carrots generally prefer cooler temps around 60-70°F (15-21°C). It’s often a bit of a balancing act. If your space isn’t climate-controlled, I recommend investing in a thermometer to monitor the environment closely.
In my first few hydroponic trials, I was surprised to find how sensitive carrots can be to fluctuations. One summer, my system practically turned into a sauna, and the carrots were not thrilled—definitely didn’t get that crunchy texture I was hoping for!
Utilizing fans or even a small heater can help keep your setup stable. Trust me, spending a little time and effort on temperature regulation pays off big time when harvest time rolls around!
Water Quality and Nutrient Management
Water is literally life for your hydroponic carrots. I learned the hard way that tap water often contains chlorine and other chemicals that can hinder growth. I recommend using distilled or filtered water, as it helps keep your nutrient solution pure and uncontaminated.
As for nutrients, I’ve found a balanced hydroponic nutrient solution works best. Take the time to mix according to the specs provided, as getting that balance right is crucial for carrot health. I usually check my solution’s pH too, aiming for 6.0 to 6.5, because that’s where carrots thrive.
Don’t forget to change your nutrient solution regularly—doing this every couple of weeks has made a noticeable difference in my carrot quality. Keeping an eye on these factors will lead you toward a great harvest with delightful textures!
Harvesting Your Hydroponic Carrots
Time for Harvest!
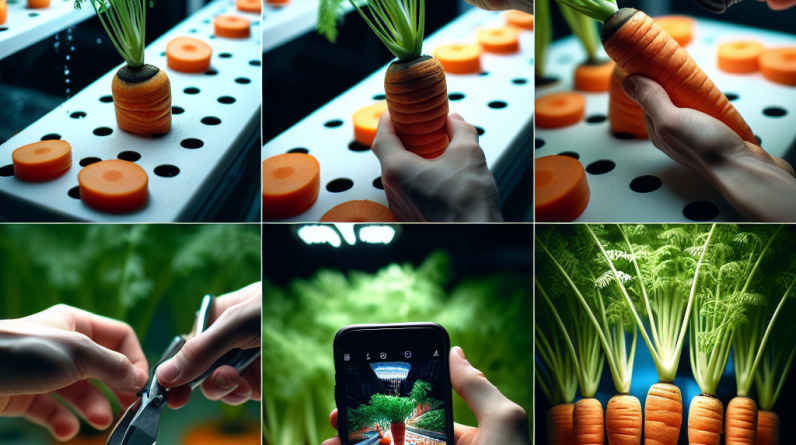
After all that hard work, harvesting your hydroponic carrots is the most exciting part! Depending on the variety you’ve chosen, carrots can take a few months to grow. Patience, my friend—it’s key. I usually start checking for size at the eight-week mark, lightly digging to see if they’re ready.
A good rule of thumb is to pull them when they’re about one inch in diameter. This size indicates they’ve developed enough to have that crisp texture we all love. If some are smaller, just let them go a little longer—the cool part is that they’ll keep growing as long as the conditions are right.
I’ve learned to enjoy the anticipation of a good harvest. There’s no better feeling than reaping the rewards of your hard work. Plus, the satisfaction of tasting your own fresh hydroponic carrots is top-notch!
Post-Harvest Care
Once you’ve harvested them, it’s all about storing your precious carrots properly. I usually rinse them off to remove any debris and then let them dry. There’s something satisfying about watching those bright orange beauties shine!
Storing them in a cool and dark place is essential, as light can cause them to sprout. I typically place mine in a paper bag or a slightly damp cloth to help retain moisture without making them soggy. You want that perfect crunch for whenever you’re ready to chow down on them.
Feel free to share and enjoy the fruits of your labor! You’ll find that home-grown hydroponic carrots not only taste better but make cooking a whole lot more fun.
Use Them Creatively
Finally, once you’ve harvested your perfectly textured hydroponic carrots, it’s time to get creative. Whether you’re tossing them in a salad, juicing them, or roasting them with your favorite spices, the options are endless! I love experimenting with new recipes and finding unique ways to showcase that delicious crunch.
One of my favorite recipes is honey-glazed carrots. Just roast them with a bit of honey and thyme for an amazing side dish that makes my family rave. Trust me, once you get cooking, you’ll want to share your creations with everyone!
Get ready to impress your friends and family with your home-grown delicacies. There’s nothing quite like knowing you grew them all by yourself!
Frequently Asked Questions
1. What is the best hydroponic system for growing carrots?
In my experience, a deep water culture system is great for beginners. It’s relatively simple and provides the right conditions for carrots to thrive.
2. How long does it take to grow hydroponic carrots?
Typically, it takes about 60-80 days from seed to harvest, depending on the carrot variety and growing conditions.
3. Can I grow different types of carrots hydroponically?
Absolutely! There are many varieties, from short and sweet to long and crunchy. Each variety requires similar conditions for successful growth.
4. How can I tell when my hydroponic carrots are ready to be harvested?
Check for size! When they’re about one inch in diameter, they’re generally ready to be pulled up. A little digging will help you assess.
5. What should I do with my carrots after harvesting?
Make sure to rinse them clean, dry them properly, and store them in a cool place. You can also get creative in the kitchen using your fresh home-grown carrots!

