Hey everyone! Today, I’m super excited to share my journey and tips on building a Nutrient Film Technique (NFT) hydroponic system. It might sound like a lot of work, but trust me, it’s easier than you might think and incredibly rewarding. So, let’s dive right in!
Choosing the Right Location
Assessing Your Space
First things first, location is key! You want to find a spot that gets enough natural light if you’re using sunlight, or be ready to install some good quality grow lights. I remember when I was picking a place; I chose a corner in my garage that had easy access to power and water. Setting it up indoors made it much easier to manage environmental conditions!
The ideal location should be easily accessible so you can tend to your plants regularly. It’s important to think about convenience; you want to avoid setting up a complex system in a hard-to-reach spot. Trust me, your future self will thank you for that!
Moreover, consider the temperature and humidity of the area. Too hot and your plants might struggle; too cold, and they won’t thrive either. A well-ventilated space can do wonders for your system.
Preparing the Surroundings
Once you’ve pinpointed your spot, it’s time for some preparation. Clean the area and remove any clutter that might interfere with your project. I made a mistake and left some tools lying around, and it was such a hassle during the setup!
Next, map out the layout for your NFT system. Sketching it out helps secure a solid plan of how everything will fit together. I found a simple grid layout to be the most efficient for me, but it ultimately comes down to your available space and how many plants you want to grow.
Lastly, ensure there’s easy access to power and water. Being able to plug in your pump and monitor your solution levels without any hassle makes a world of difference.
Planning for Drainage
Drainage! Yup, you don’t want to overlook this part. Setting up a proper drainage system is crucial for the success of your NFT hydroponics. I once read reports of folks who didn’t set up adequate drainage and faced problems like root rot. Not fun!
Ensure that the return channel is positioned correctly so all excess nutrient solution comes back efficiently. I like to have mine sloped just a bit. It’s kind of like a gentle slide – nutrients flow smoothly back to the reservoir while keeping things clean. Trust me, it’s a lifesaver.
Also, consider how you’ll manage any potential water buildup around the system. It’s all about preventing any unwanted standing water that might result in mess or pests down the line.
Gathering Your Materials
Building the Frame
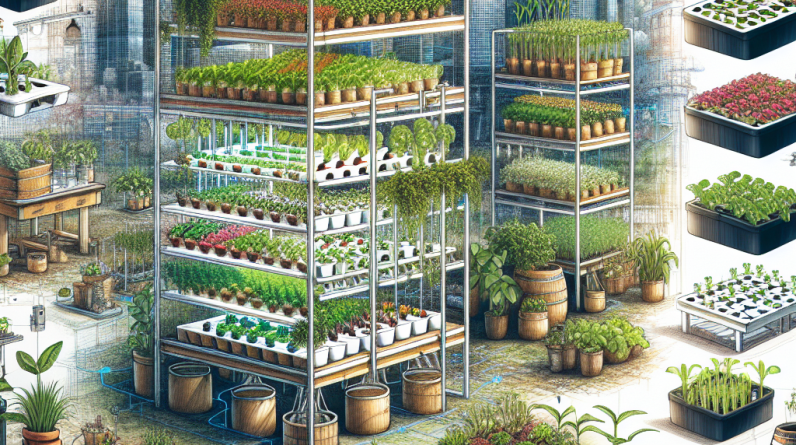
Next up, it’s time to get your hands on the materials. First, you’ll need to choose a frame. I used PVC pipes to create my frame because they’re inexpensive and easy to work with. You can also use wood, but I found it’s a bit more cumbersome.
Make sure your frame is sturdy enough to hold your plants and water. It’s the backbone of your system, so don’t skimp here! I always recommend overbuilding a bit so everything stays steady.
If it’s your first time, stick to something simple. As you get more comfortable, you can always upgrade or adjust your design as needed. Remember, trial and error is all part of the learning process!
Choosing the Right Containers
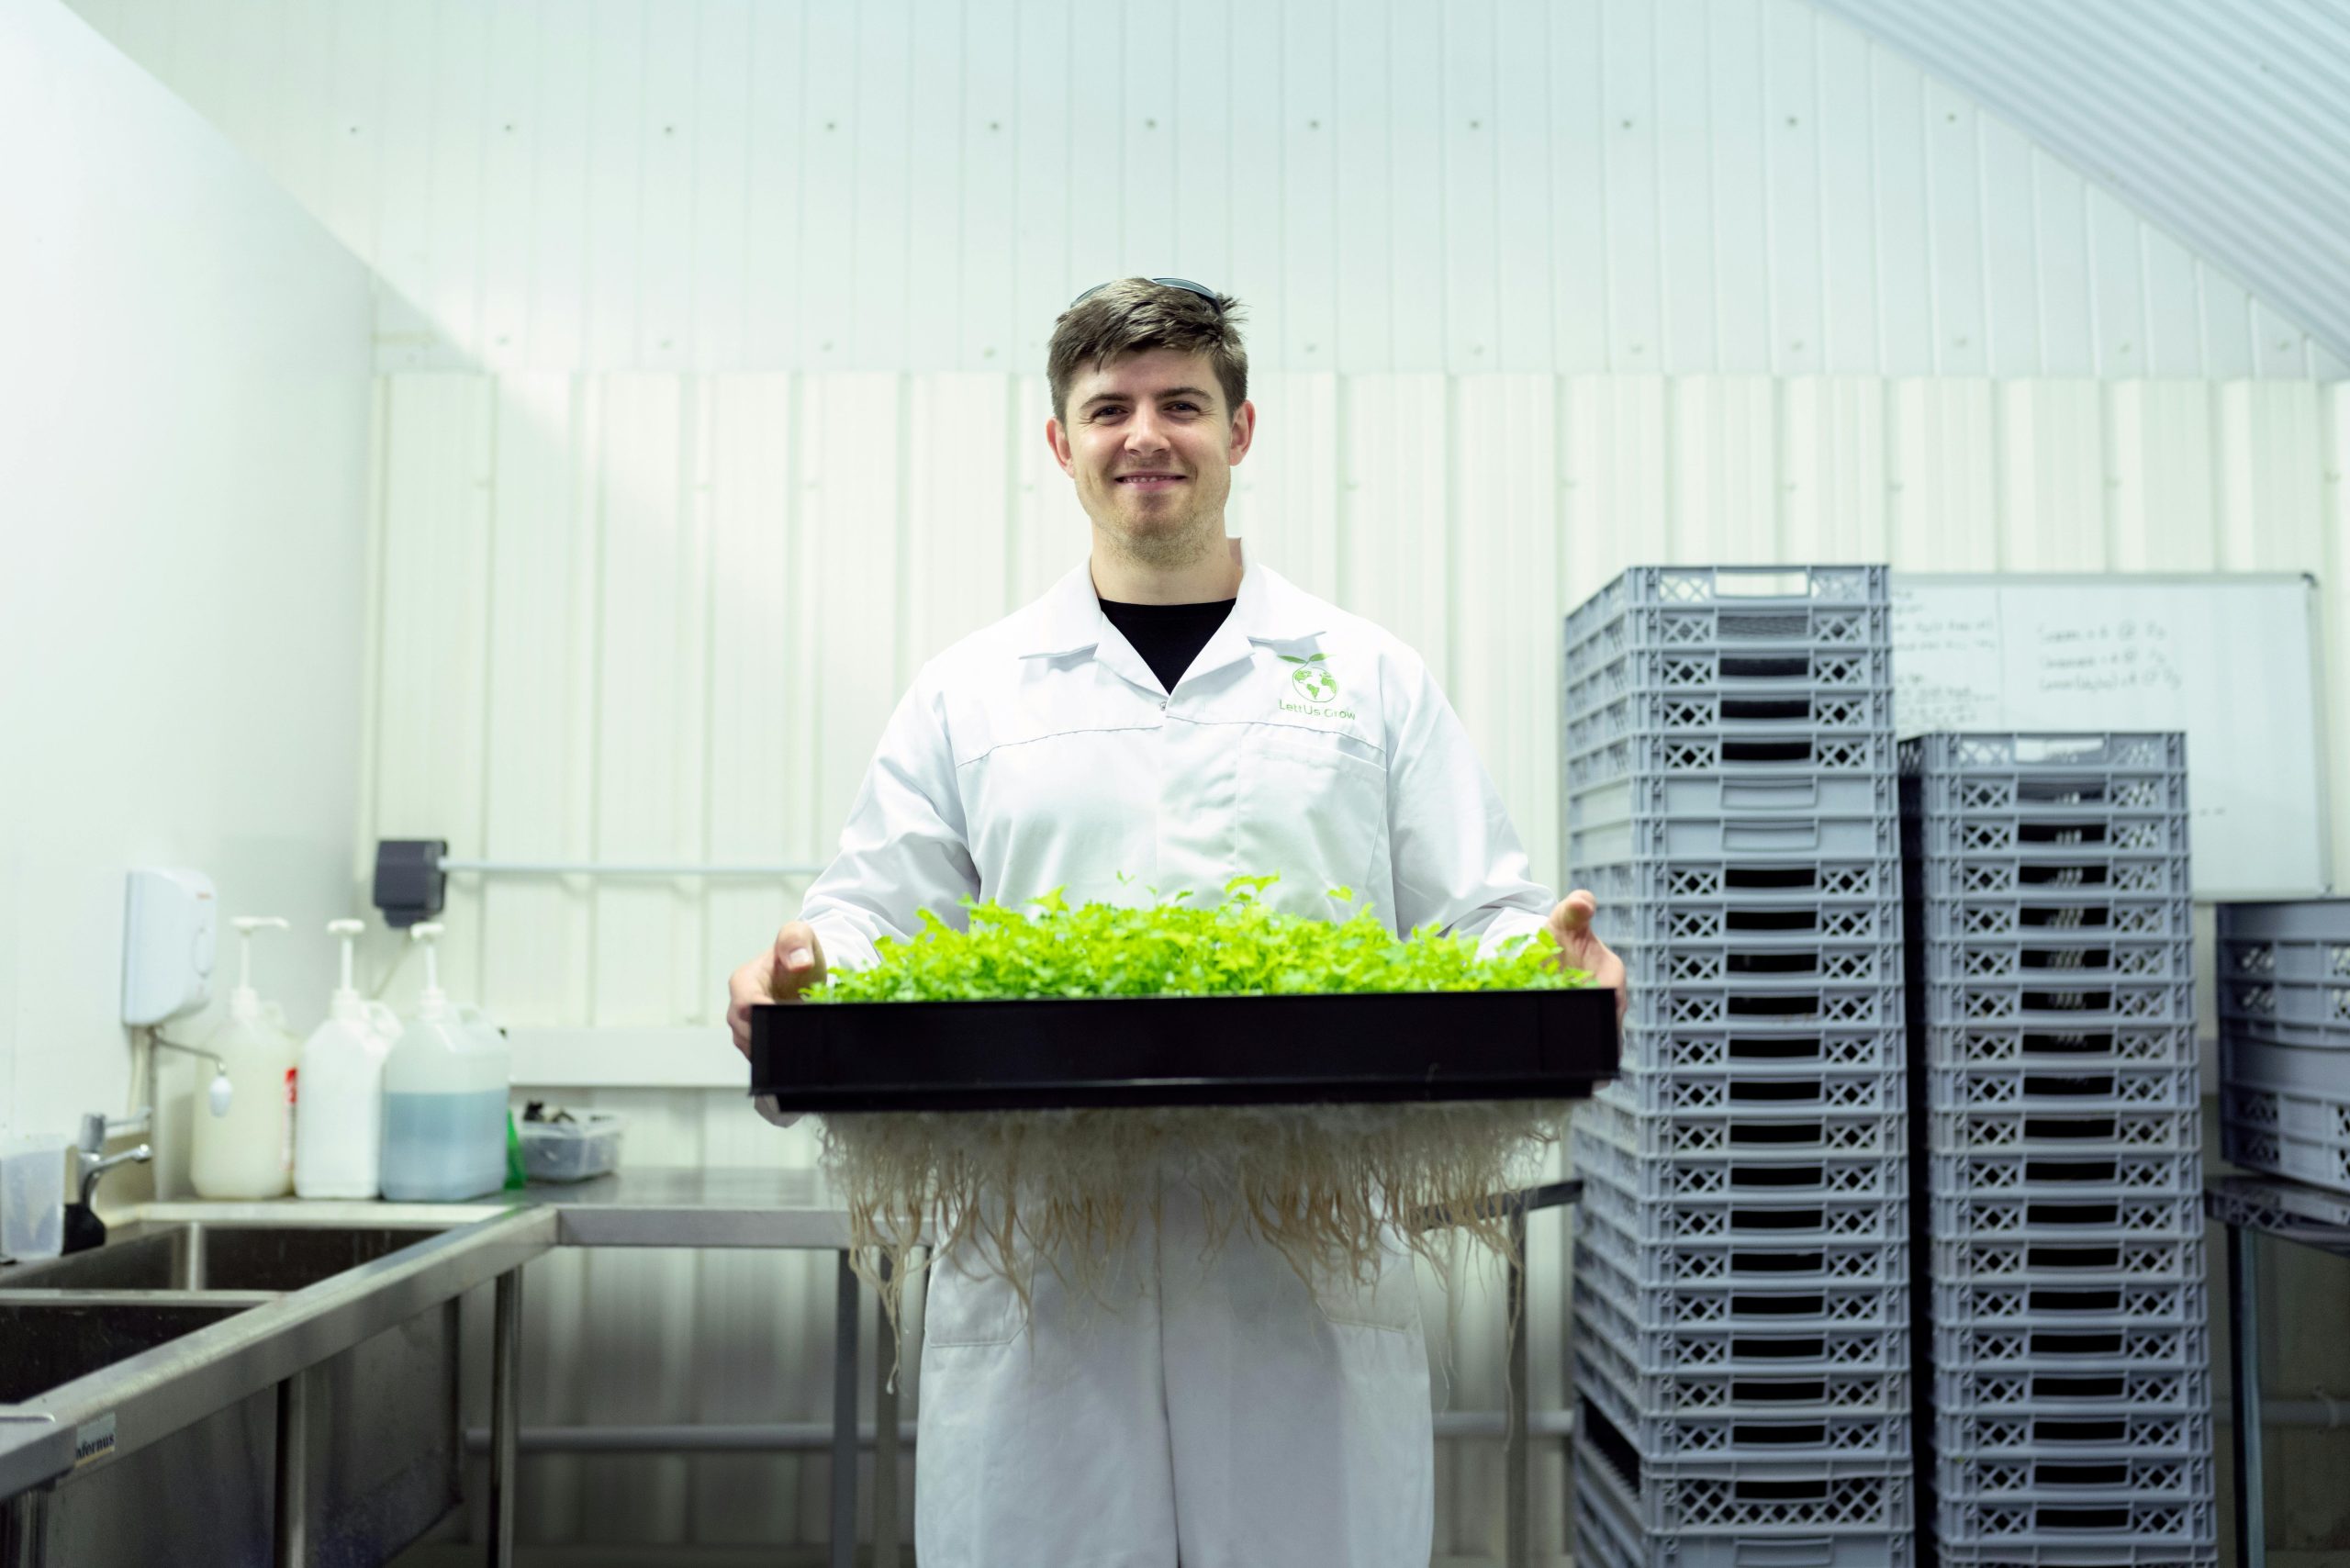
You’ll also need containers for your plants. Net pots are typically the go-to for NFT systems. They allow the roots to access the nutrient film while providing enough support for the plant. When I started, I tried a few different containers before settling on the net pots.
Don’t forget to check drainage! Each container should have adequate drainage holes to keep things flowing in the right direction. I even recommend rinsing your pots with water before introducing your plants, just to ensure they’re clean and ready to go!
Additionally, consider the size of the pots concerning your plants’ needs. If you’re growing larger plants, be sure to accommodate that in your initial setup.
Purchasing Pump and Reservoir
Now, you’ll need the right pump and reservoir to keep that nutrient flow going! The pump’s primary job is to transport nutrients from the reservoir to your plants via the channels. I started with a simple submersible pump, and it did the trick!
In terms of reservoirs, you can get creative. Some people use standard storage containers, while others go for more specialized hydroponic tanks. Just make sure it’s large enough to hold enough solution for your system.
Lastly, think about how you’ll access the reservoir. Having a lid for your reservoir can keep unwanted critters out, but it’s also important to ensure that you can check water levels and pH easily. A little planning goes a long way!
Setting Up Your NFT System
Connecting the Components
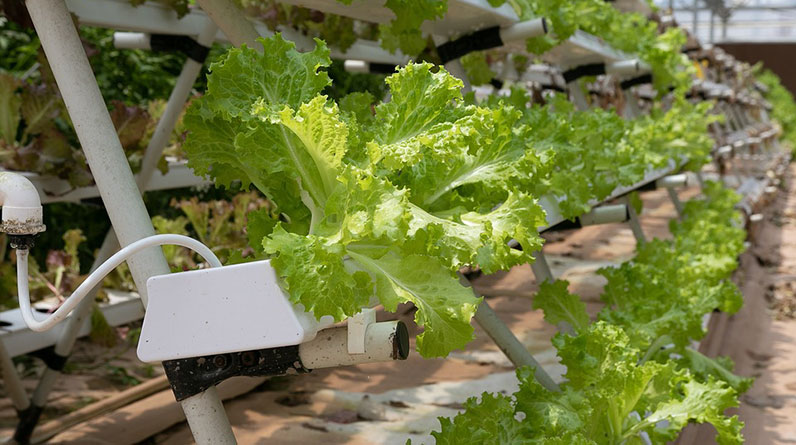
Alright, so you’ve got your materials, and now it’s time to connect everything! Start by securing your frame and arranging the channels for the nutrient solution. I suggest working slowly and double-checking everything fits correctly without any kinks in the line.
Next, attach the pump to your nutrient reservoir and run tubing to the channels where your plants will sit. If I’m being honest, this part can get a bit tricky. Just take your time, and don’t hesitate to reach out for advice if you’re feeling stuck.
One tip I’d love to share is to test your pump before introducing any plants. Run water through the system to check for leaks and ensure everything is functioning smoothly!
Adding Your Growing Medium
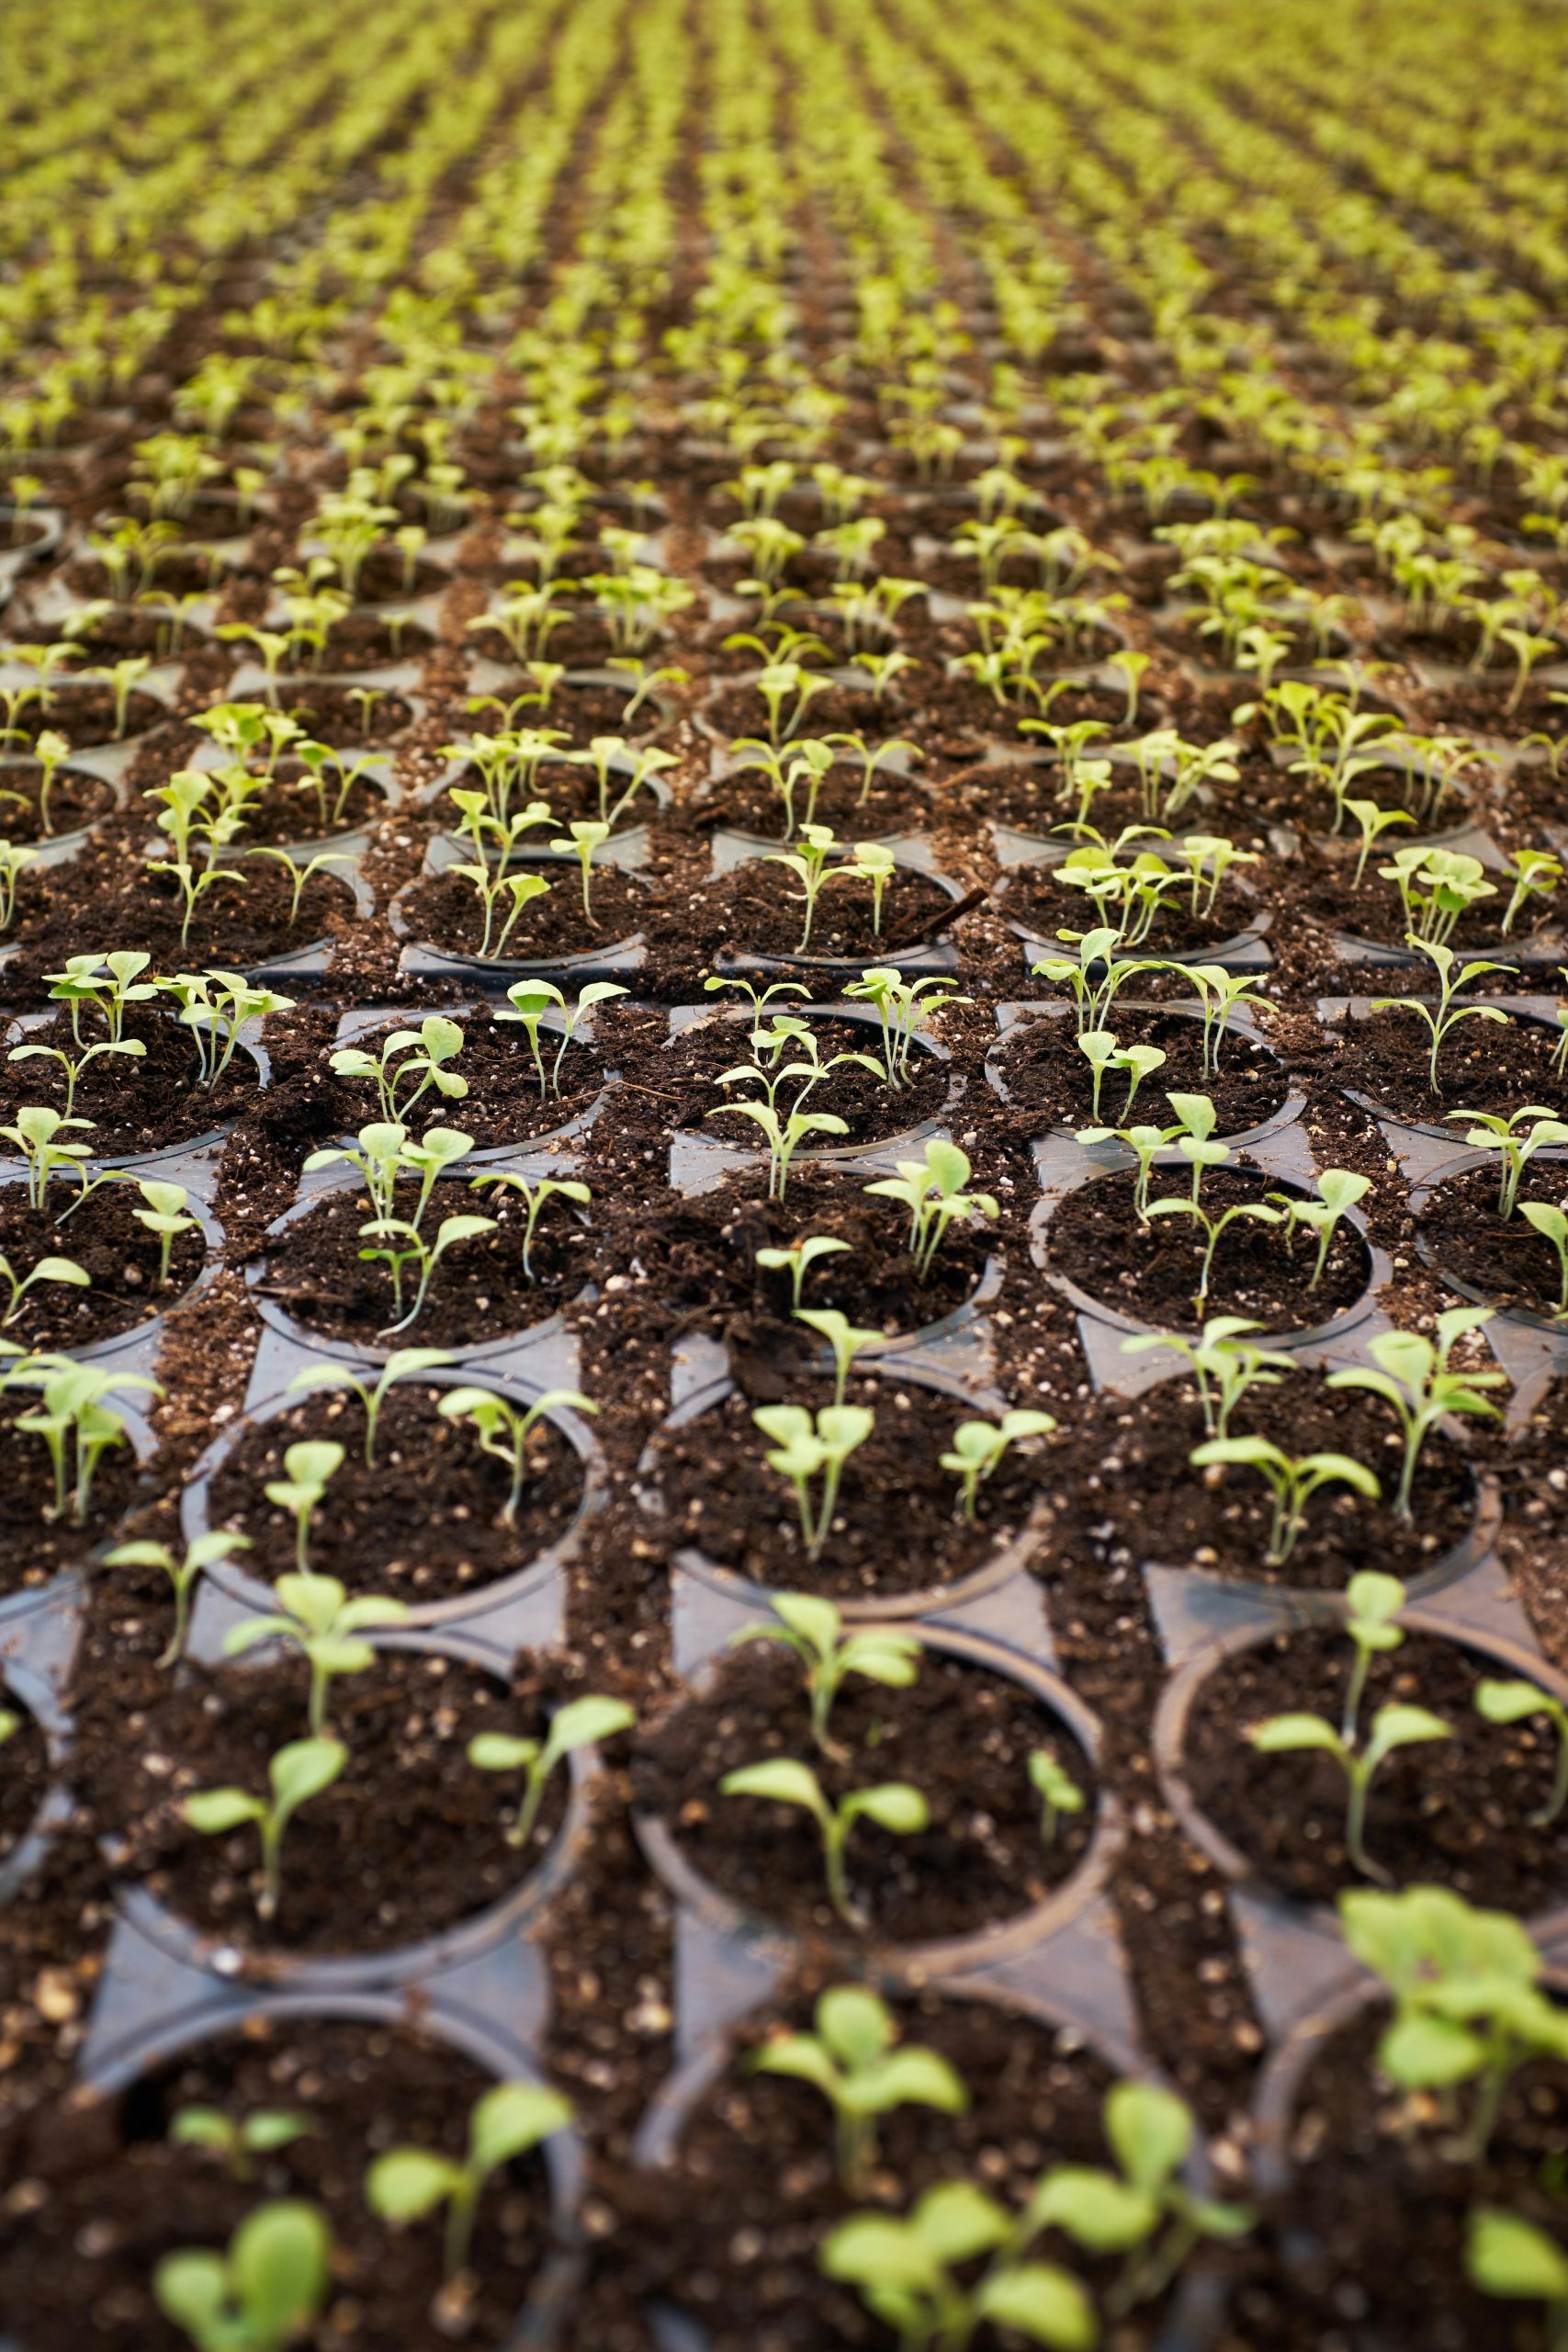
With your system all set up, it’s time to think about the growing medium. While NFT doesn’t rely on a lot of growing medium, you still want something to support your plants when they first start off. Rock wool and clay pellets are popular choices!
Just make sure whatever you use isn’t going to impede the roots as they grow. I started with rock wool, and it worked great, giving my seedlings a good foundation to anchor into.
Remember, the key is to promote enough moisture retention without drowning the roots. If you see any signs of stress from your plants, it might be worth reconsidering your medium choice!
Introducing Your Nutrient Solution
Now, let’s get into the fun part—introducing your nutrient solution! This will be the lifeblood of your plants in an NFT system. Make sure you’re using a hydroponic nutrient solution appropriate for the plants you’re growing.
As a beginner, I’d recommend following the instructions on the packaging closely. It can get a little overwhelming, but sticking to recommended ratios can prevent a lot of headaches during the initial stages.
You’ll want to monitor your pH levels as well. Ideally, you’re aiming for a pH between 5.5 and 6.5. If your levels are off, your plants could struggle to absorb the nutrients they need!
Maintaining Your System
Monitoring Water Levels
Alright, you’re in the groove! Now, it’s crucial to regularly monitor your water levels. Make it a habit to check your reservoir every couple of days. You’d be amazed at how quickly the levels can drop, especially if your plants really start growing!
If you’re noticing significant evaporation or nutrient uptake, don’t hesitate to refill your reservoir. It can save you from potential stress and ensure your plants are consistently watered.
Another great tip is to add a marker to your reservoir to indicate where the optimal water level should be. That way, it’s easy to see at a glance if you’re good to go!
Keeping an Eye on pH and EC Levels
Continuing with your maintenance, regularly checking pH and EC (electrical conductivity) is super important. I recommend doing this at least once a week, especially when your plants are growing quickly.
Investing in a reliable pH meter and EC meter can make your life a whole lot easier. When I first started, I didn’t bother with it much, and I learned the hard way that prevention beats troubleshooting any day!
If you notice your plants aren’t thriving, adjust those pH and EC levels as soon as you can. Sometimes just a slight change in the nutrient solution can make a significant difference!
Pest and Disease Management
Last but not least, stay on top of pest and disease management. Regularly checking your plants for any signs of issues can save you from costly remedies later on. I always say, a little vigilance goes a long way!
If you spot any pests, try natural options first. Neem oil and insecticidal soap are effective solutions I’ve had success with. The key is early intervention; once pests take hold, they can wreak havoc.
Also, cleaning your setup regularly can help prevent diseases and pests from showing up in the first place. A cleaner system often leads to healthier plants and a more successful harvest!
FAQ
1. What types of plants can be grown using an NFT system?
You can grow a wide variety of plants using NFT systems, but leafy greens and herbs, like lettuce, basil, and spinach, tend to thrive best. They have quite a short growing cycle and don’t require much support.
2. How often should I check on my NFT system?
It’s a good practice to check on your system at least a couple of times a week. Monitoring water levels and plant health regularly can help you catch any issues before they become significant problems.
3. Can I use tap water for my nutrient solution?
Yes, but make sure to check the pH and EC levels. Tap water can contain chlorine and other chemicals which might affect your plants. Letting it sit out for a day can help off-gas chlorine, or you can use a filter if necessary.
4. How do I adjust the pH levels in my system?
If the pH is too high, you can use pH down solutions, and if it’s too low, there are pH up products readily available. It’s best to make small adjustments over time to avoid shocking your plants.
5. What are common mistakes to avoid in an NFT system?
Some common mistakes include neglecting to test pH and EC levels regularly, poor drainage setup, and not monitoring water levels. Keeping a close eye on these factors can make your hydroponic journey much smoother!
And there you have it! Building and maintaining an NFT hydroponic system is such a rewarding experience, and I hope this guide helps you get started. Happy growing!
Related Content
- The Compact Efficiency of Hydroponic Systems
- Urban Farming Revolution: Hydroponics Leads the Way
- iDOO Indoor Garden Hydroponics Growing System 12Pods WiFi Smart Garden Plant Germination Kit with LED Grow Light Review
- The Benefits of Using a Hydroponic Growing System
- The Ultimate Guide to the Best Hydroponic Nutrient Solution Strategies 2025


