Hey there, fellow gardening enthusiast! I’m excited to share my journey with Rockwool in hydroponic seed starting. It’s been a game-changer for my indoor garden, and I’m sure it can do the same for you. Let’s dive into the nitty-gritty of how to work with this fantastic growing medium!
Choosing the Right Rockwool
Understanding Rockwool Basics
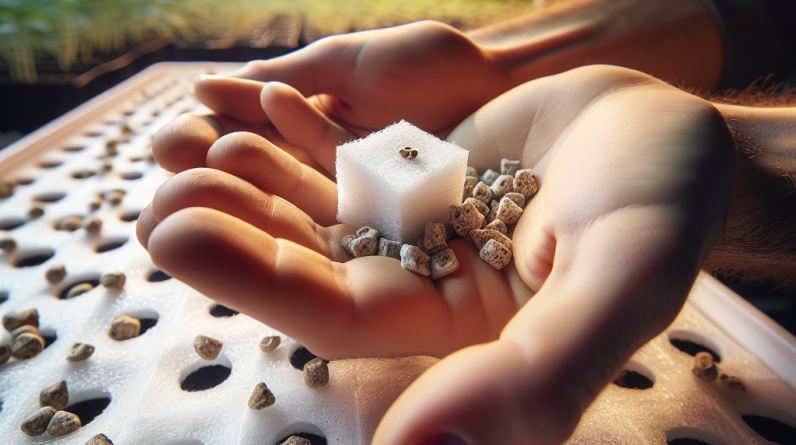
First off, let’s talk about what Rockwool actually is. It’s made from molten rock that’s spun into fibers. Sounds a bit strange, right? But this stuff is super absorbent, which makes it a fantastic choice for seed starting. The texture is light and fluffy, allowing for good air retention while also holding moisture. This balance makes it perfect for rooting those delicate little seeds!
When choosing Rockwool, you’ll find it comes in various grades and densities. For seed starting, go for the finer grades as they allow the seeds to germinate more easily. You’ll also find Rockwool blocks or cubes that are ready to use, which is a major plus for anyone looking to avoid a major hassle. Trust me, I’ve been down that road, and it’s worth it to simplify!
Lastly, be mindful of the pH of your Rockwool. It’s naturally alkaline, so you’ll need to soak it to bring its pH to a more neutral level, typically around 5.5 to 6.5. This might seem like a chore, but it sets the stage for your seeds to thrive. You’ll thank yourself later when your seedlings sprout vigorously!
Preparing Your Rockwool
Now that you’ve got your Rockwool, let’s prep it! Start by soaking the cubes in water for about 24 hours. You can add some nutrients to the water to give your seeds a little boost from the very beginning. Just make sure to check out the nutrient’s labels to avoid overloading those little guys with too much fertilizer – we don’t want to burn them!
After soaking, it’s important to squeeze out excess water gently. You want it to be moist but not dripping wet. Many times I’ve accidentally overly saturated my Rockwool, and let me tell you, it’s not fun watching your seeds drown. A little trial and error here is completely fine!
Once your cubes are prepped, you can place them in a tray or container. Your growing environment should be well-lit, ideally with a grow light if you’re indoors. That warmth and light will help encourage those seeds to come out of their shells and start growing!
Planting Your Seeds
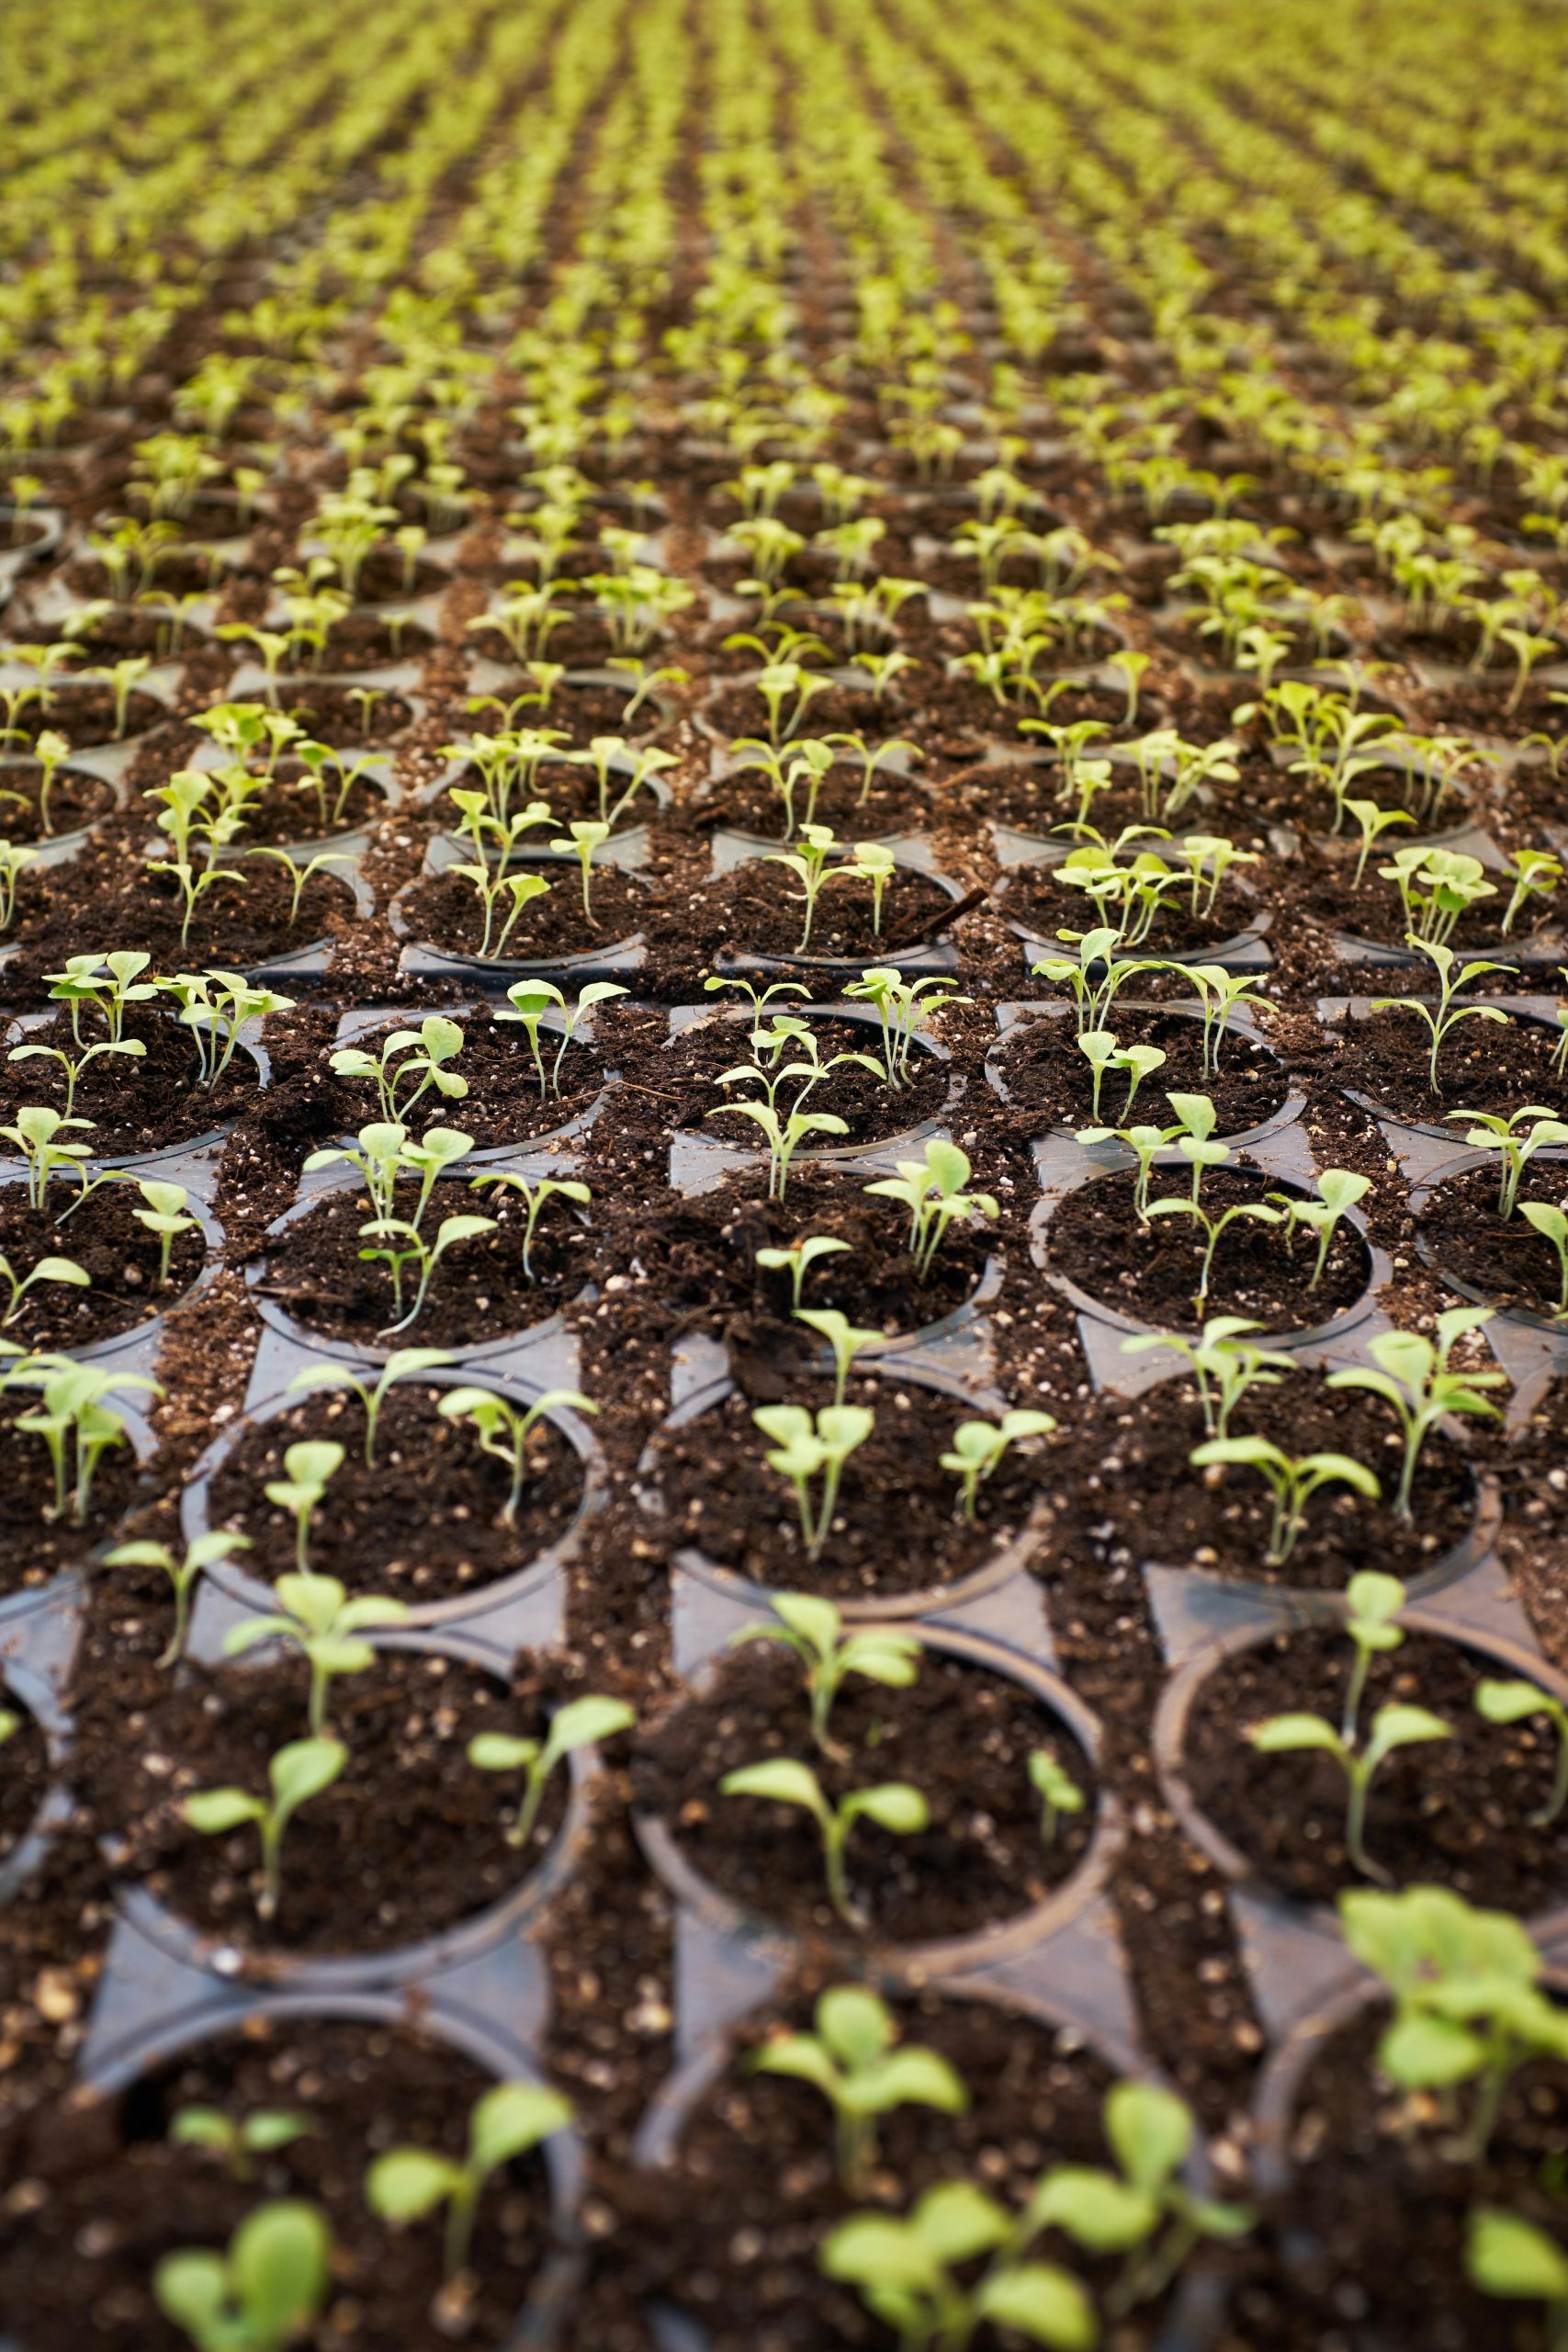
This part is the exciting bit—planting your seeds! Gently create a small hole in the center of each Rockwool cube (usually about a half-inch deep works well). I like to use a pencil or my finger, just be careful not to damage the fibers too much!
Next, drop in your seeds. Depending on what you’re planting, it’s often a good idea to include a couple of seeds in each cube, just in case one doesn’t germinate. Once they’re in the soil, cover them lightly with a bit of Rockwool. Don’t pack it down too hard; those seeds need a bit of space to stretch as they grow.
After planting, give them another light misting to ensure they have moisture but again, no soggy bottoms allowed! It’s all about finding that sweet spot of dampness. If you’re like me, you probably have a little garden journal – note what works and what doesn’t; it’ll help you fine-tune your process moving forward!
Watering and Nutrient Management
Keeping It Moist
When it comes to watering, consistency is key. I usually check my Rockwool cubes at least a couple of times a week. If it feels dry to the touch, it’s time to add water. But don’t just dump a bunch in; it’s about balance. Overwatering can lead to root rot, and that’s a total bummer for any gardener.
A good practice is to water from the bottom. Place your tray in a shallow pan and let the bottom of the Rockwool absorb water. This promotes healthier root growth as they naturally seek out moisture and nutrients. I swear, this method has worked wonders for me and my seedlings!
Make sure to monitor your nutrients as well—hydroponics can be a bit of a guessing game. Try to follow the recommended guidelines of your nutrient solution, adjusting based on how your plants respond. They’ll tell you if they’re happy or not; just keep your eyes peeled!
Add Nutrients Gradually
As your seedlings grow, they’ll need nutrients. I like to start with a diluted nutrient solution once I see the first true leaves emerge. It’s like giving them a little boost to grow bigger and stronger. Always start light! Too much can end up doing more harm than good.
If possible, keep an eye on the pH level of your nutrient solution as well. Ideally, you want to stay around that 5.5 to 6.5 range, just like with the soaked Rockwool. It may sound tedious, but it pays off when your plants are thriving!
As they grow further, keep on adjusting your nutrient levels. Watching them respond to the nutrients is super satisfying! Document your experience to see which mixtures lead to the best growth. It’s all part of the fun of gardening, right?
Recognizing Plant Needs
Every plant is different, and recognizing signs of nutrient deficiencies or excess is crucial. Leaves might turn yellow, or growth might slow down—both are cues to take a closer look at your feeding schedule. I’ve learned that trial and error is a part of the process; don’t hesitate to adjust things!
Be observant! My plants have given me shout-outs when they needed something by changing color or dropping leaves. Being in tune with your plants is not only a key part of hydroponics but also quite rewarding.
If you’re looking to step up your game, consider investing in a pH meter and a TDS (total dissolved solids) meter. They can really help you fine-tune everything and ensure you’re giving your plants exactly what they need!
Transplanting Seedlings
When to Transplant
Once your seedlings have outgrown their Rockwool cubes, it’s time to consider transplanting! This usually happens when they reach 3-4 inches in height and have developed a strong root system. It’s crucial to transplant at the right time; waiting too long can stress them out. I’ve learned the hard way!
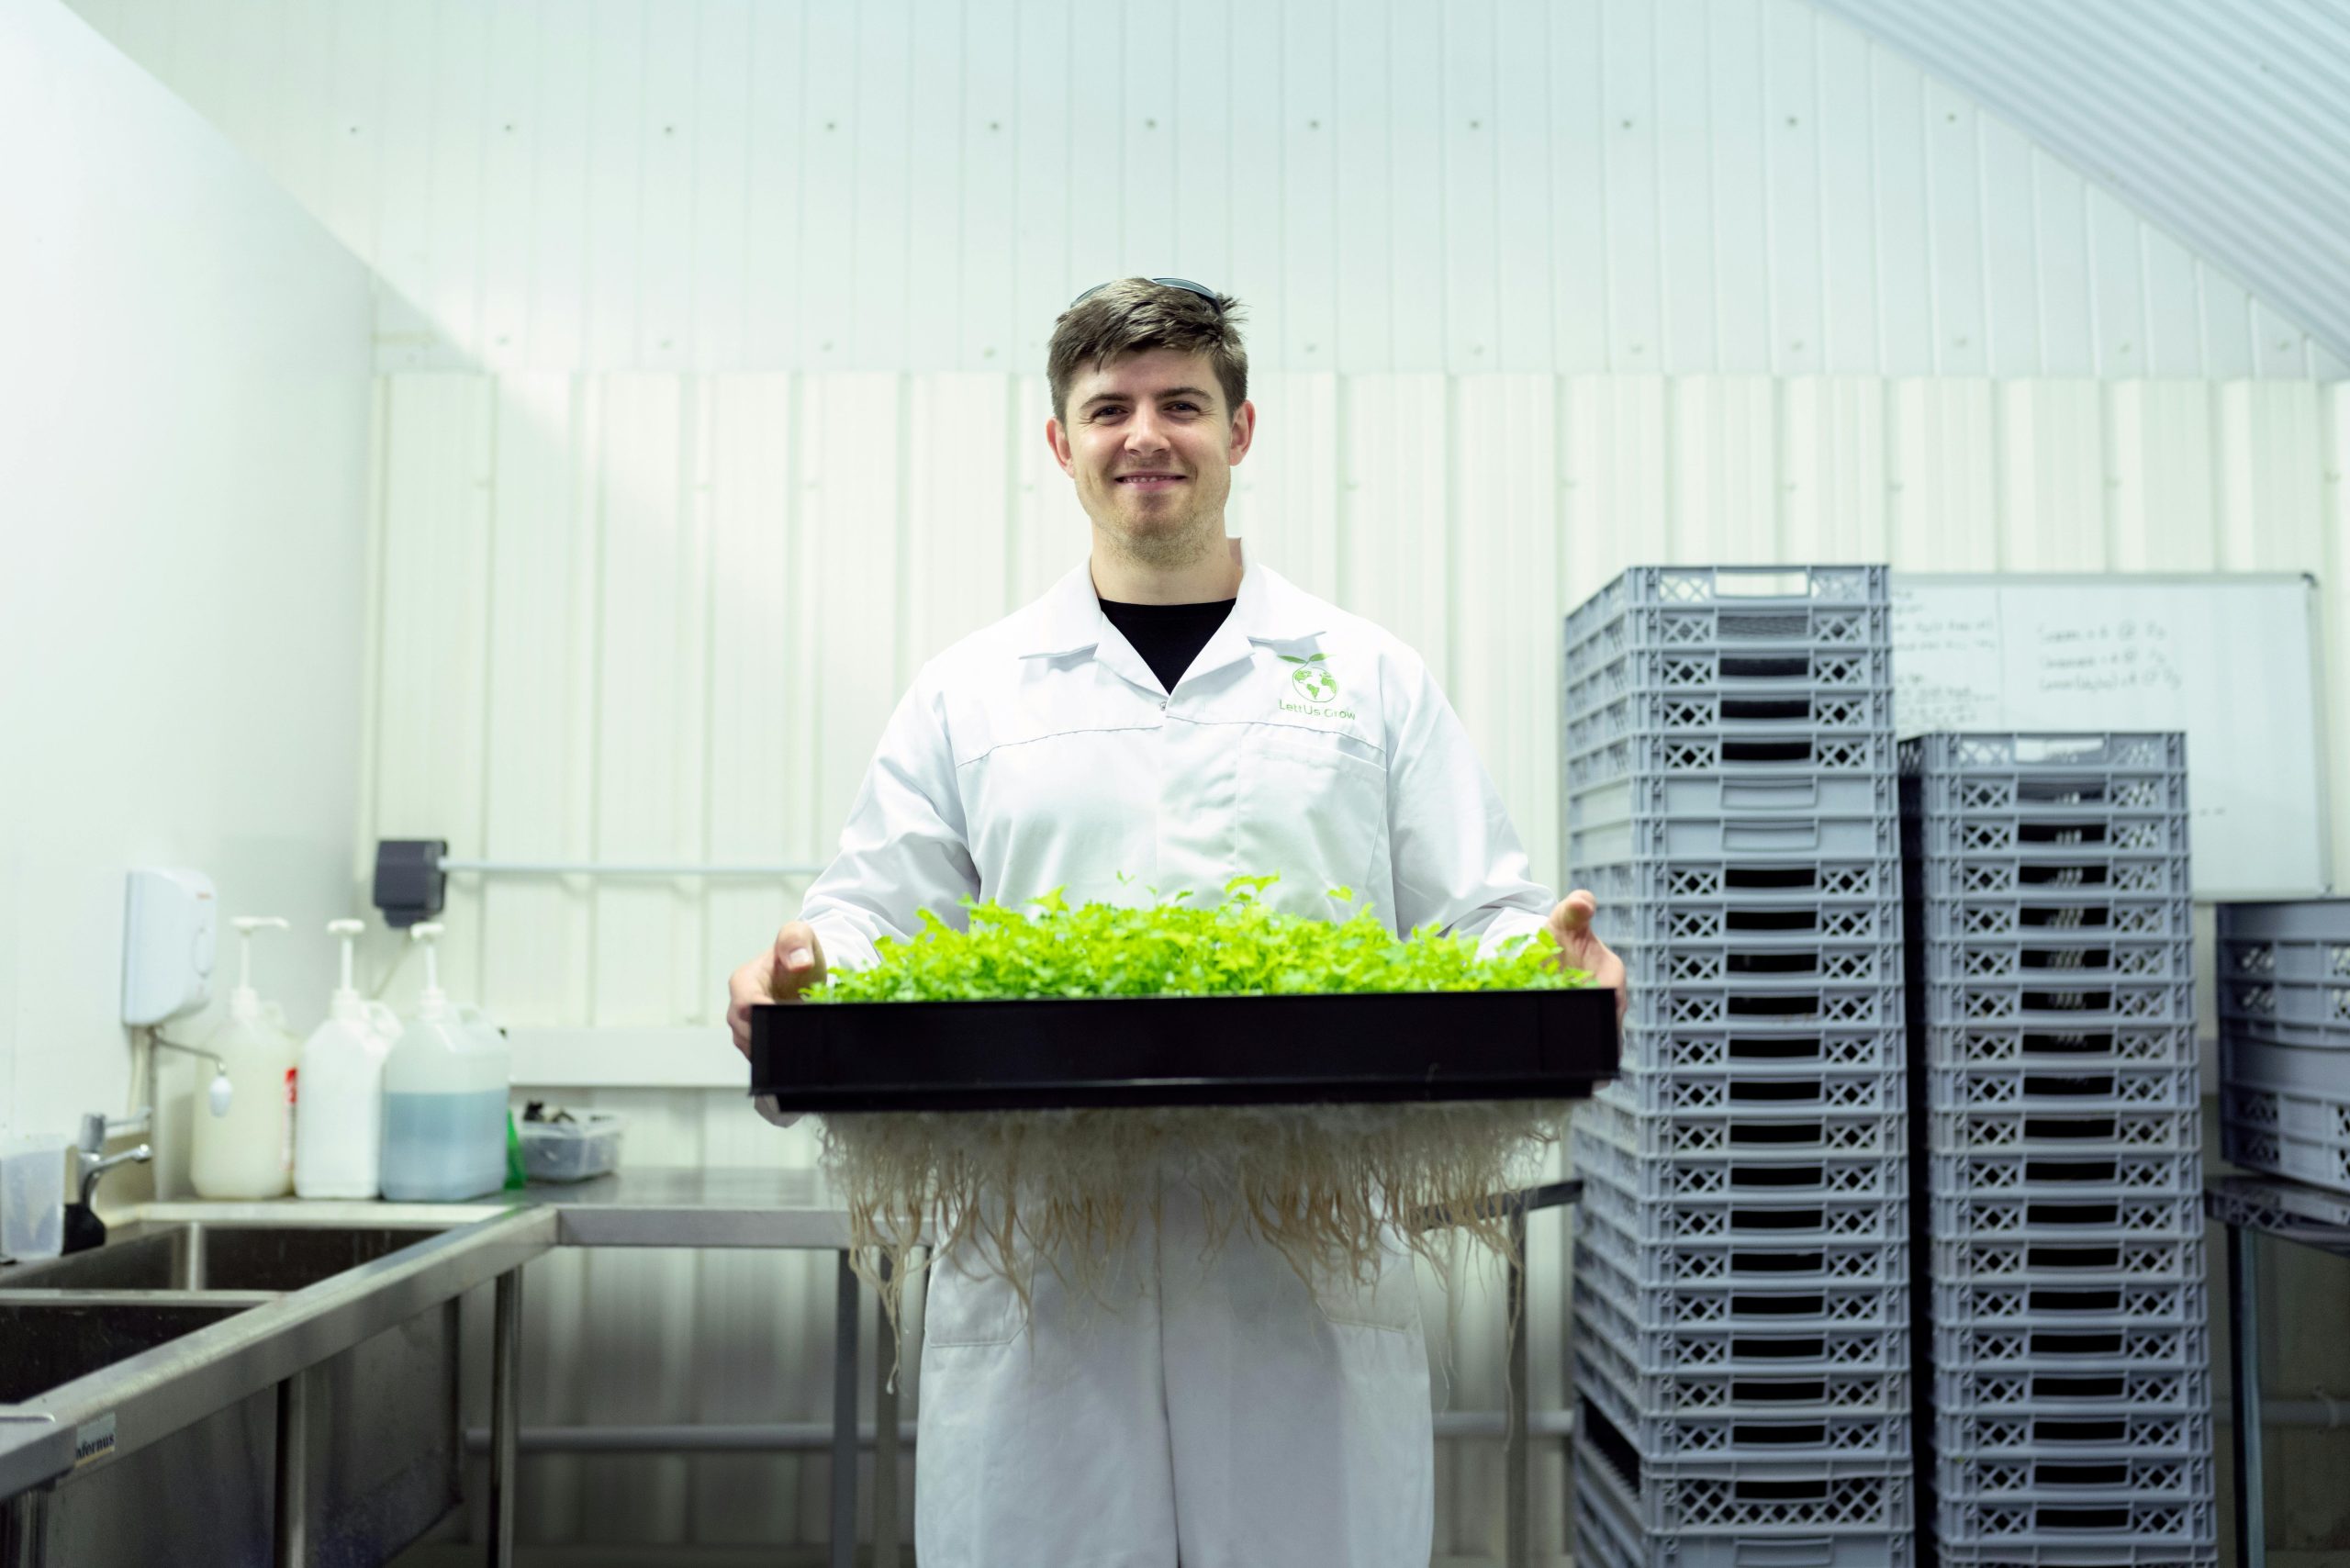
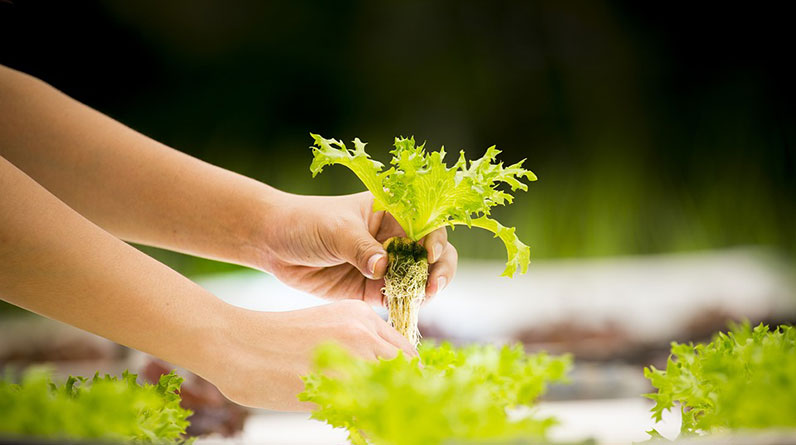
Take a good look at your seedlings’ roots. If they’ve already started to poke out of the bottom of the Rockwool cube, it’s a sure sign it’s time to move them. Just gently pull the cube apart; they should come out without much resistance.
Make sure to have your new growing medium ready—whether it’s soil or another hydroponic setup. The transition is vital, and the less stressful you can make it for your plants, the better results you’ll see!
How to Transplant
Start by making a hole in your new growing medium—whether it’s in a larger container or a different setup. You want to be careful here; avoid disturbing the roots too much. I like to create a small dip where the Rockwool cube can snugly fit without forcing it.
When you place the Rockwool cube into the hole, gently pack the surrounding medium around it to provide stability. Afterward, give it a little watering to help settle it in. This part is like giving your plants a new home; a cozy spot to continue thriving!
After transplanting, continue to monitor your plants closely. They may need a few days to adjust, and you might notice some wilting initially. Don’t worry; it’s all part of getting used to their new digs!
Post-Transplant Care
We’ve made it to post-transplant care! After moving your seedlings, keep an eye on light exposure. Ideally, they should be in a well-lit spot but avoid harsh direct sunlight at first. A few days of adjustment time works wonders.
Don’t forget to continue watering consistently, but remember to adjust based on the new growing medium’s moisture levels. Depending on what you’ve used, your watering frequency might change. I often check in with a moisture meter, it’s been a great investment!
In no time, you’ll see your seedlings grow into sturdy plants ready for harvesting. Just sit back, relax, and enjoy your hydroponic gardening journey!
Frequently Asked Questions
1. Can I reuse Rockwool cubes?
Reusing Rockwool isn’t the best idea. It can be tricky as they may harbor pathogens or diseases. If you really want to reuse them, make sure to sterilize them properly first!
2. How often should I water my Rockwool cubes?
It depends on the environment, but generally, check every few days. If they feel dry to the touch, it’s time to water. Remember, they should be moist but not soaking wet!
3. What types of plants work best in Rockwool?
Most seedlings do great in Rockwool, especially herbs like basil, mint, and even some vegetables! It’s perfect for starting seeds and then transplanting them into your garden.
4. Is Rockwool safe for the environment?
Rockwool is made from natural rock, but its production process isn’t super eco-friendly. It’s not biodegradable, and disposal can be a concern. So just keep that in mind!
5. Can I grow directly in Rockwool indefinitely?
While you can grow in Rockwool for a while, it’s not meant for the long term. Over time, it can break down and lose its structure. It’s best for starting seeds or transplants!
And that’s a wrap, folks! I hope this guide helps you make the best of your Rockwool experience in hydroponic seed starting. Remember, every gardener finds their groove over time—happy gardening!


