1. Understanding Hydroponics
What is Hydroponics?
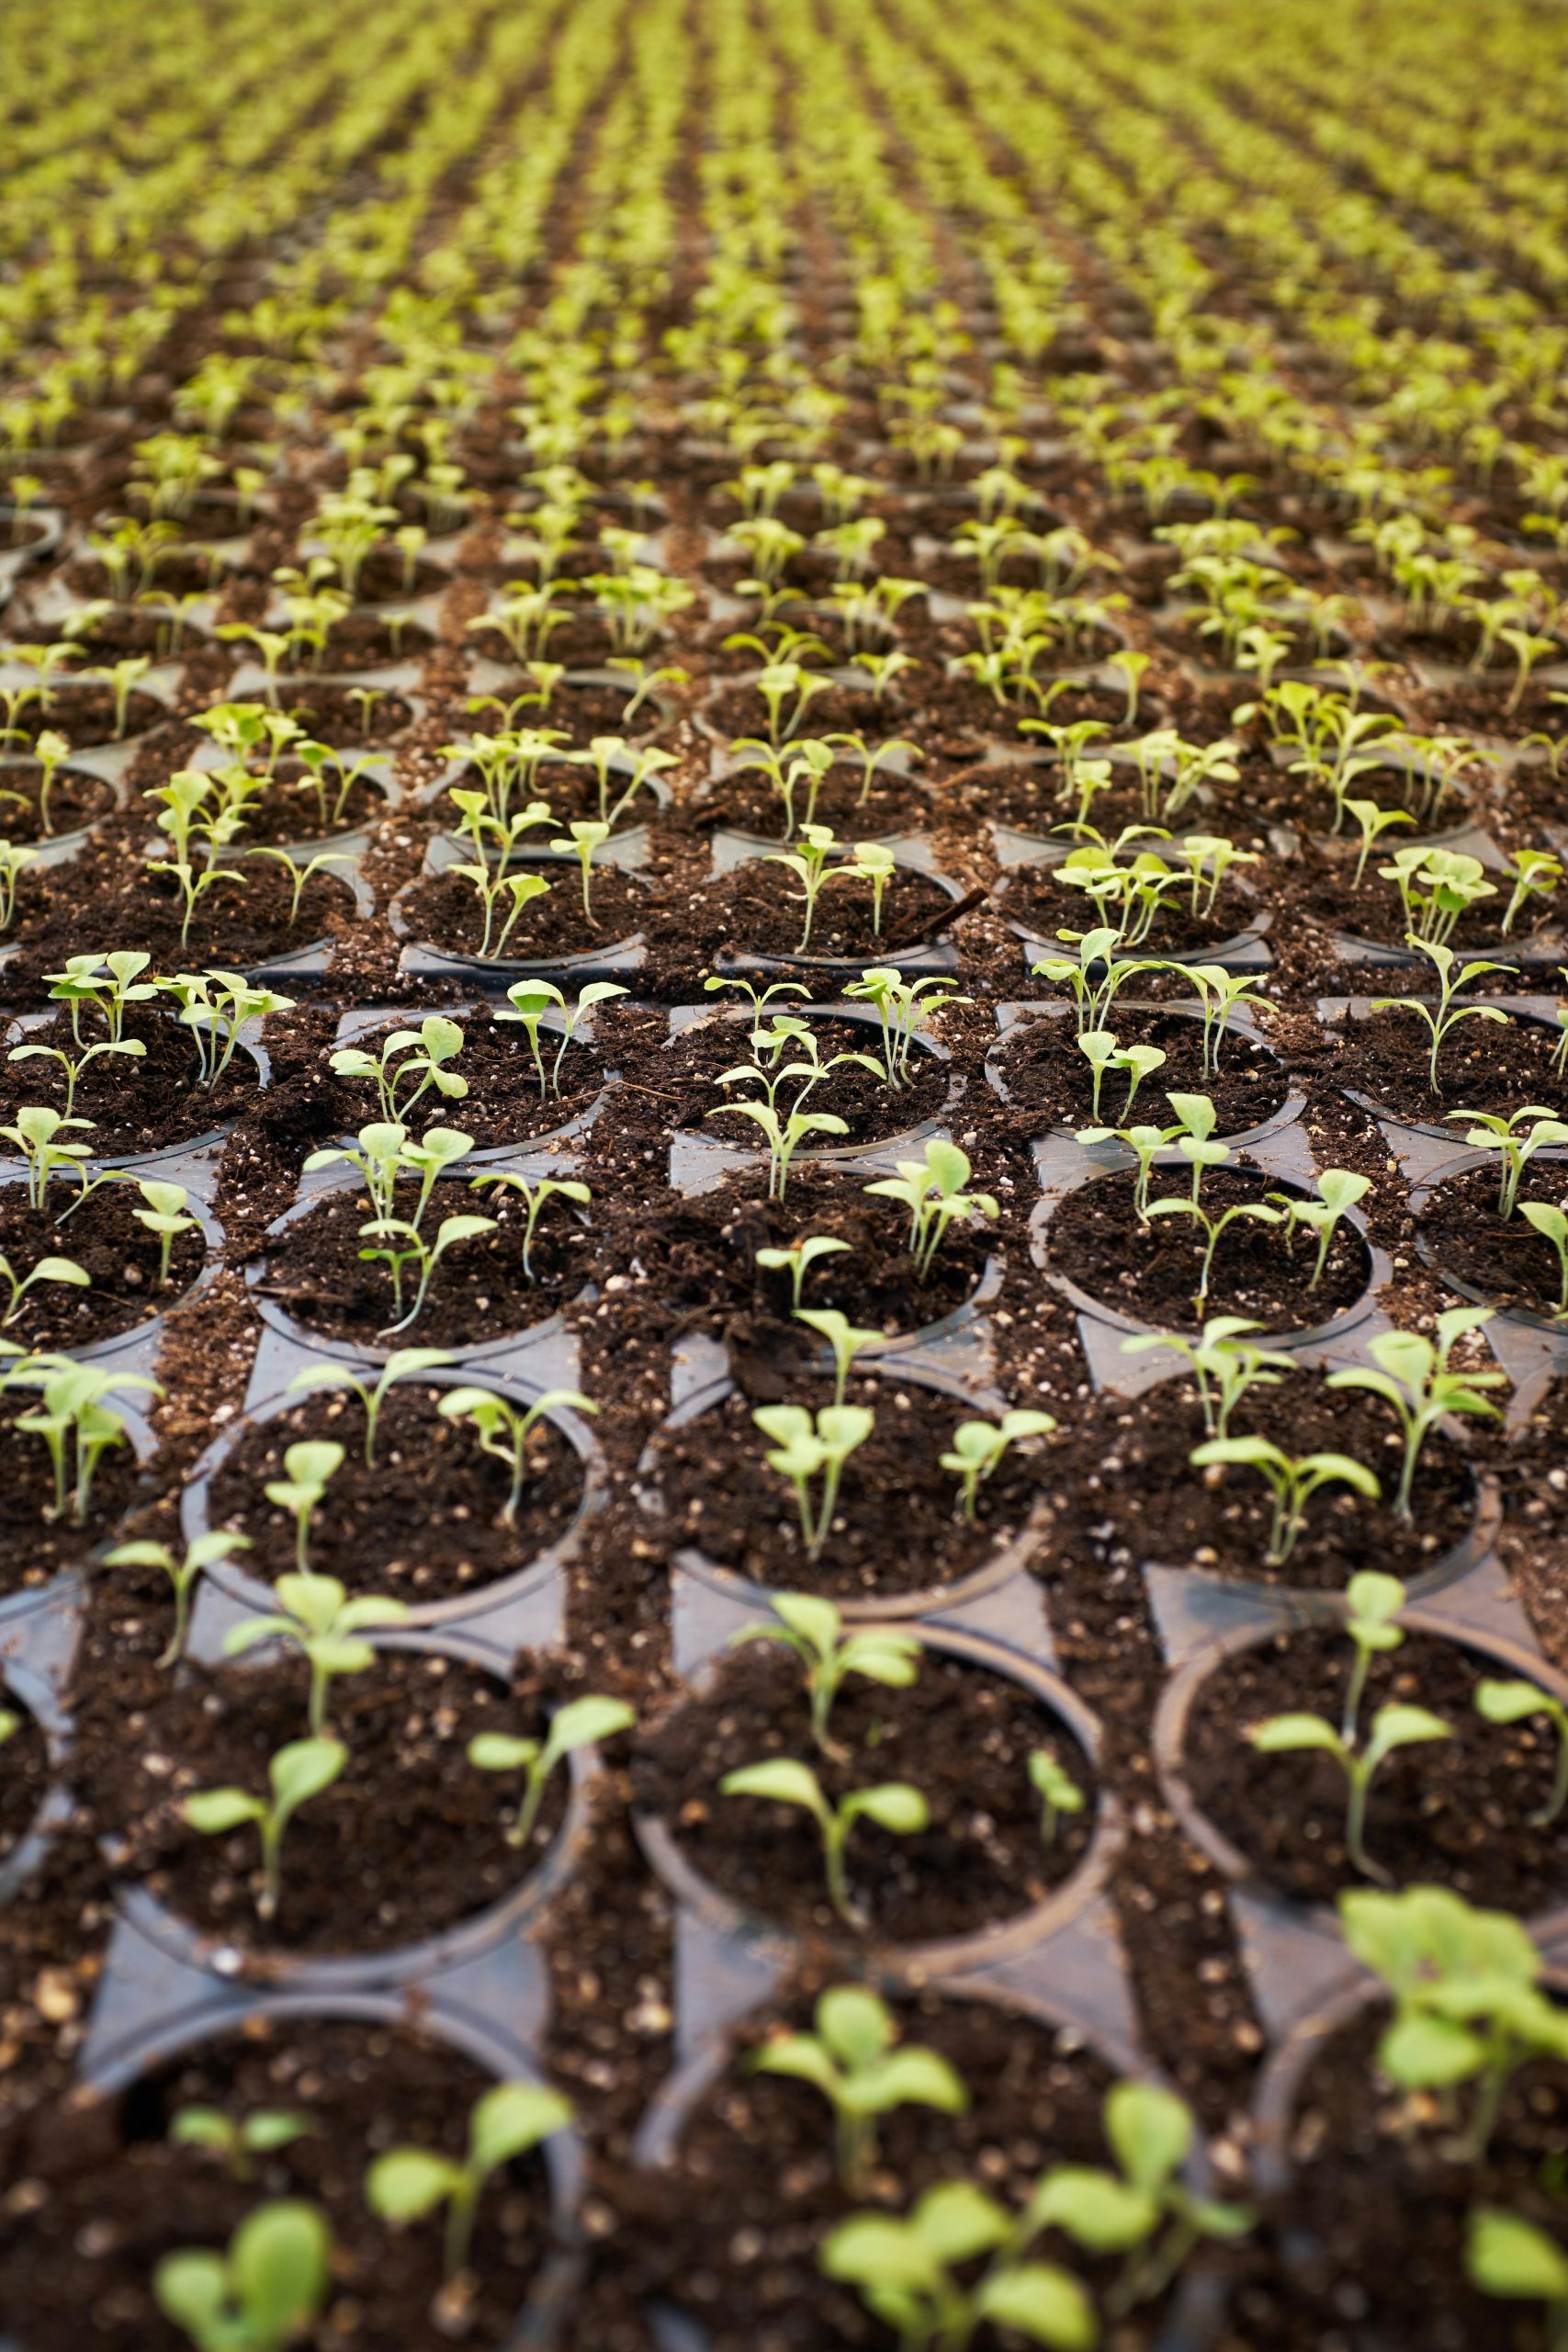
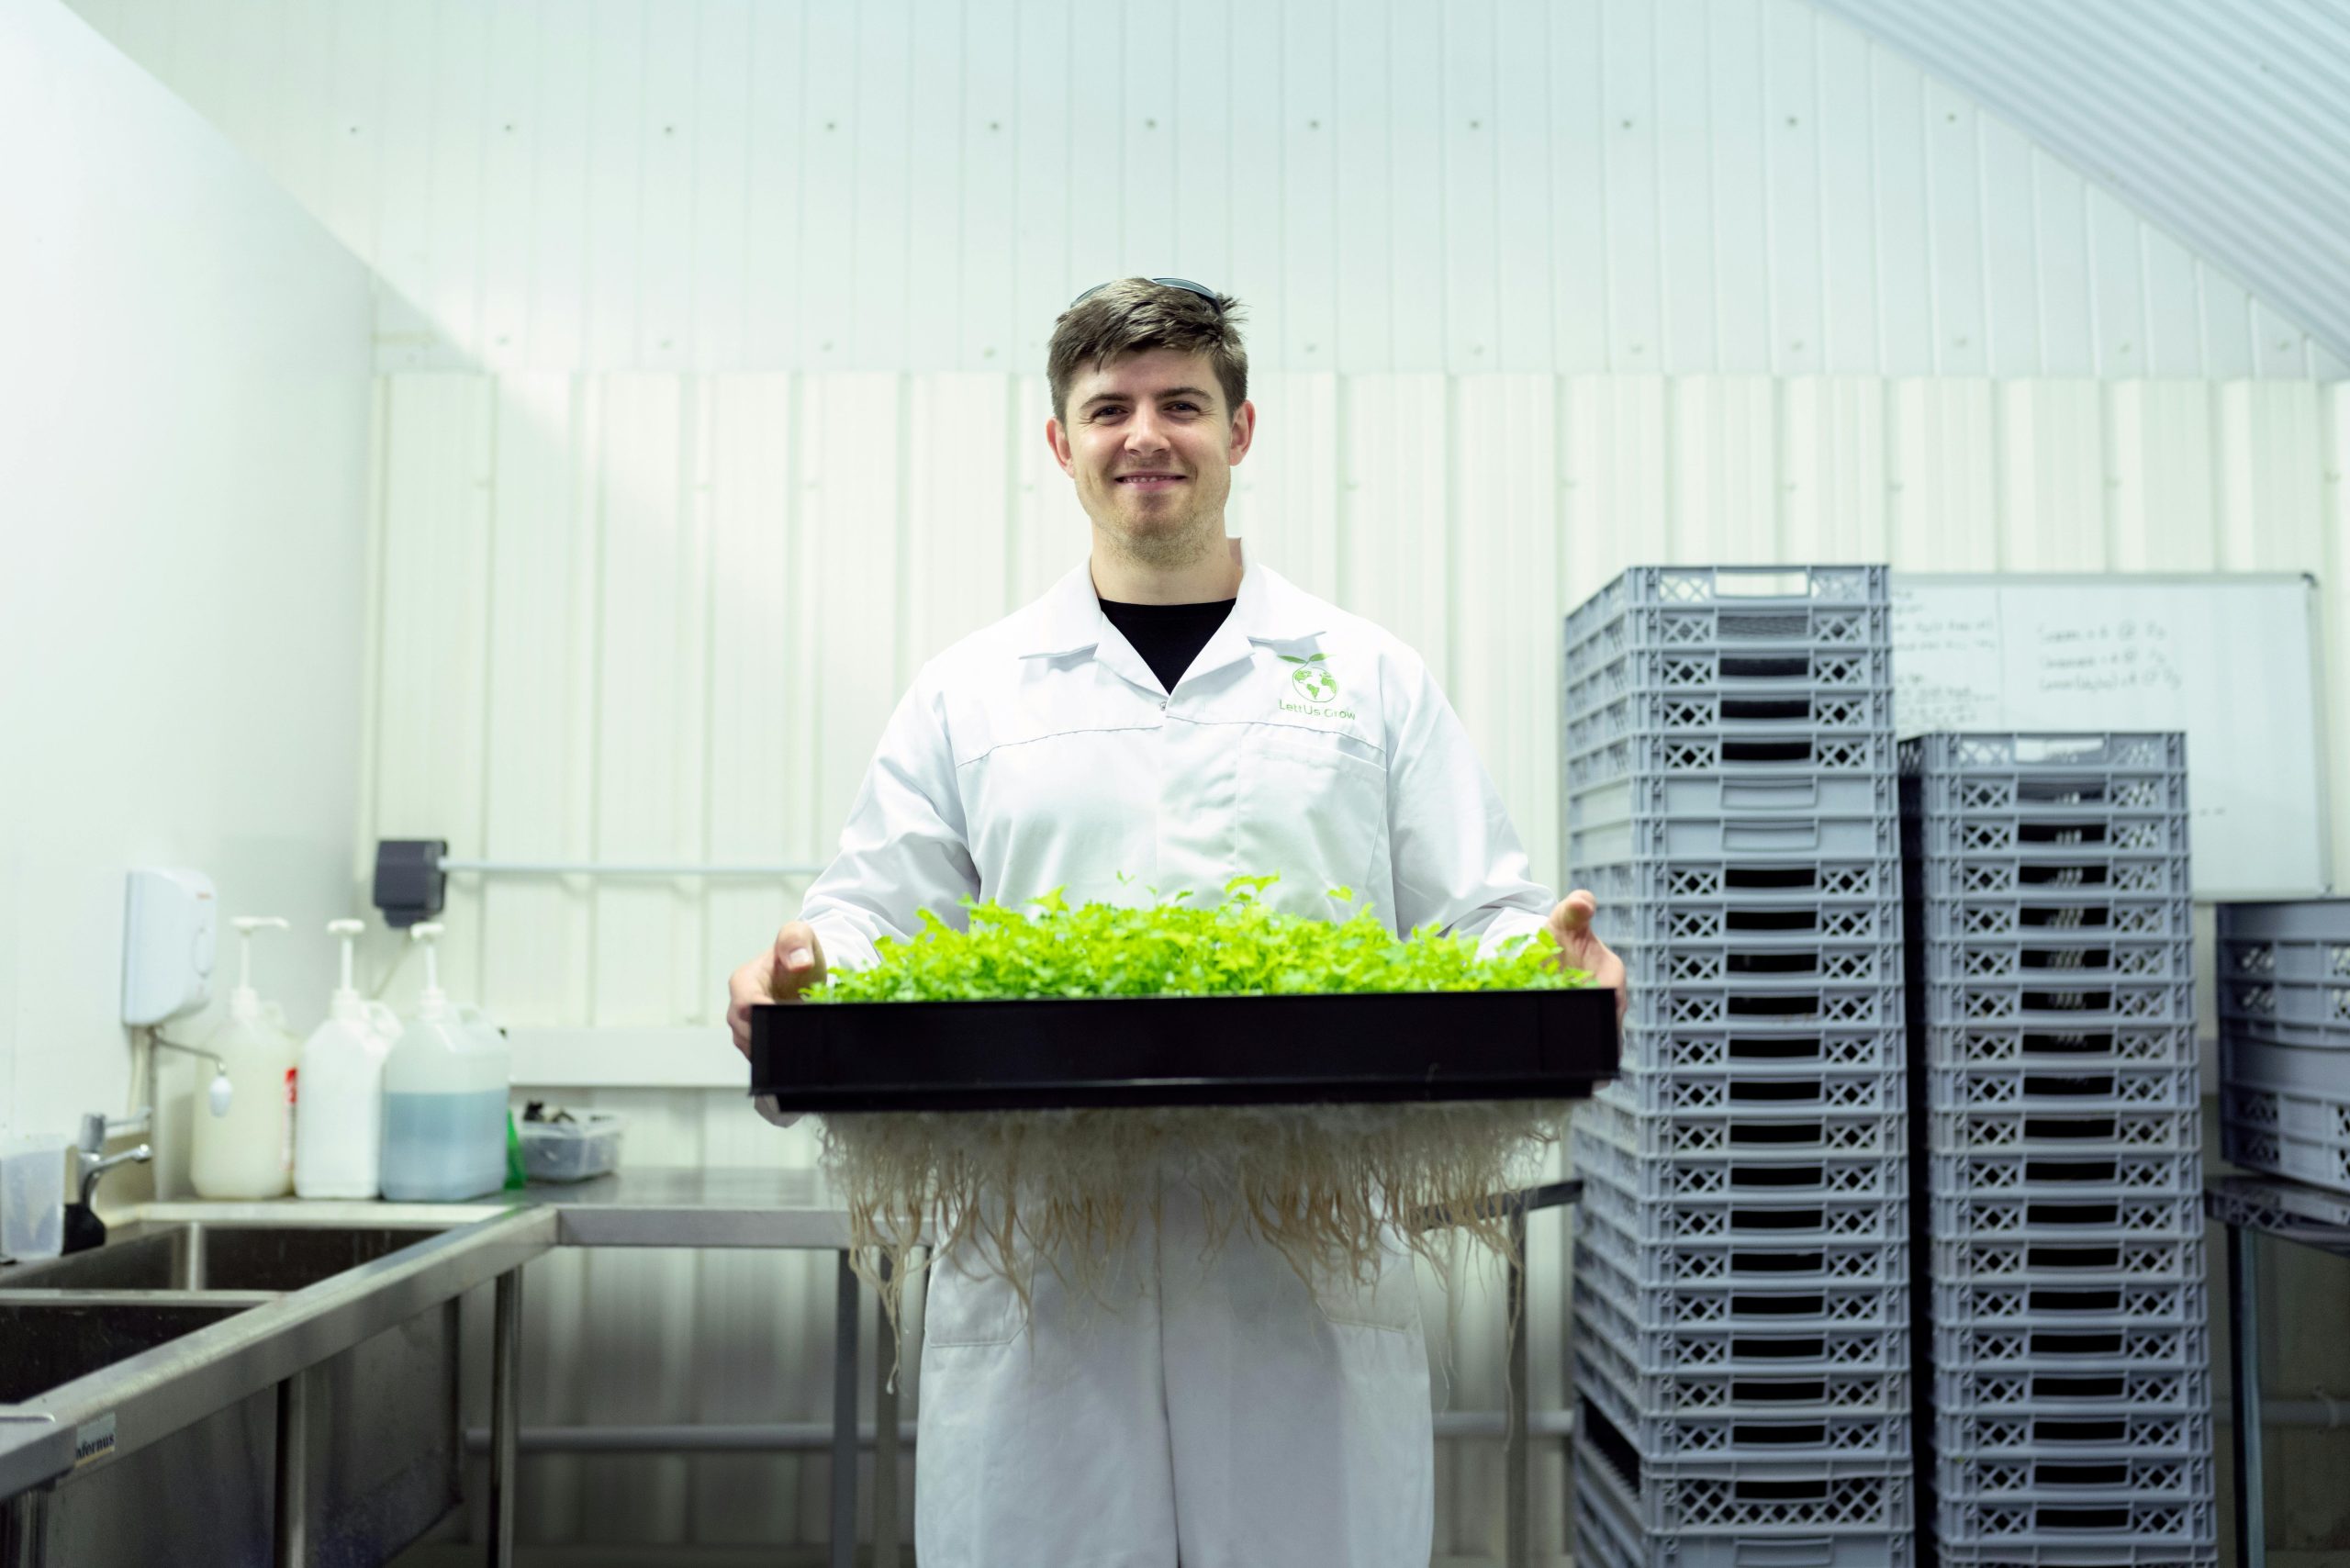
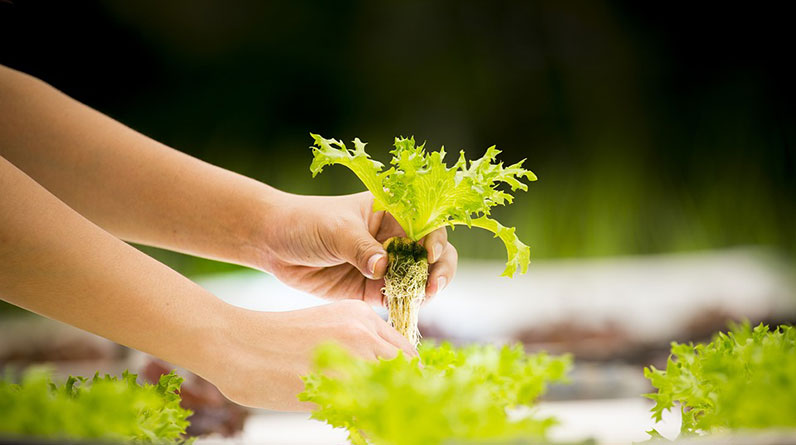
When I first stumbled upon hydroponics, I was absolutely fascinated. Hydroponics is basically growing plants without soil. Sounds odd, right? But trust me, once you get into it, you’ll see that it’s a game changer for gardening enthusiasts like us. Instead of dirt, plants grow in nutrient-rich water. This method not only saves space but can also yield faster growth rates.
The real kicker is that you can control everything in this environment—from light to water temperature. Having this level of control makes hydroponics an exciting venture for both beginners and seasoned pros. It’s like having your own little laboratory where you can experiment and see what works best for the plants you’re growing.
For anyone looking to dive into hydroponics, understanding this basic principle is crucial. It lays the foundation for all your growing strategies from here on out. And thankfully, with a little reading and experimentation, you’ll pick up the nuances in no time.
The Benefits of Hydroponic Gardening
One of the biggest perks of hydroponic gardening is the efficiency. Since the plants are not competing for nutrients in the soil, they can grow faster and healthier. I’ve found that crops can grow up to 30% faster in a hydroponic system compared to traditional soil gardening. It’s definitely a bonus when you’re eager to enjoy the fruits of your labor.
Another advantage is the conservation of resources. You’ll use less water and no harmful pesticides, which is a win-win for both the environment and your health. Imagine being able to grow your own organic vegetables right at home, knowing exactly how they were cultivated.
Lastly, the versatility of hydroponics is super appealing. You can set up your system almost anywhere—a rooftop, basement, or even your living room. This adaptability means that even if you have limited outdoor space, you can still cultivate those veggies or flowers you’ve always wanted!
Common Hydroponic Systems
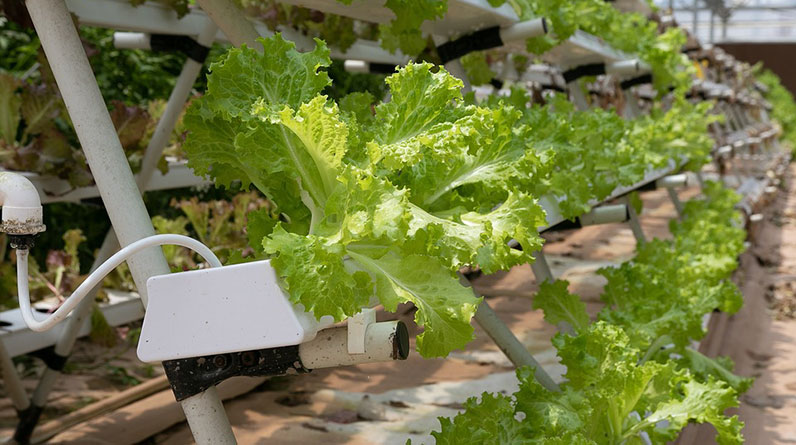
Now, let’s talk about the different hydroponic systems you can choose from. When I was selecting one for my setup, I learned about various types including Nutrient Film Technique (NFT), Deep Water Culture (DWC), and Ebb and Flow systems. Each system has its own unique setup and benefits.
NFT involves a continuous flow of nutrient solution over the plant roots, which gets them all the nutrients and oxygen they need. I found it quite easy to maintain once set up correctly. On the other hand, DWC literally has the roots submerged in nutrient-laden water. Pumping air into the water can create a bubbly environment that the plants love.
Lastly, Ebb and Flow, also known as flood and drain, creates a cycle where the plants are intermittently flooded with nutrient solution. I’ve enjoyed watching the plants grow using this method because of how dynamic and engaging it is. Explore these systems and find what resonates with you—there’s no wrong choice!
2. Climate Control
The Importance of Temperature
Getting temperature control right is vital for any hydroponic setup. Plants love their cozy temperatures, generally between 65°F and 75°F, depending on what you’re growing. I remember the first time I neglected this aspect; my plants didn’t thrive. It was a real learning moment for me!
Your task is to invest in a reliable thermometer and if you can swing it, a heater or cooler for those extreme weather days. You can maintain everything from a simple indoor garden to a complex greenhouse setup, just make sure the temperature stays stable.
Don’t forget about nighttime temperatures too! Many plants prefer it a bit cooler at night, so finding a way to manage this can help your crops grow better. This can be as simple as opening a window or adjusting your heat settings before you hit the hay.
Humidity Matters
The humidity level can significantly impact your plants’ growth. Too little humidity can lead to dry, wilting plants, while too much can cause mold and mildew to take hold. Believe me, I’ve had my fair share of moldy mishaps, which taught me the importance of having a hygrometer on hand.
Aiming for humidity levels between 40% and 70% is usually a safe bet. One trick I’ve used is to place a water tray under my grow lights which helps boost humidity levels naturally. Plus, the plants love that extra moisture!
Another great option is using a humidifier or dehumidifier based on your needs. Keeping an eye on humidity can save you from a lot of headaches down the line. It’s all about finding that sweet spot for your particular plants.
Light Requirements
Let’s shine a light on lighting! Your plants’ light needs can vary significantly based on what you’re growing. In my experience, leafy greens thrive on lower light, while flowering plants crave the bright stuff. I typically set my grow lights to about 12-16 hours a day, but you may need to tweak it based on your plants.
Feel free to play around with different types of grow lights, like LED or fluorescent. I’ve transitioned to LED, not just because they’re energy-efficient, but because they produce minimal heat, preserving that optimal temperature range. It’s a win-win!
Positioning your lights at an appropriate distance from plants is also essential. I like to gradually raise them as my plants grow taller. Too close, and you risk burning those lovely leaves. Too far, and they might grow leggy reaching for more light. Make adjustments as needed and observe how your plants respond!
3. Nutrient Management
Selecting the Right Nutrients
I can’t stress enough how crucial nutrients are in hydroponics. Unlike traditional soil gardening, you provide your plants with a nutrient solution directly, which is part of the fun! Initially, I felt overwhelmed by the variety of nutrient solutions available. The trick is to choose a complete nutrient mix designed for the type of plants you’re growing.
Each nutrient solution tends to have essential macro and micronutrients required for plant health. Don’t hesitate to mix and match based on your specific crop needs. I’ve even experimented with tweaking nutrient levels mid-cycle, and I can affirm that paying attention to your plants’ feedback is key here!
Water quality is worth mentioning too! Using filtered water can prevent an array of issues, particularly if your tap water is hard or full of chlorine. It’s always better to start with a clean slate. Trust me, your plants will thank you!
Monitoring Nutrient Levels
Now that you have the right nutrients, managing them becomes critical. Monitoring your nutrient levels is a daily task, and I can’t tell you how it affects overall growth. I always carry pH and nutrient meters to check those levels. Maintaining an ideal pH between 5.5 to 6.5 ensures the nutrients are accessible to the plants.
I recommend keeping a logbook of your readings. This can help you notice trends over time, allowing for better tweaks along the way. It may seem tedious at first but let me tell you, it pays off massively when you see your plants thriving!
Additionally, changing the nutrient solution every couple of weeks is standard practice. This helps eliminate any buildup of salts that can accumulate over time. I usually set a calendar reminder to make sure I don’t forget this important step!
Adding Supplements
Don’t shy away from using nutritional supplements to give your plants that extra boost! Over the years, I’ve tried various supplements, like calcium to strengthen stems or kelp extract for overall vitality. Using these can enhance your plants’ nutrient uptake and help them grow even more vigorously.
Start by researching what specific supplements work best for your crops. I’ve seen remarkable improvements in certain strains when I introduced supplements. Just remember, moderation is key. Overdoing it can lead to nutrient lockout and cause more problems.
Lastly, always introduce any new supplement gradually. Monitor how your plants respond, and don’t hesitate to adjust if needed. You’ll find that careful experimentation turns trial and error into learning experiences. It’s all part of the journey!
4. Pest and Disease Management
Identifying Common Pests
As much as we wish plants lived in a pest-free world, the reality is that bugs can invade your setup. In my journey, I’ve encountered common culprits like aphids, spider mites, and fungus gnats. Learning to identify these pests early can save your entire crop from disaster!
Regular inspections of your plants are essential. I make it a habit to check under leaves where pests tend to hide. If you notice unusual spots or discoloration, being proactive can avert further infestations. Believe me, it’s way easier to deal with a small problem before it escalates!
When it comes to combating pests, I always recommend organic methods first. Options like insecticidal soap or neem oil work wonders. They target pests without harming your plants. Prevention is key, so using companion plants can also deter pests before they even have a chance to settle in!
Preventing Diseases
Disease management is another critical skill for any hydroponic gardener. Fungal infections and root rot can be tricky, especially in a water-based system. Regularly checking your nutrient solution for clarity and odor is essential to ensure your plants are in a healthy environment.
I’ve learned to provide adequate air circulation around my plants. This not only helps with humidity but can also prevent mold and mildew from taking hold. Consider using a fan in your setup—it’s an easy and effective solution!
Remember to keep your tools clean as well. Sanitation is often overlooked but can make a significant difference in preventing disease spread. Always sterilize your equipment after use, and keep your workspace tidy. Creating a clean environment minimizes the risks considerably.
Dealing with Outbreaks
If you do experience a pest or disease outbreak, don’t panic! The key to managing the situation is to take immediate action. First things first, isolate affected plants to prevent the issue from spreading. I’ve taken the time to remove and dispose of infected leaves or even entire plants if it comes to that.
Next, assess the problem closely and determine the best course for treatment. Whether that means applying organic pesticides or adjusting the environment, stick to your plan. And remember, sometimes it takes trial and error to find what solution works best for you.
It’s also important to learn from the experience. Take notes and figure out what led to the outbreak in the first place. Implement preventative measures to stop it from happening again—learning and evolving is part of the fun in gardening!
5. Optimizing Growth Space
Space Management
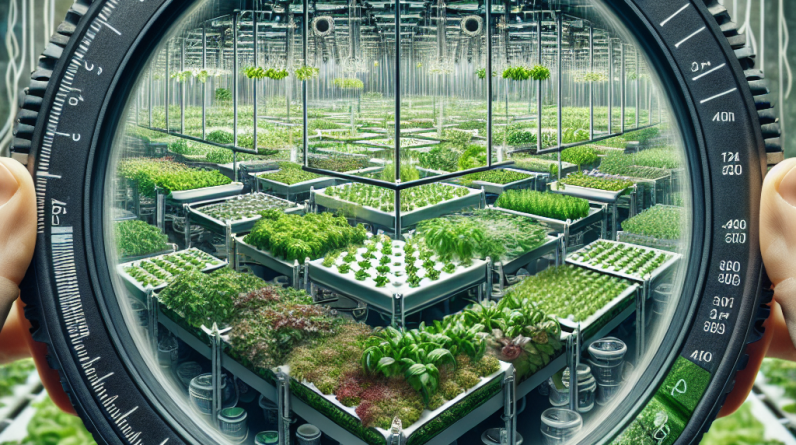
Maximizing your grow space starts with efficient layout planning. I always spend a few moments mapping out the arrangement before diving in. Consider your plant types, lighting height, and how much room they’ll need as they grow. A well-planned setup can make a world of difference.
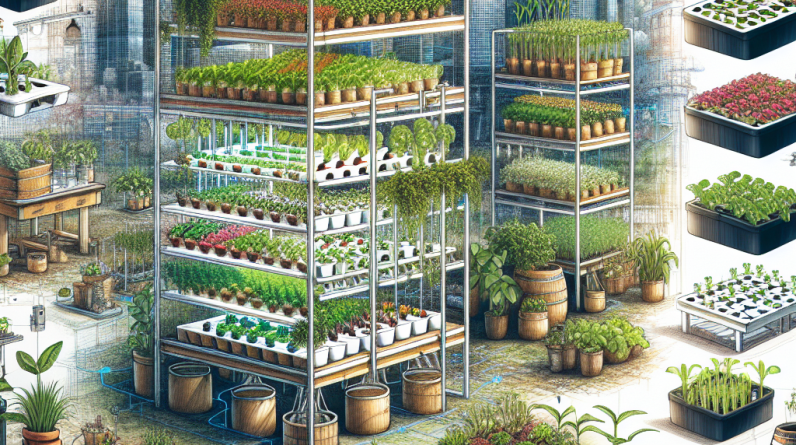
Vertical gardening systems are a fantastic option to save space. I remember installing shelves with hanging planters and instantly feeling like I’d unlocked a new level of gardening. This type of setup is perfect if you’re limited on floor space or want to create a lush green wall.
You might also want to consider multi-level shelving which allows you to grow different plants on various tiers, depending on their height requirements. It adds a cool aesthetic to your space and maximizes your output. Really, it’s about getting creative with every inch you have!
Using Containers Wisely
Containers are a crucial piece of the hydroponic puzzle. Choosing the right container can impact plant health significantly. I often opt for lightweight materials that are easy to move around, especially when it comes to adjusting light or airflow.
Ensure your containers have proper drainage holes and space for aeration—this is key to preventing root rot. I’ve experimented with various container shapes and sizes, and I can genuinely say that the right fit can enhance growth and make maintenance a breeze.
Don’t forget to consider how you’ll connect your nutrients and water. I’ve learned that using sturdy tubing and connectors is essential for a seamless flow that won’t block or leak. Investing in quality materials here can save you from headaches down the line!
Creating the Ideal Environment
Ultimately, creating the ideal environment for your plants is about seeing everything as part of one ecosystem. Each factor interconnects—lighting influences temperature, which impacts humidity and pest management. Finding the balance can be a rewarding challenge!
One strategy I like is to track everything. Keeping a garden journal where I log my environmental settings, plant growth, and any changes I make allows me to reflect back. I often discover small tweaks can lead to significant improvements.
Don’t forget to enjoy the process! Experimentation is a huge part of why I fell in love with hydroponics in the first place. Dive in, learn from your plants, and remember that every mistake brings you closer to being a pro. With time, you’ll master the art of controlling your hydroponic environment!
FAQ
1. What are the benefits of hydroponics?
Hydroponics offers numerous benefits including faster plant growth, resource conservation, and the ability to grow in limited spaces. You can enjoy fresh, organic produce without the use of harmful pesticides!
2. How do I control humidity in a hydroponic setup?
To control humidity, you can use a hygrometer to measure levels and adjust them with humidifiers or dehumidifiers as needed. Placing water trays can also boost humidity levels naturally.
3. What type of lighting is best for hydroponic plants?
LED grow lights are generally the best because they’re energy-efficient and produce minimal heat. Fluorescent lights can work too, especially for low-light loving plants.
4. How do I prevent pests in my hydroponic garden?
Regular inspections, clean surfaces, and using organic pest deterrents can help prevent pests. Introducing companion plants can also naturally ward off unwanted insects.
5. Can I use tap water for my hydroponic system?
Using tap water is okay, but it’s often best to filter it first. Chlorine and hard water can affect plant health and nutrient availability, so filtered water is typically a better choice.


