1. Understanding Your Lighting Needs
Assessing Plant Type and Growth Stage
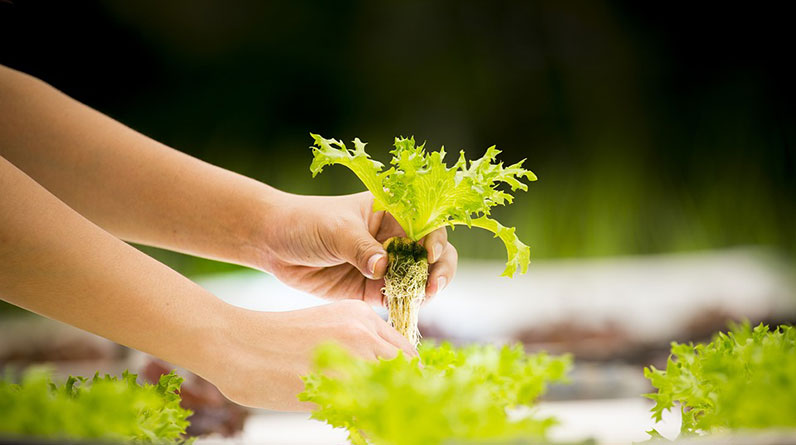
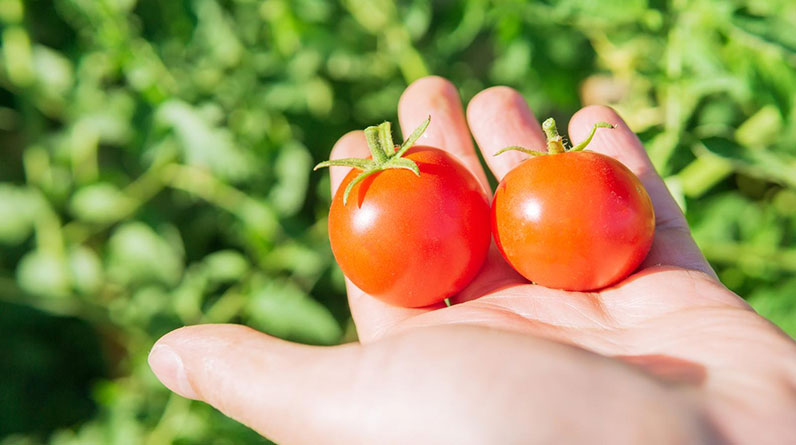
When it comes to hydroponics, every plant has its own set of demands for light. Some need more light to flourish, like tomatoes, while others, like leafy greens, can thrive with a bit less. I’ve found it’s crucial to really get to know what your plants require, especially their light spectrum needs. Different stages of growth also call for different types of lighting. Young seedlings will need less intense light compared to mature plants.
You need to pay attention to the light duration too. Most plants in a hydroponic setup benefit from around 12-16 hours of light per day, but it can depend on the type of plant and its growth stage. I suggest keeping a journal to track how each plant species reacts to light at various growth stages. It’s like having a personal coach for your garden!
Also, don’t forget about seasonal changes. The natural light for a grow area can fluctuate based on the time of year. If I’ve noticed that my indoor garden isn’t getting enough light during winter days, I boost it with supplemental lighting to keep the plants happy.
2. Choosing the Right Light Types
LED vs. HID Lights
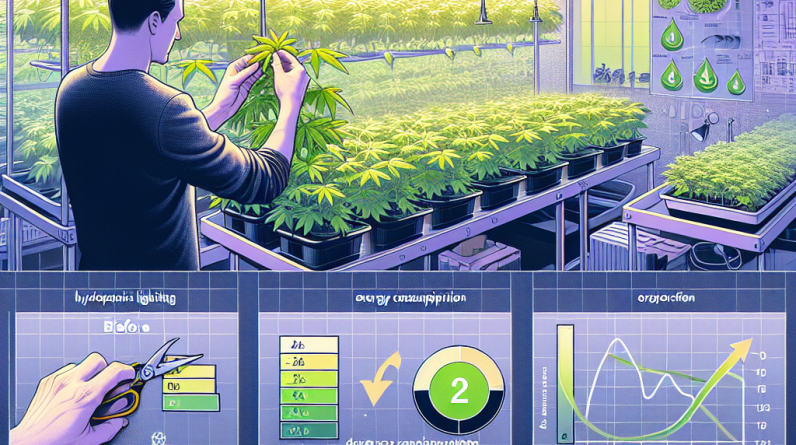
I’ve had my share of experiences with different lighting technologies, but let me tell you: LEDs changed the game for me. They provide the right spectrum, last longer, and are super energy-efficient. Compared to traditional HID lights, which can consume a ton of electricity, LEDs simply shine brighter in this energy-saving race.
HID lights are heavier on the energy use but can produce fantastic results if you manage them carefully. Nevertheless, I find the heat generated by HID lights can become a hassle, especially in small, enclosed spaces. So, knowing the pros and cons helps me make a smart decision every time I set up a new garden.
Another option is fluorescent lights for smaller areas or lower light needs. I’ve used T5 fluorescents for starting seedlings, and they work just fine if you’re dealing with smaller plants. Always remember to match your light choice with your gardening goals.
3. Timing and Light Schedules
Setting Up Light Timers
Consistency is key when it comes to hydroponic lighting. I can’t stress enough how much time timers save me. I mean, who wants to be running around turning lights on and off like a madman? With a timer, I can set a specific schedule, and it’s like having my own little light show without any extra effort!
Plus, different growth stages often require different lighting schedules. So, adjusting your timer to reflect those changes can really maximize growth without wasting energy. For instance, when my plants are in the flowering stage, they tend to thrive with longer light durations. I adapt my timers to stay ahead of their needs.
Monitoring is essential, though; I keep an eye on how my plants react to lighting timings. Sometimes, tweaking the schedule a bit can lead to better growth, so I always stay flexible. There’s no one-size-fits-all approach, and that’s what makes it interesting!
4. Utilizing Reflective Surfaces
Maximizing Light Efficiency
Reflective surfaces? Oh, man, let me tell you how they’ve revolutionized my grow rooms. I use simple materials like mylar or even just white paint to help bounce light back onto my plants. This not only enhances the light exposure but also helps me save on energy costs because I don’t need to run my lights as long.
Every bit of light counts when you’re trying to squeeze the most out of a hydroponic setup. I love to hang some reflective material on walls or even use reflective sheeting around my lighting fixtures. Trust me, creating these little bounce zones can make a substantial difference in how well my plants perform.
Plus, reflective materials are usually quite inexpensive! So, if you’re looking to trim down your energy bills, investing a little in these materials can pay off big time.
5. Monitoring and Adjusting Light Intensity
Using Light Meters
Here’s a little secret I learned: light meters are absolutely worth having around! Knowing how much light my plants are getting allows me to tweak things just right. Sometimes, I worry if I’m using too much or too little light, and a simple light meter can help put those worries to rest.
When I first started out, I had no idea what the ideal light intensity was for my plants. A light meter not only shows me how many lux or foot-candles my plants are receiving, but it also helps me figure out if I need to adjust light position or intensity. This makes a huge difference!
I’ve also found that different types of light require unique distance adjustments from the plants. Getting to know this aspect can save you energy by ensuring optimal use of your lighting setup without unnecessary waste. It’s an easy way to maximize efficiency!
Frequently Asked Questions
1. What types of plants are best suited for hydroponic growing?
Leafy greens, herbs, and some fruiting plants like tomatoes and peppers tend to thrive in hydroponic systems. They love the controlled environment!
2. How can I tell if my plants are not getting enough light?
Look for slow growth and pale leaves, which can indicate insufficient light. If you notice these signs, it’s time to adjust your lighting setup.
3. Are LED lights really more energy-efficient than HIDs?
Absolutely! LEDs consume significantly less energy compared to HIDs and also last much longer, making them a great investment.
4. Can I use regular bulbs for hydroponics?
Regular bulbs can work for low-light plants but they typically don’t provide the right spectrum for higher light-demanding plants, so I wouldn’t recommend it for serious hydroponics.
5. How often should I adjust my light settings?
It depends on your plant’s growth stage and behavior. It’s good to check in regularly and adjust as you see changes in growth or plant health.


