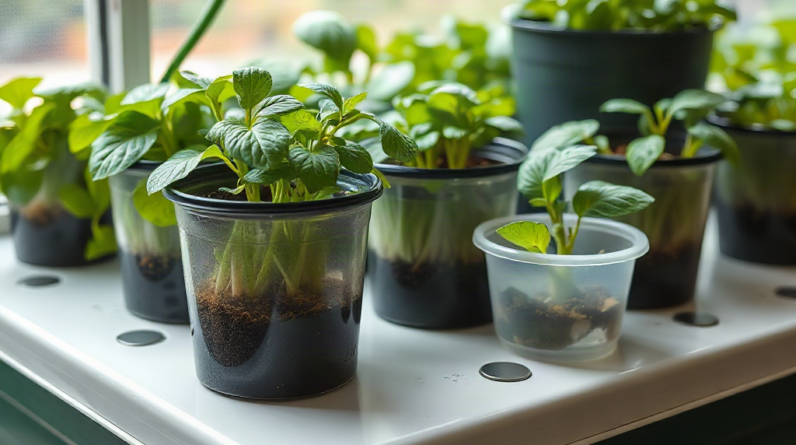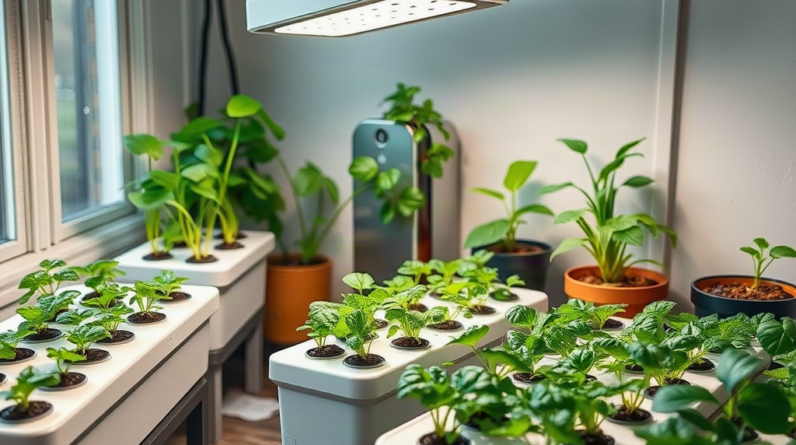
To make a hydroponic garden indoors, place a small reservoir-based growing unit near electrical power and ventilation, add a full-spectrum grow light, and start compact crops in inert growing media rather than soil. Match the garden to the room by accounting for available height, water-spill risk, heat, and the ability to exclude light from the nutrient reservoir. Lettuce, basil, arugula, and dwarf herbs are more forgiving than fruiting plants because they need less light and structural support. Measure nutrient strength and pH regularly, maintain aeration or solution flow, and correct environmental problems before adding more fertilizer.
Choose a System That Fits the Room
The available room should determine the hydroponic design, not the other way around. A kitchen counter may accommodate a compact deep-water culture container or self-contained unit, while a spare room can support shelving, separate reservoirs, and stronger lighting. Measure the usable footprint and vertical clearance before buying equipment. Include space above the plants for the fixture, a safe gap between leaves and the light, and enough access to lift lids or remove the reservoir.
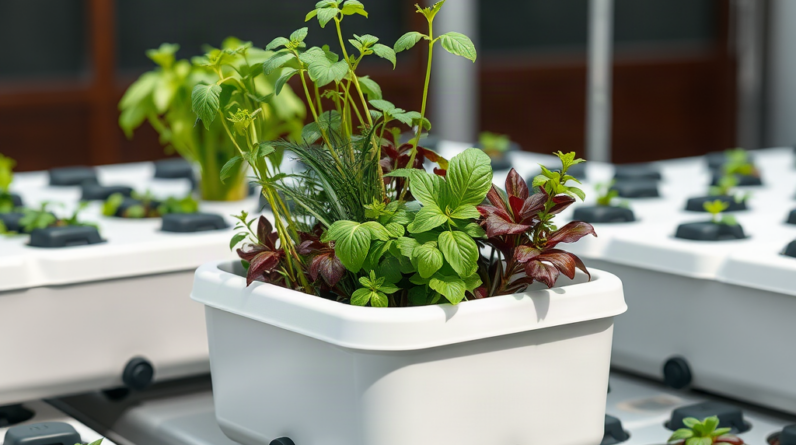
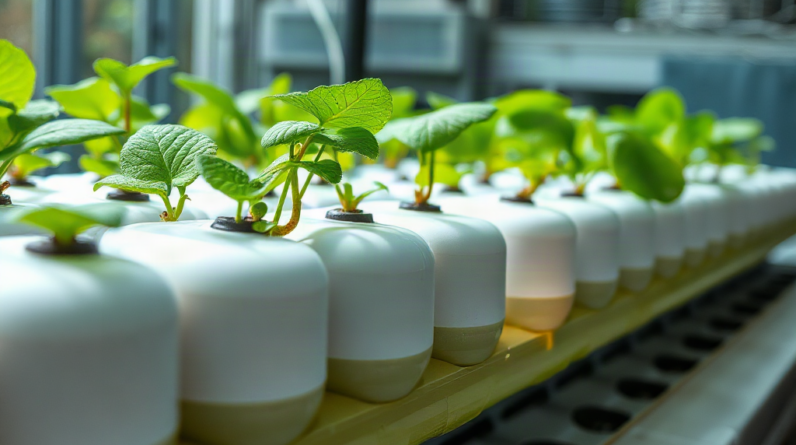
For a first indoor garden, deep-water culture and simple wick systems have fewer plumbing connections than recirculating channels or drip systems. In deep-water culture, plant roots extend into an aerated nutrient solution. The method is inexpensive and well suited to lettuce or basil, but an air-pump failure can quickly reduce oxygen around submerged roots. A wick system uses no pump, although its passive water delivery is generally better for small herbs than thirsty, fast-growing plants.
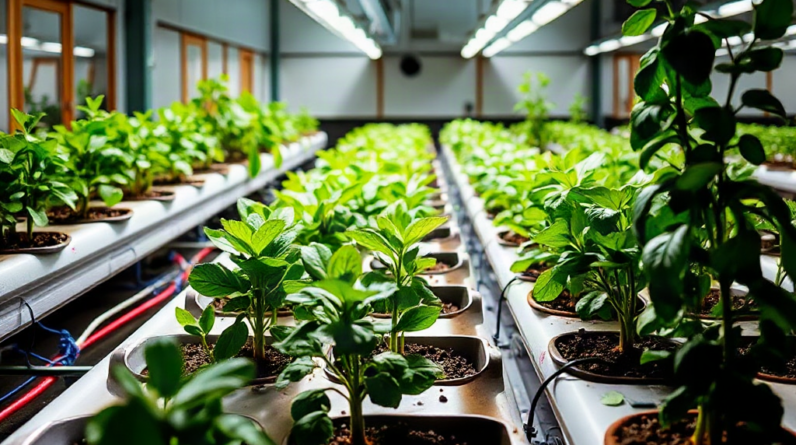
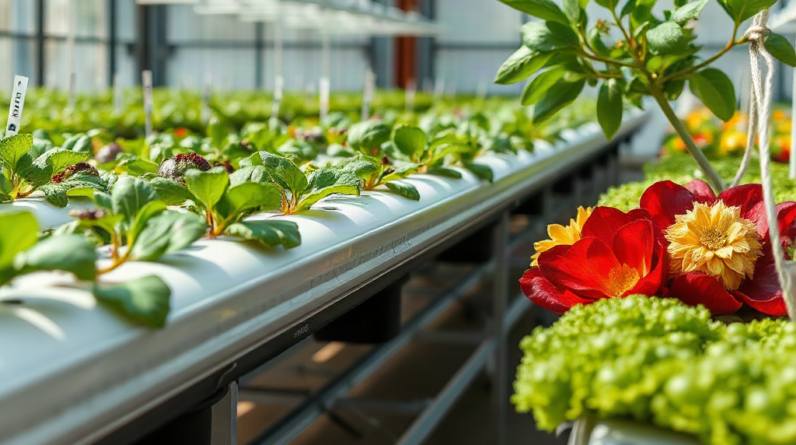
Nutrient film technique and drip irrigation offer more planting positions and control, but both add tubing, pumps, and potential leak points. A narrow channel system may appear ideal for an apartment wall, yet it requires dependable flow and careful leveling. If a channel tilts incorrectly or roots obstruct it, some plants may receive less solution. Beginners working over finished flooring are usually better served by one contained reservoir placed inside a waterproof tray.
Room conditions also affect the choice. A living area favors a quiet air pump and an opaque, lidded container. A basement may provide more room but can have cool floors and limited air movement. A sunny window does not automatically solve lighting needs: sunlight changes with weather and season, while direct sun can heat a small reservoir. The detailed equipment decisions in How to make a hydroponic garden indoors should therefore begin with the room’s limits.
Choose crops at the same time as the system. Leaf lettuce, pak choi, arugula, basil, parsley, and compact leafy herbs fit modest spaces and can be harvested before they become top-heavy. Tomatoes, cucumbers, and peppers demand more light, longer growing periods, support structures, and often hand pollination indoors. Starting with fruiting crops in a shallow countertop unit is a common mismatch rather than evidence that hydroponics itself is unreliable.
Assemble the Indoor Garden and Lighting
A dependable indoor setup keeps water contained, roots dark, foliage illuminated, and electrical connections away from splashes. Place the reservoir on a level, water-resistant surface that can carry its filled weight. Water is heavy, so a shelf that feels stable when empty may flex once the reservoir is full. Use a secondary tray beneath the unit, especially near wood flooring, cabinets, or walls that could be damaged by a slow leak.
An opaque food-safe reservoir is preferable to a clear container because darkness discourages algae. The lid should hold net pots securely without leaving broad openings around them. Light entering through unused planting holes or translucent tubing can support algae growth, which competes for dissolved nutrients and complicates maintenance. Cover empty holes with removable opaque caps rather than permanently sealing them.
Install the lighting so its height can change as plants grow. A full-spectrum LED fixture designed for plant growth is easier to manage indoors than a lamp chosen only by visual brightness. Human eyes adapt to dim conditions, so a lamp that makes a room look bright may still provide inadequate intensity across the leaf canopy. Follow the fixture manufacturer’s coverage and hanging-distance information, then inspect the plants rather than assuming maximum power is better.
Long, thin stems and leaves leaning sharply toward the fixture indicate inadequate or uneven light. Pale or bleached patches near the top of the canopy, curled upper leaves, and excessive heat at leaf level can indicate that the fixture is too close or intense. Raise, dim, or redistribute the light when those symptoms appear. A timer provides a repeatable daily light period and removes the inconsistency of manual switching.
Complete the installation in a practical sequence:
- Level the stand and position a waterproof catch tray.
- Set the empty reservoir in place and test access to its lid and drain point.
- Install the air pump or water pump according to the chosen method.
- Mount the adjustable light and timer above the full planting area.
- Fill the unit with plain water and operate it long enough to find drips, noise, heat, or uneven flow.
Keep plugs and power strips above floor level and create drip loops in cords so water cannot run toward outlets. Air pumps should generally remain above the reservoir waterline or use an appropriate check valve to reduce back-siphoning risk. Never move, open, or service a powered pump with wet hands. A dry test followed by a plain-water run is cheaper and cleaner than discovering a loose fitting after nutrients and seedlings have been added.
Prepare Water, Nutrients, and Seedlings
Hydroponic plants rely on the solution for mineral nutrition because inert media do not provide the buffering found in soil. Use a complete fertilizer formulated for hydroponic growing and mix it according to its label. Ordinary houseplant fertilizer may not provide the complete balance expected in a soil-free root zone. Adding extra concentrate does not accelerate healthy growth; an overly strong solution can draw water away from roots and damage sensitive seedlings.
Fill the reservoir with water before adding nutrient concentrates. If the product has multiple parts, add each component separately and mix thoroughly before introducing the next. Combining concentrated components directly can cause minerals to react and form deposits that plants cannot readily use. After mixing, measure electrical conductivity or total dissolved solids with a meter that matches the product guidance. These readings indicate overall solution strength, not the exact amount of each nutrient.
Measure pH after nutrients are mixed because fertilizer changes water chemistry. Many commonly grown hydroponic vegetables perform well in a mildly acidic root solution, but the appropriate target can vary by crop and nutrient formula. Make small adjustments with products intended for hydroponic use, stir, and retest rather than making a large correction at once. Chasing every tiny meter fluctuation can create more instability than allowing a modest change between routine checks.
Water quality deserves attention when unexplained deposits or persistent pH movement occur. Very hard tap water already contains dissolved minerals and may complicate nutrient mixing. Heavily softened water can contain sodium that is unsuitable for routine plant use. Before purchasing filtration equipment, check a local water-quality report or compare a batch made with another suitable water source. This separates a genuine source-water issue from incorrect mixing or an uncalibrated meter.
Start seeds in plugs or cubes intended for soilless propagation. Keep the material evenly moist but not submerged, and give emerging seedlings sufficient light as soon as they appear. Transfer them when roots have begun to emerge and the young plant can remain stable in its net pot. In a deep-water culture unit, the developing roots need reliable contact with moisture, but the stem and crown should not sit underwater. Burying the crown encourages decay.
Introduce young seedlings to a mild solution rather than immediately feeding them at the strength used for mature plants. Watch the new growth over the following days. Upright leaves, expanding roots, and steady new foliage suggest that light, oxygen, and solution strength are reasonably aligned. Brown root tips, stalled growth, or leaf-edge damage call for checking temperature, aeration, pH, and concentration before adding fertilizer. A fuller treatment of these dependencies belongs in How to make a hydroponic garden indoors, because nutrient symptoms rarely have only one possible cause.
Run the Garden Without Algae, Root Damage, or Weak Growth
Daily observation prevents small indoor problems from becoming crop losses. Check that pumps are operating, water is moving or aerating as intended, and leaves are not touching a hot fixture. Look beneath the lid as well as above it. Healthy young roots are generally light colored and actively branching, although nutrient products can stain them. Texture, odor, and plant performance are more informative than color alone.
Top up water as plants drink and evaporation lowers the reservoir. Do not assume that every drop of lost water requires a proportional dose of fertilizer; plants and water do not leave the reservoir at identical rates. Use concentration readings and the nutrient manufacturer’s directions to decide whether plain water or a corrected solution is appropriate. Periodic replacement of the reservoir solution also prevents an unknown balance from accumulating after repeated top-ups.
Warm, poorly oxygenated water creates unfavorable root conditions. A reservoir beside a radiator, under intense direct sun, or beneath a fixture that heats the lid may need relocation or greater separation from the heat source. Increasing fertilizer will not correct oxygen stress. Restore aeration, inspect the pump and air stone, remove decaying material, and confirm that the reservoir is not excessively warm. Slimy roots, unpleasant odor, wilting despite available water, and rapid decline warrant immediate investigation.
Algae usually indicates that light is reaching nutrient solution. Scrubbing visible growth without blocking that light treats the result but not the cause. Cover gaps around pots, use opaque tubing where possible, and clean spills on lids. Do not add improvised household chemicals to a planted reservoir. When cleaning between crops, unplug equipment, discard old roots and debris, wash accessible surfaces, and follow equipment or sanitizer directions appropriate for food-growing systems.
Air circulation around leaves should be gentle rather than forceful. A small fan can reduce stagnant pockets and help leaves dry after accidental splashing, but continuous strong airflow may curl foliage and increase water loss. Space plants before their leaves overlap heavily. Crowded lettuce may look efficient early in the cycle, yet mature leaves can shade smaller plants and restrict access for inspection.
Use a short maintenance record to make troubleshooting evidence-based. Note reservoir additions, pH and concentration readings, fixture changes, and visible plant responses. If basil begins stretching after the light was raised, or lettuce develops leaf-edge damage after solution strength increased, the record reveals a plausible sequence. Changing light height, nutrient strength, pH, and airflow on the same day makes the cause harder to identify. Adjust the most likely constraint, observe the new growth, and then decide whether another change is needed.
Frequently Asked Questions
What is the easiest indoor hydroponic setup for a beginner?
A small deep-water culture unit is straightforward because it uses one covered reservoir, net pots, and an air pump. Begin with lettuce or basil, and place the entire unit in a waterproof tray.
Can an indoor hydroponic garden grow beside a window?
Yes, but window light is often uneven and seasonal. A timer-controlled grow light provides more consistent coverage, while shading the reservoir from direct sun limits heating and algae.
How often should the nutrient solution be checked?
Inspect water level and pump operation daily. Check pH and solution strength regularly and after major top-ups, then use the nutrient label, crop response, and your maintenance record to guide corrections.
Why are hydroponic roots turning brown?
Some fertilizers stain roots, but brown roots accompanied by slime, odor, wilting, or weak growth can indicate poor oxygenation, excessive warmth, or decaying material. Check the pump, solution condition, and reservoir temperature promptly.
Do indoor hydroponic plants need pesticides?
Indoor gardens can still attract aphids, fungus gnats, or mites. Inspect new plants before bringing them near the unit, remove damaged material, improve sanitation, and use only controls labeled for the crop and indoor setting.
Conclusion
A successful indoor hydroponic garden begins with a system sized for the room and crops that match its light, depth, and support capacity. Protect flooring, keep the reservoir opaque, test pumps and fittings with plain water, and mount an adjustable plant light before introducing seedlings. Once growth begins, treat pH and concentration readings as diagnostic information rather than targets to adjust constantly. Plant posture, new foliage, root texture, water movement, and odor provide equally valuable evidence.
Begin with a small crop of leafy greens or herbs and record each change you make. If growth weakens, check light, oxygen, water temperature, and meter accuracy before assuming the plants need stronger nutrients. Expanding to more sites or fruiting plants makes sense only after the first reservoir remains stable through a complete crop cycle.