Choosing the Right Location
Understanding Sunlight Requirements
Choosing the right spot for your hydroponic garden is kind of like selecting the perfect nook for your new favorite chair. Light is key! My first setup was near a window, and let me tell you, it worked wonders! Get familiar with how sunlight travels through your space. Make sure your plants can soak up that good stuff.
I learned the hard way that too much direct sunlight can scorch your plants. So, when I say “light,” I mean good quality, but consistently diffused light. A south-facing window usually does the trick. Just remember, your plants want a nice, cozy spot to flourish!
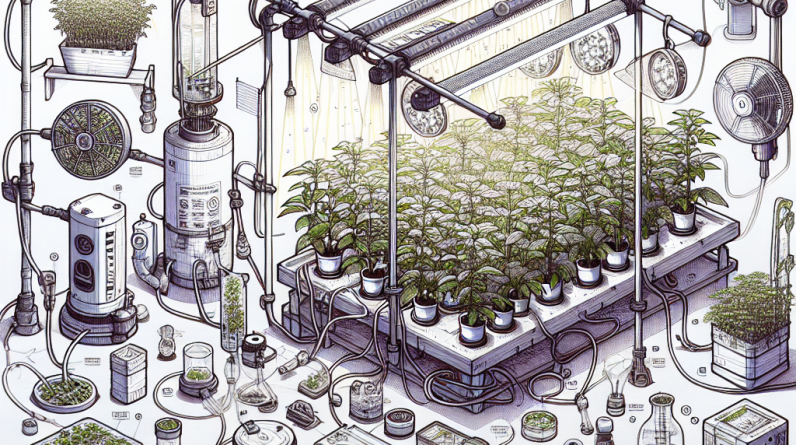
If natural sunlight isn’t an option (maybe you live in a cave like I did back in college!), consider using grow lights. They’re a bit of an investment, but they can make a huge difference, and I promise, your plants will thank you for it.
Access to Water and Electricity
Next, think about how easy it is to get water and power to your setup. Do you have a sink nearby? You’re golden! And if you’re going with electric pumps (which I highly recommend for ease), make sure there’s a power outlet close by. Trust me, running extension cords all over my apartment was a rookie mistake I won’t forget!
Having quick access to water makes the whole process way less of a hassle. You don’t want to be lugging heavy buckets across the house or garden. A dedicated water source is your best friend. Save your back for planting, not carrying.
As for electricity, you don’t need to take on a full-blown electrical project, but if you’re unsure, hiring an electrician for a consult isn’t a bad idea. You want everything to be safe and sound while your plants thrive!
Environmental Considerations
Finally, consider the environment where your setup will live. Hydroponics can get a bit humid, so if you’re in a warm area, be mindful of that moisture and airflow. Preventing mold from making itself at home is crucial.
It’s also wise to think about temperature swings. For instance, I had my plants in a garage for a winter and regretted that when they went all droopy! Stability is key. A well-insulated space or temperature control could save your precious greens.
Overall, creating a comfy climate for your plants pays off in spades. They’ll grow better, be healthier, and reward you with lush harvests and, let’s be real, make you look like a pro gardener!
Gathering Materials
Essential Components
Once I nailed down where my garden would live, it was time to gather materials. You don’t need to break the bank here! Check out your local hardware store, or even better, scout around for second-hand materials. Instagram is also a great place to find used components!
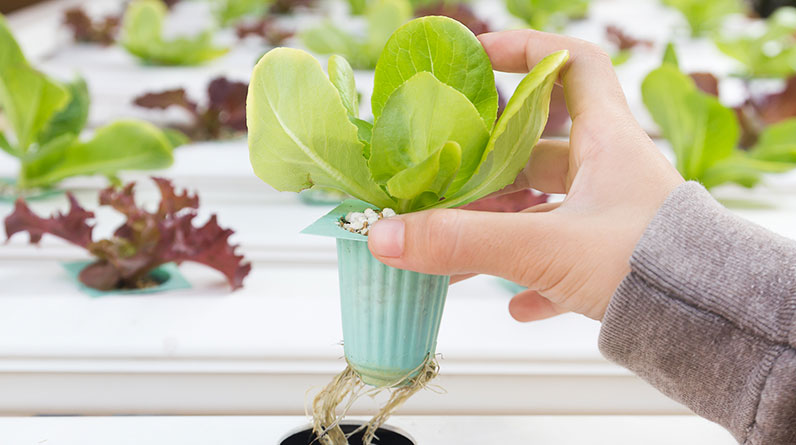
You need a container for your plants, a way to deliver water and nutrients to those roots, and a growth medium. Items like plastic bins or old bathtubs can work like magic for your planting container. Believe it or not, I once used an old laundry basket for lettuce!
Don’t forget about your nutrient solution. You can buy pre-made formulas or even whip up your own (but let’s not get fancy just yet!). The important part is feeding your plants with what they need to thrive.
Tools and Equipment
Tools can help you save time and effort. I started with just a few basics: a pH tester, a water pump, and some tubing. These items are crucial if you want a smooth operation. I can’t stress enough how a decent-quality water pump will save you lots of elbow grease!
If you’re diving into more complex systems later on, look into timers, larger reservoirs, or even monitoring systems. These can help you automate your garden and focus on enjoying the process instead of constantly checking your plants.
And hey, don’t forget practical stuff like scissors for harvesting! It’s always good to have tools right at hand when you need them. Less running around means more time tending to your beautiful plants!
Budgeting for Your Setup
Hydroponics doesn’t have to cost an arm and a leg. When I first got started, I set a strict budget. My initial setup was less than a hundred bucks, thanks to reusing materials! Getting creative with what you have is half the fun!
Keep it simple. You don’t need all the fancy gadgets to get started. Focus on the basics: growing medium, water delivery, and nutrients. Once you’re comfy, you can always upgrade and expand your setup later if you choose!
As my plants grew, I also turned to bartering with friends. I’d trade veggies for tools or even advice. Community support can be invaluable and a great way to keep costs down!
Setting Up Your System
System Design
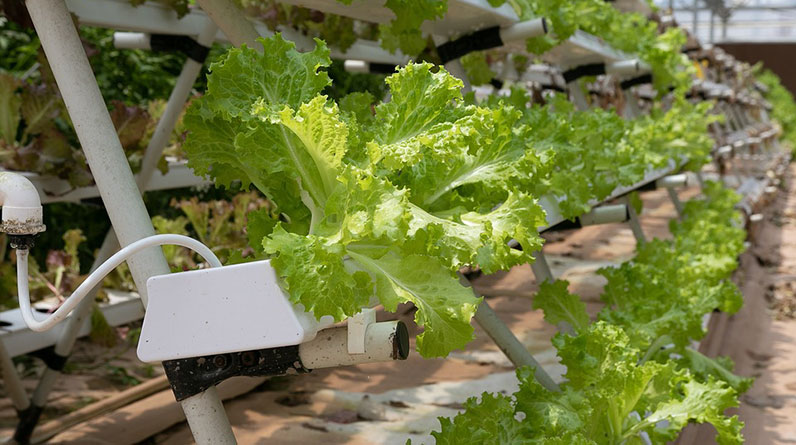
Alright, now it’s action time! Designing your hydroponic system can feel intimidating, but trust me—it’s just about figuring out what works best for you and your space. I started with a simple deep water culture system, and it was a total game-changer!
Deciding on the type of system (like nutrient film technique or aeroponics) will help you set up efficiently. Remember: fewer components mean fewer headaches!
Take the time to sketch it out on paper. This little planning phase helped me avoid numerous mistakes along the way. Plus, it can be fun to see your blueprint come to life.
Assembling Your Setup
When assembling, read the instructions with a sense of humor. Sometimes I felt like I was putting together an IKEA bookshelf. Things never quite went as planned! But that’s part of the adventure, right?
Do your best to seal any seams and ensure your water channels flow correctly without leaks. Secure your hoses and connections to avoid any unexpected splashing—I learned this one the hard way!
Once built, plug in your system, check for leaks, and let everything run for a bit to start cycling your water. It’s super gratifying to watch your hard work come together!
Testing the System
Once everything’s set up, it’s testing time! Checking the pH and nutrient levels is crucial because your plants will thank you for it later. I use a simple pH meter to keep things on point. You want to aim for around 5.5 to 6.5 for most plants!
Observe for any leaks or malfunctions. Feel free to troubleshoot and ask for help if something looks a bit off. YouTube is a treasure trove for quick fixes. I can’t tell you how many times I turned to it during my troubleshooting moments!
Also, give it a few days to settle in. The system likes a little time to chill and balance itself before you toss in the first seeds or plants. Patience pays off here!
Growing Your Plants
Selecting Seeds or Plants
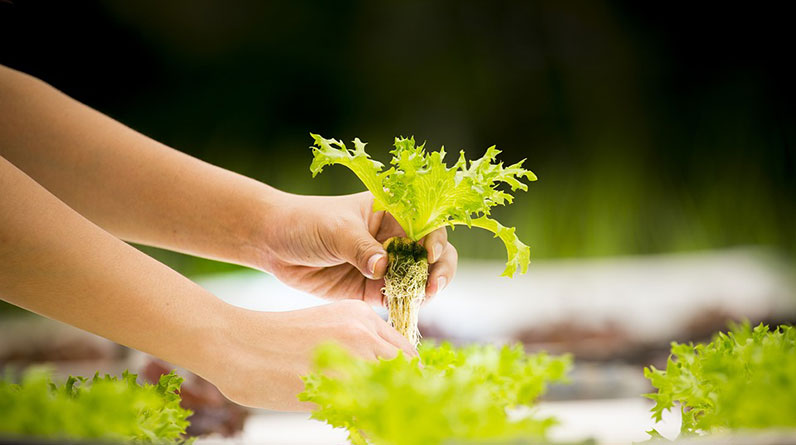
Choosing what to grow might be the most exciting part! Start with easy-going plants like herbs or lettuce if you’re new. They’re forgiving and grow fast, providing that instant satisfaction! I planted basil and was amazed at how quickly it took off—fresh pesto, here I come!
I found purchasing seeds from local garden stores or online shops to be worthwhile. Sometimes, even existing plants can work if you want a head start! Just take a moment to research what best suits your growing system and conditions.
Try not to overcrowd your space initially. Baby steps! You want to learn and adjust as you go. Plus, it’ll be easier to manage a smaller number of plants at first until you feel comfy with everything.
Nutrient Management
Nutrients are the magic potion for your plants. Hydroponic nutrients tend to differ from soil, so take time to learn how to mix them properly. I always felt like a mad scientist in my kitchen with jars of nutrients and measuring devices!
Be sure to follow the instructions and adjust them based on what your plants need. It’s important to remember that not all plants eat the same. Some are heavier feeders than others, so keep a journal of what you’re mixing!
Regularly check on your nutrient solution for any changes in color or clarity. If it starts to look murky, don’t ignore it. A little upkeep ensures your greens get the good stuff they need!
Maintaining Your Hydroponic System
Keep a close eye on water levels, nutrient solutions, and the health of your plants. Regular maintenance is essential to prevent problems before they bloom! I like to set a weekly routine for checking everything, so I don’t get sidetracked.
It’s also vital to keep your equipment clean and organized. Algae and debris can build up quicker than you’d think, so a little cleaning can save you from bigger issues down the line.
Don’t forget to enjoy the process! Taking care of your hydroponic garden can be therapeutic. Walking past my growing plants brings a smile to my face. Remember, the more you engage with your plants, the more successful you’ll be!
Harvesting Your Produce
Understanding When to Harvest
Harvesting is hands-down the best part of growing! Knowing when to pick can depend on the plant. Most herbs can be snipped when they have a healthy amount of growth, while leafy greens are usually ready for the picking once they reach the right size. I can’t tell you how many salads I’ve had using greens fresh from my mini garden!
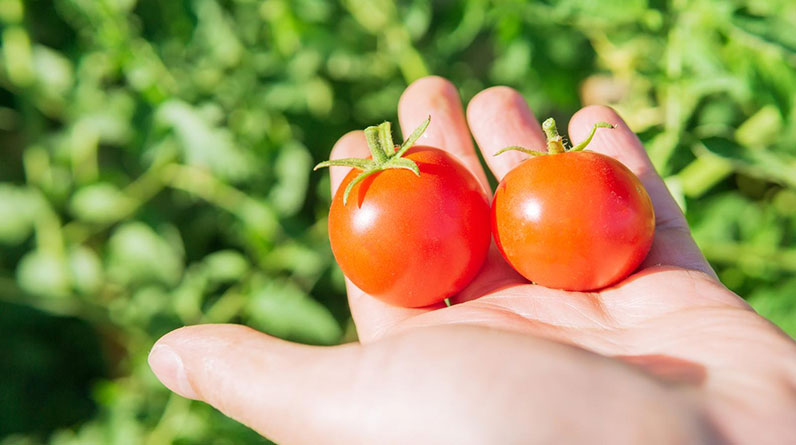
Always research the specific plant you are growing. It can be the difference between a bountiful harvest and missing out on the fruity goodness. Some fruits, like tomatoes, can do with more ripening on the vine before picking, while herbs can be enjoyed anytime!
Don’t feel guilty about snipping away at your plants. They’ll just keep on growing, and with proper care, you’ll have a thriving garden. It’s about balance—take what you need and leave enough for them to flourish!
Proper Harvesting Techniques
Using sharp scissors or garden shears not only looks impressive but keeps your plants from going into shock. I always aim to cut just above a node, so new leaves can sprout. It’s like giving your plant a haircut!
Gather your harvest early in the day when the flavors are most concentrated. That’s when the plants are full of moisture from the night before. Trust me, you want to reap those rewards when they’re at their peak!
And remember, it’s all in the joy of sharing! Once my garden started producing abundantly, I loved sharing my extras with friends. It’s a fantastic way to bond and show off your green thumb.
Storing and Using Your Harvest
Proper storage can help extend the life of your harvest. I’ve found that fresh herbs do well in a glass of water, just as if they were cut flowers. Refrigeration works wonders for leafy greens too!
Experiment with cooking, salads, and even drying or preserving what you grow. Each batch is a new adventure in the kitchen, and I’ve had loads of fun trying out new recipes and befriending my neighbor because of my surplus.
But it’s also about savoring that fresh taste. Using your hydroponic creations in meals is one of the biggest perks of all. Relishing home-grown food with family and friends is the ultimate reward of being a hydroponic gardener!
FAQs
1. What is hydroponics?
Hydroponics is a method of growing plants without soil, instead using nutrient-rich water to feed the plants directly. It allows for faster, more efficient growth with less space.
2. How much of an investment is needed to start a hydroponic setup?
You can start a low-cost hydroponic system for under $100 by using repurposed materials. As you gain skill and want to expand, you can consider investing in more advanced equipment.
3. What types of plants grow best in hydroponic systems?
Some of the best plants for beginners include herbs like basil, mint, and cilantro, as well as leafy greens like lettuce. Once comfortable, you can explore growing tomatoes, peppers, or even strawberries!
4. How often should I change the nutrient solution?
It’s generally recommended to change your nutrient solution every two to three weeks, but always monitor your plants for signs of nutrient deficiencies or changes in water clarity.
5. Can I grow hydroponically indoors?
Absolutely! Hydroponics is fantastic for indoor gardening. With the right grow lights and environmental controls, you can successfully grow plants in any room!


