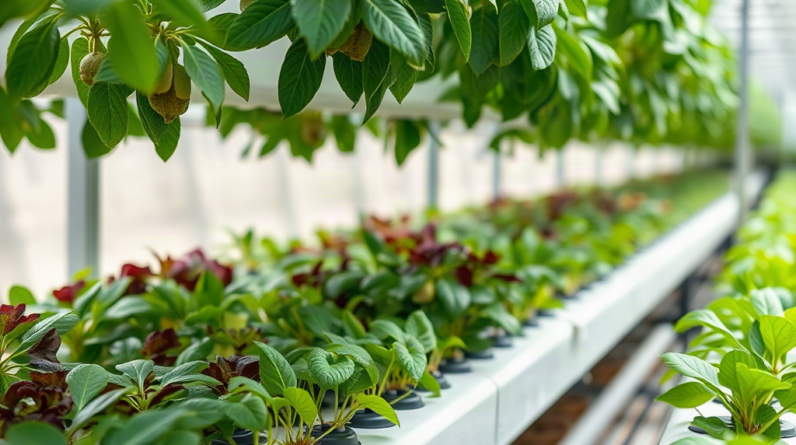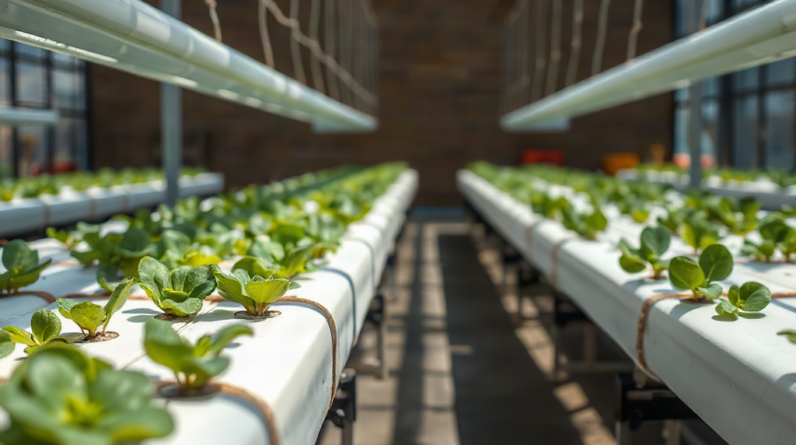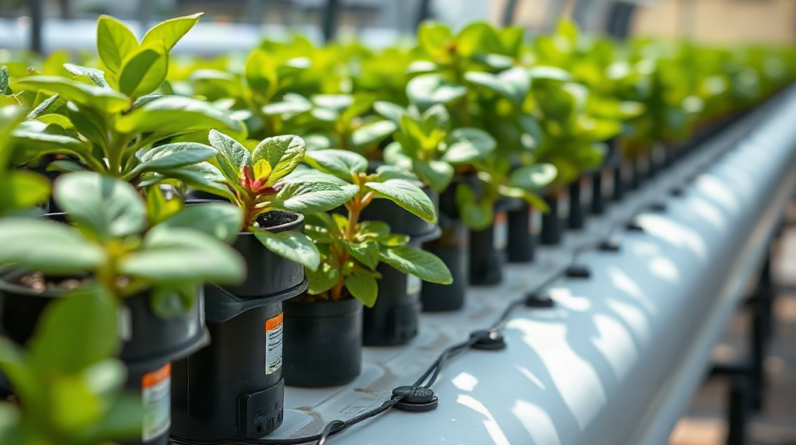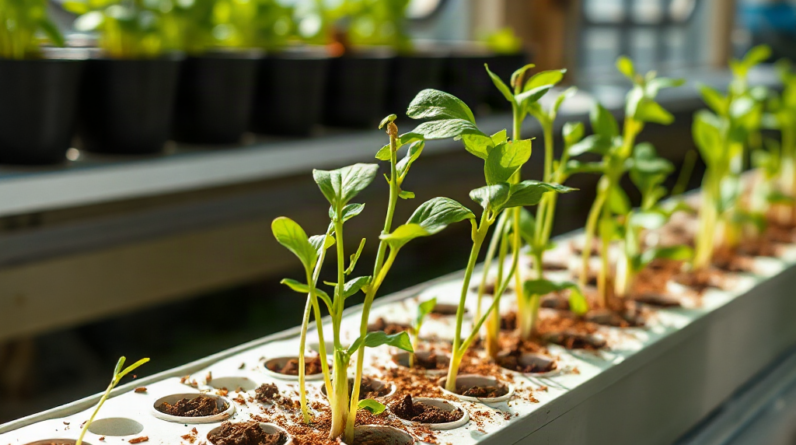
Maintain consistent lighting for hydroponic crops by standardizing the photoperiod with a reliable timer, positioning fixtures for even canopy coverage, and checking light output at plant height rather than relying on wattage alone. Match intensity and daily light duration to the crop’s growth stage, then adjust fixture height as plants grow. Keep leaves from shading neighboring plants, clean lenses and reflectors, and control room temperature so heat does not force irregular dimming or shutdowns. Record timer settings, fixture height, and canopy readings regularly; unexpected stretching, bleaching, or uneven growth signals that coverage, intensity, or equipment performance needs correction.
Define the Light Target Before Adjusting Fixtures
Consistent lighting begins with a crop-specific target, because identical fixture settings do not suit seedlings, mature leafy greens, and fruiting plants equally. Light intensity at the leaves, hours of exposure, canopy area, and growth stage work together. Extending the day can partly compensate for modest intensity, but it cannot make severely weak light adequate. Conversely, intense light delivered for too long can exceed what plants can use and increase heat, water demand, or leaf stress.
Use photosynthetic photon flux density, or PPFD, when the fixture manufacturer provides a reliable map or when a suitable meter is available. PPFD describes the photosynthetically active light reaching a surface at a given moment. Daily light integral, or DLI, accounts for both intensity and duration, making it more useful for comparing a brighter, shorter schedule with a dimmer, longer one. Crop requirements vary, so use recommendations from the seed supplier, fixture documentation, or a university horticulture resource rather than treating a single number as universal.
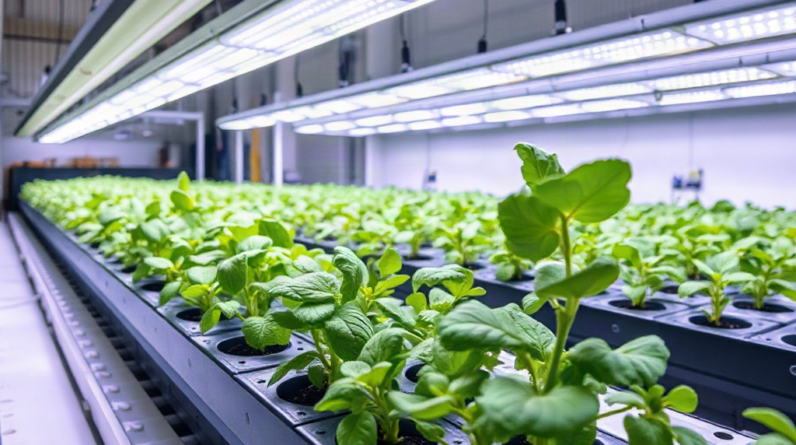
A practical baseline should record the crop, growth stage, photoperiod, fixture height, dimmer setting, and several canopy-level readings. Measure at the center, edges, and corners of the growing area. A strong center reading can conceal poor perimeter coverage, especially under a compact fixture above a wide raft or shelf. For example, lettuce directly below a lamp may remain compact while plants near the channel ends stretch toward the center, even though every plant receives the same number of illuminated hours.
Fixture wattage is a poor stand-alone target. Electrical power indicates consumption, not how much useful light reaches the crop. Two fixtures with similar wattage can differ in optical design, efficiency, beam spread, mounting height, and light loss outside the growing area. Visual brightness is equally unreliable because human eyes do not evaluate plant-usable wavelengths or intensity the way a light meter does.
For a new installation, begin below the crop’s likely upper tolerance and watch plant response before increasing output. Seedlings and newly transplanted plants usually warrant a gentler starting point than established crops. Document the starting configuration as part of your process for how to maintain consistent lighting for hydroponic crops, then change only one major variable at a time. Simultaneously changing height, output, and day length makes it difficult to identify what corrected—or caused—a problem.
Create Even Coverage Across the Canopy
Uniform canopy exposure depends on fixture geometry as much as fixture output. Light intensity normally falls as the distance from a source increases, while nearby leaves may receive a concentrated hotspot. Raising a fixture generally broadens its footprint but reduces the intensity reaching the canopy. Lowering it provides more intensity over a smaller area and may exaggerate differences between the center and edges.
Map the usable growing area instead of measuring one convenient point. Take readings on a simple grid at canopy height, using the same meter orientation each time. Compare the weakest areas with the center rather than chasing a perfect reading at every point. If the center is excessive while the edges are weak, dimming alone will reduce both and leave the imbalance intact. Raising the fixture, narrowing the planted footprint, adding an overlapping fixture, or rearranging channels may produce a more useful distribution.
Overlapping fixtures can improve uniformity, but careless overlap creates bright strips between lamps. Check readings beneath each unit and midway between adjacent units. Side walls with reflective, clean surfaces can limit spill losses, although reflection cannot replace sufficient direct coverage. Avoid improvised reflective materials that wrinkle, trap moisture, block airflow, or create electrical hazards around reservoirs and plumbing.
The canopy itself changes the lighting pattern. Basil, tomatoes, cucumbers, and other vigorous crops can form tall or irregular tops that place some leaves much closer to the lamp than others. A fixed mounting height that was suitable after transplanting may become uneven two weeks later. Training, spacing, selective pruning, and fixture adjustment should keep the productive canopy within a manageable vertical band. In a mixed crop shelf, placing short lettuce beside tall basil under one fixed lamp often leaves one crop shaded or the other too close to the fixture; separate zones are usually easier to control.
Use this compact coverage check whenever plants are moved or the canopy changes substantially:
- Measure: Record center, edge, corner, and overlap readings at leaf height.
- Inspect: Look for leaning stems, pale hotspots, edge stretching, and self-shading.
- Adjust: Change mounting height, spacing, output, or plant placement in small increments.
- Verify: Repeat the same grid readings after the adjustment and again after growth alters canopy height.
A common mistake is rotating trays to conceal poor distribution. Rotation may make growth look more even over time, but it also adds labor and exposes each plant to recurring high and low light. Correcting fixture coverage is more dependable where crops remain in fixed channels, towers, or rafts.
Control Photoperiods and Equipment Reliability
A stable photoperiod requires more than switching lights on manually at roughly the same time. Use a timer rated for the fixture load and verify its clock after installation, power interruptions, seasonal clock changes, or controller updates. Mechanical timers are simple and easy to inspect, while digital controllers may offer multiple zones and alarms. Greater automation is useful only if settings remain understandable and recover correctly after a power loss.
Keep the dark period uninterrupted when the crop’s flowering response depends on day length. Even for crops grown primarily for leaves, irregular schedules make daily light delivery harder to control and can produce inconsistent growth between batches. Avoid extending illumination unpredictably to compensate for a missed cycle. Returning to the normal schedule is generally more controlled than creating an unusually long day, particularly when plants are already near their intended light exposure.
Electrical capacity is an operational constraint. Fixtures, pumps, fans, heaters, and dehumidifiers may share circuits, and their combined startup or continuous load can cause tripped protection or controller failure. Follow fixture instructions, use appropriately rated components, keep connections away from splashes, and consult a qualified electrician when circuit capacity or permanent wiring is uncertain. Daisy-chaining unsupported adapters or household extension cords around a wet production area is not an acceptable reliability plan.
Heat also disrupts consistency. Some fixtures reduce output when internal temperatures rise, while others may shut down to protect components. Dust-covered heat sinks, failed circulation fans, cramped mounting spaces, and warm ceiling pockets can therefore create light fluctuations even when the timer appears correct. Maintain the clearances specified by the manufacturer and evaluate canopy temperature during the hottest part of the light cycle. Moving a lamp closer to increase intensity may raise leaf temperature and transpiration enough to create stress before visible light damage appears.
Build a short failure response into the lighting schedule. Label each timer and breaker, retain the programmed settings, and note whether controllers resume automatically after an outage. Check that all fixtures turn on together rather than confirming operation from the doorway. A partially failed LED board can remain illuminated while delivering an uneven footprint. Routine observation should include flicker, dark sections, unusual heat, fan noise, discoloration at connectors, and unexplained changes in power consumption.
Cleaning belongs in the same reliability routine. Mineral spray, dust, and condensation films reduce output and alter distribution. Disconnect equipment and follow the manufacturer’s cleaning directions rather than spraying cleaner above an active reservoir. A dated maintenance record makes how to maintain consistent lighting for hydroponic crops measurable instead of dependent on memory.
Monitor Plants and Correct Lighting Drift
Plant appearance is a useful diagnostic signal, but it should be interpreted alongside measurements and environmental records. Long internodes, thin stems, leaning growth, and oversized leaves can indicate insufficient or poorly directed light. Pale or bleached upper tissue, upward-curled margins, dry patches, and compact stressed growth can occur when intensity or leaf temperature is excessive. Similar symptoms can also result from nutrient imbalance, root stress, humidity, or disease, so appearance alone does not prove a lighting fault.
Compare symptoms across the growing area. A pattern concentrated beneath the fixture suggests a hotspot or heat issue, while symptoms limited to outside rows point toward weak perimeter coverage. If every plant changes at once, review the timer, dimmer, fixture output, room temperature, root-zone conditions, and nutrient management before assuming the lamp is solely responsible. Spatial patterns often reveal more than a single leaf inspection.
Track canopy height and lamp distance on a fixed schedule. Fast-growing crops may reduce that distance quickly enough to change both intensity and temperature within days. Marking the fixture position or measuring from the average productive canopy provides a repeatable reference. Do not measure from one unusually tall shoot; train or prune that shoot if appropriate, then assess the broader crop surface. In stacked systems, inspect every tier because upper and lower shelves can have different temperatures and airflow despite matching fixtures.
Recheck intensity after cleaning, replacing, dimming, or moving a fixture. LED output may change gradually over service life, and lenses or drivers can fail unevenly. A meter is most useful for detecting relative change when used consistently: same locations, time in the light cycle, fixture warm-up period, and sensor orientation. Phone-based light applications may help reveal broad differences, but they should not be assumed to provide crop-grade absolute PPFD readings without a compatible calibrated sensor.
When growth is uneven, correct the physical pattern before increasing the entire lighting dose. Raising total output to help dim corners can expose central plants to unnecessary intensity. Better options may include narrowing plant spacing, repositioning fixtures, separating crops by height, or using a second source with controlled overlap. After any correction, allow enough time for new growth to show the response; damaged leaves will not necessarily regain normal color or shape.
Useful records connect settings with outcomes. Note sowing or transplant date, crop stage, timer schedule, dimmer level, fixture height, grid readings, temperature near the canopy, and observed symptoms. Photographs taken from the same position can reveal gradual leaning or edge decline. The approach is working when new growth becomes more uniform, plant posture is balanced across the bed, and repeated measurements remain close to the established baseline. Continued drift, recurring shutdowns, or widening center-to-edge differences indicate that the lighting layout or equipment needs a more fundamental correction.
Frequently Asked Questions
How often should hydroponic grow lights be checked?
Confirm daily that every fixture follows its programmed schedule. Check mounting distance and canopy uniformity weekly during rapid growth, then repeat grid measurements after moving, cleaning, or replacing equipment.
Should grow lights stay on 24 hours a day?
Usually not. Most crops benefit from a defined dark period, and continuous operation can add heat and energy use without delivering a proportional growth benefit. Set the photoperiod according to the crop and stage.
Can fixture height alone control light intensity?
Height changes both intensity and coverage. Dimming may preserve the footprint better, while raising a fixture can improve spread. Measure the center and edges after either adjustment.
Why are plants at the edge of a hydroponic bed stretching?
Edge stretching commonly indicates weaker perimeter light or shading from neighboring plants. Compare canopy-level readings, inspect spacing, and adjust the fixture footprint rather than increasing output blindly.
Do all hydroponic crops need the same lighting schedule?
No. Seedlings, leafy greens, herbs, and fruiting crops can differ in useful intensity, day length, and sensitivity to photoperiod. Separate incompatible crops into lighting zones when possible.
Conclusion
Reliable crop lighting comes from treating output, coverage, timing, and canopy development as measurable operating conditions. Establish a crop-appropriate baseline, map several points at leaf height, and record fixture position and schedule so later changes have a clear reference. Prioritize uneven coverage before adding more intensity, because brighter centers rarely solve dim edges. Timers, electrical components, cooling paths, and clean optics also deserve routine checks; a programmed schedule cannot compensate for overheating or partial fixture failure. Start by measuring the current canopy, noting the weakest and strongest zones, and checking whether every light follows the intended cycle. Make one controlled adjustment, document it, and evaluate new growth rather than expecting damaged leaves to recover.