Understanding Hydroponics
What is Hydroponics?
Alright, let’s kick things off by breaking down what hydroponics actually is. At its core, hydroponics is basically growing plants without soil. Crazy, right? Instead, plants thrive in nutrient-rich water solutions. I’ve always found this method quite fascinating since it really opens up a whole new world for growing food anywhere—yes, even in your basement!
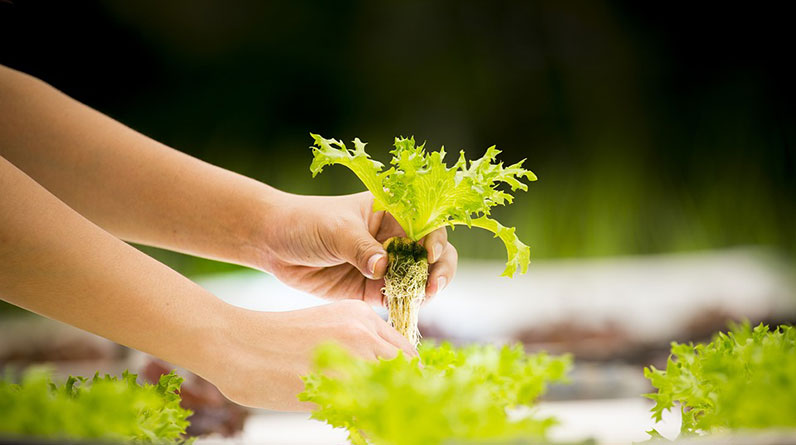
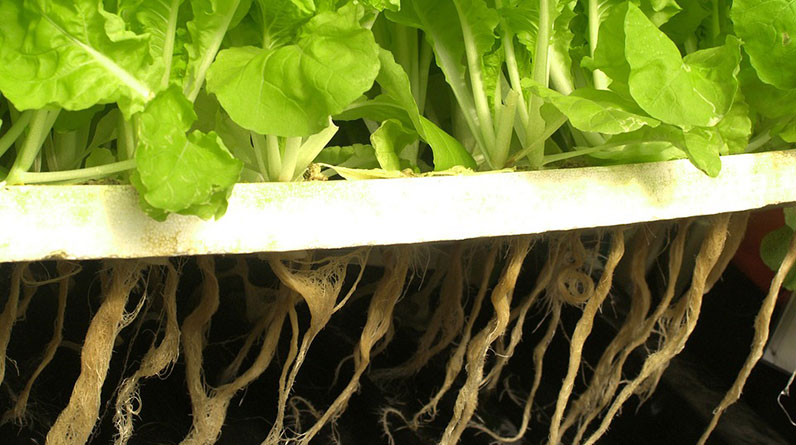
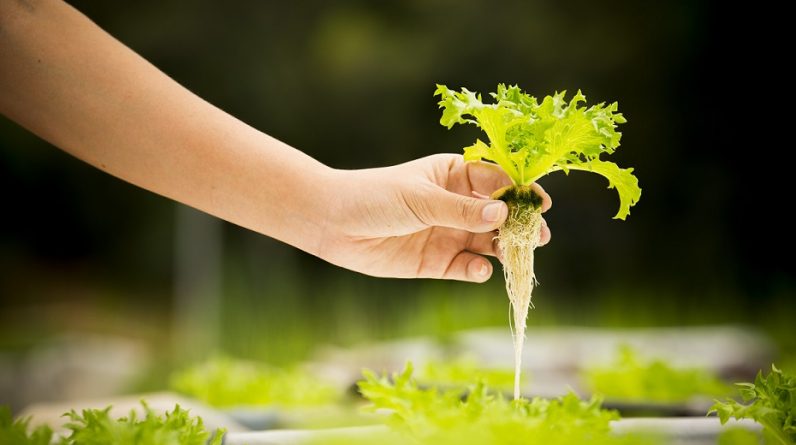
So, how does it work? Traditional farming exposes plants to what they need in soil, but hydroponics delivers everything through water. This means a plant’s roots are hanging out in a solution full of essential nutrients! No digging into dirt required. With a little science and some innovation, we can grow food in ways that were once thought impossible.
Plus, it’s more sustainable. Hydroponics uses less water compared to traditional farming methods and has a smaller carbon footprint. It’s kind of like getting the best of both worlds—fruit and veggies without wrecking our planet.
Benefits of Hydroponics
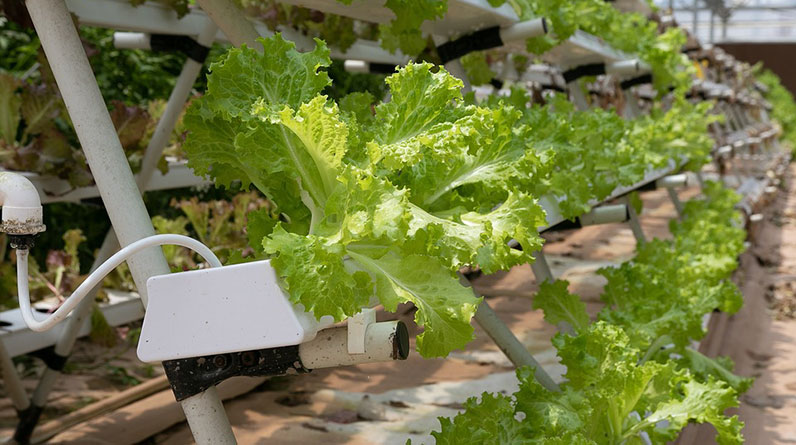
Let’s chat about why I think hydroponics is the bee’s knees. First off, it’s space-efficient. If you live in an apartment with limited outdoor space, hydroponics can be your ticket to homegrown produce. Vertical farming systems allow you to stack plants upwards. More food, less space!
Next up, you can grow crops all year round. That means fresh salads and herbs regardless of the season. During winter, when the ground’s frozen and your garden is dormant, hydroponics keeps the veggies coming. I mean, who doesn’t love a fresh tomato in January?
Finally, pest control is a lot easier in hydroponics. I’ve battled aphids and slugs in my garden, and it’s no fun. Without soil, you cut down on many pests. This means fewer pesticides, which is a win-win for health and the environment!
Common Hydroponic Systems
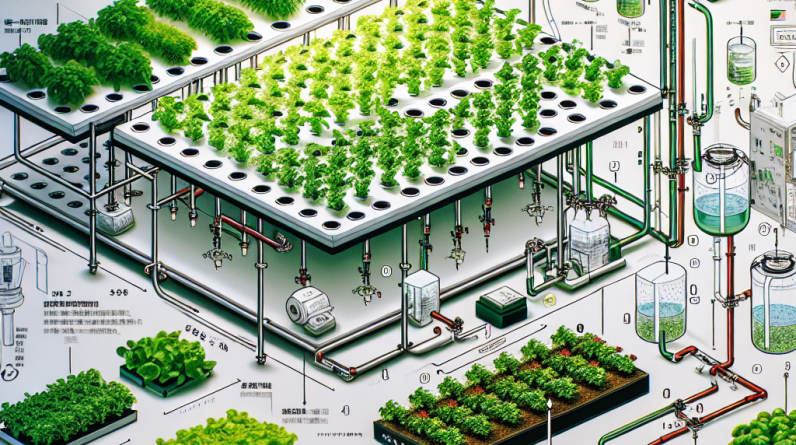
Now, if you’re thinking about diving into hydroponics, you should know a bit about the different systems out there. There are several types, but I’m going to focus on three popular ones. First, we have the Nutrient Film Technique (NFT). This one uses a thin film of nutrient solution flowing over the roots of plants. It’s low maintenance and efficient, but it’s crucial to monitor the flow.
Next up is Deep Water Culture (DWC), where the roots are submerged in nutrient-rich water while an air pump provides oxygen. I’ve tried this one; it’s kind of like giving your plants a spa day! The roots get pampered with all the nutrients they need.
Lastly, we can’t forget about Ebb and Flow systems. These are kinda cool because they flood the plants with nutrient solution and then drain it back into a reservoir. I love the flexibility they offer. You can play around with different schedules, which can keep things interesting!
Setting Up Your Hydroponic System
Choosing Your Location
Choosing the right location for your hydroponic setup is super important. I’ve learned that ensuring your plants get enough light is key—at least 12 to 16 hours a day is ideal. You can use grow lights if you’re short on sunlight, especially during the winter months. Trust me, good light makes all the difference.
Next, think about temperature and humidity. Most plants do well in a range between 70 to 75°F. This becomes trickier in extreme weather. I’ve found that keeping a thermometer and hygrometer on hand helps me stay on track. You want to create a cozy environment for your plants, just like you would for yourself!
Lastly, don’t forget about water access. Hydroponics relies heavily on a consistent supply of water. I recommend setting up near a sink where you can easily check and maintain your water levels. You don’t want to be lugging heavy buckets from across the house!
Gathering Materials
When I started out, I remember feeling overwhelmed by all the materials I’d need, but I soon discovered that keeping it simple is key. You’ll need a container for the plants, like a tote or a tub for the water. Going for food-safe containers is essential, though—nobody wants extra chemicals in their greens!
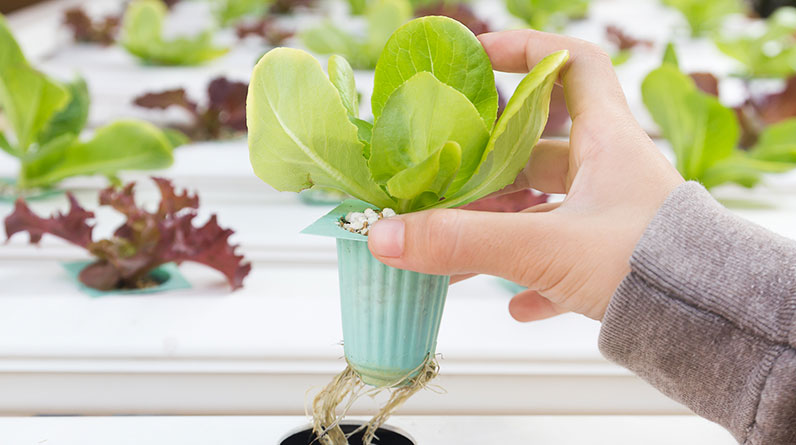
Next, get your hands on some growing media. This can be clay pebbles, rock wool, or even river stones. I’ve tried all three, and each has its own pros and cons. Clay pebbles are super lightweight and reusable, making clean-up easier when you’re done with one planting cycle.
Finally, invest in a pump and aerator. The pump keeps the solution flowing, while the aerator adds oxygen to the water. I remember my first setup not having enough air, and my plants did not thrive as I hoped. So don’t skimp on these essentials!
Mixing Nutrient Solutions
Mixing up nutrient solutions can feel a little daunting at first, but I assure you, it’s much easier than it sounds! The key is to follow the instructions on your nutrient solution container. They usually have a ratio that guides you in mixing. I like to experiment a bit to see how my plants respond, but starting with the recommended mix is the way to go.
Water quality is also crucial. I’ve learned the hard way that using chlorinated water can negatively impact plant growth. If your tap water has chlorine, consider using distilled water or letting tap water sit out overnight so the chlorine dissipates. Nothing wrong with giving your plants the royal treatment!
Don’t forget to check your pH levels regularly! Most plants thrive in a 5.5 to 6.5 pH range. If you don’t test regularly, things can start getting off balance, and you might not understand why your plants aren’t performing like they should. I swear by pH test kits—they’re a lifesaver.
Maintaining Your Hydroponic System
Monitoring Plant Health
You’d be surprised how much your plants can tell you about their health! I’m always on the lookout for signs such as yellowing leaves or stunted growth. Yellow leaves could indicate a nutrient deficiency or even a pest problem. If you catch it early, you can often resolve the issue before it snowballs into a bigger problem.
Another thing to check for is the roots—healthy roots should look white and sturdy. If they’re brown and mushy, something’s gone wrong. I once had a root rot issue that took several weeks to fix. Keeping an eye on these little guys helps prevent unexpected surprises!
I also recommend keeping a plant journal. It might sound a bit extra, but jotting down notes about your plants’ growth, any troubles, and how you addressed them really helps you learn. You can look back and see what worked and what didn’t—like having a personal roadmap for your gardening journey.
Adjusting Nutrient Levels
As your plants grow, their nutrient needs might change, and this is where your attentive eye pays off! Typically, young plants need less nutrient solution and as they mature, their demand increases. I often start with a lighter mix for seedlings and then ramp it up as they grow. Finding that sweet spot is key!
Over time, you might notice some minerals getting depleted. That’s why I keep a close watch on my nutrient solution levels. If you catch it early, topping off the solution might do the trick. Otherwise, you may need to do a full nutrient refresh, something I’ve had to do a couple of times when I wasn’t paying enough attention.
Keep in mind, different plants have different preferences. What works for one type might not suit another. Mixing things up can be a fun challenge. I love learning what works best for my various herbs and veggies!
Managing Pests and Diseases
Bugs are inevitable, but I’ve found that dealing with them hydroponically can be much simpler. I’ve had some luck using natural pest control solutions such as neem oil. A little goes a long way! Spraying a diluted mix on affected areas helps soothe the plants and kick pests to the curb.
Preventative measures also go a long way. For instance, maintaining cleanliness in your setup can be crucial. I make it a habit to regularly wash my tools, containers, and anything that comes in contact with my plants. I know it sounds tedious, but it’s worth it in the long run!
Finally, when it comes to diseases, early detection is key. I’ve learned that isolating any sick plants can prevent the spread of diseases in your system. It might feel tough to let go of a struggling plant, but fostering a healthy environment for the rest is always the best choice.
Harvesting and Enjoying Your Crops
When to Harvest
Okay, here’s the part we’ve all been waiting for—the harvest! Knowing when to harvest is an art. For leafy greens, I usually wait until the leaves are a good size but before they start turning yellow. It helps to pick the outer leaves first to give the inner ones room to grow.
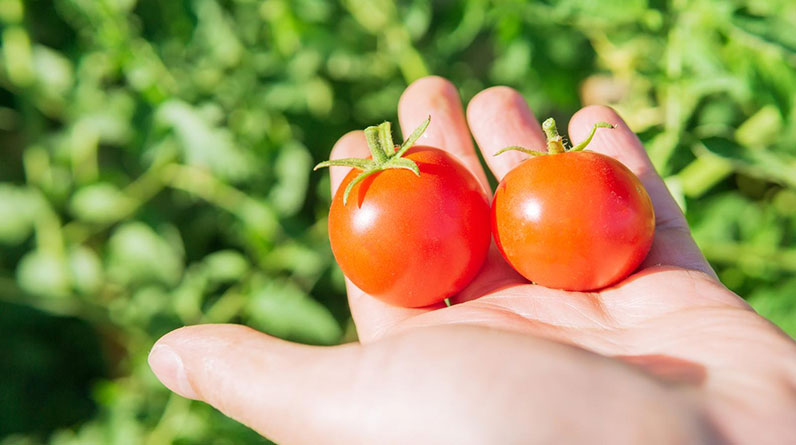
Fruiting plants are a bit different. For tomatoes, I keep an eye on their color; they should be vibrant and juicy-looking. The smell is also a dead giveaway. If I get a whiff of fresh tomato aroma, I know it’s time to dive in!
Always remember to use sharp, clean tools when cutting. It’s like giving your plants a gentle nudge into the next phase of their life—nobody wants to stress them out during harvest!
Tips for Storing Your Harvest
Once you’ve harvested, it’s all about how to store those goodies! I like to wash my leafy greens and then store them in a damp paper towel in a container. This keeps them nice and crisp for longer periods. Freshness is key, and I’m not a fan of wilted greens!
For fruits like tomatoes, I usually leave them on the counter to continue ripening a bit if they’re not quite there yet. You really want them at their peak when you plan to eat them. If I’m not using them right away, I’ll pop them in the fridge to prolong their life.
And let’s not forget about preserving. I’ve tried my hand at canning, jarring, and even pickling. It’s an entire other world of flavor you can dive into. Plus, it’s a handy way to keep that homegrown goodness around for months down the line!
Enjoying the Fruits of Your Labor
Finally, no harvest is complete without enjoying what you’ve grown! Feeling the satisfaction of cooking a meal with your own fresh ingredients is unbeatable. I’ve whipped up everything from salads to sauces using my homegrown produce—it truly adds something special.
Sharing the bounty is also one of my favorite parts. Whether it’s gifting veggies to neighbors or hosting a dinner party, it’s amazing how homegrown food can bring people together. Who doesn’t love that?
Also, I’ve found a little creativity goes a long way. Trying new recipes or adding your fresh herbs to favorite dishes can breathe new life into old favorites. It’s pure joy not only to eat what I’ve grown but to experiment with it in the kitchen!
FAQs
1. What is hydroponics?
Hydroponics is a method of growing plants without soil, using a nutrient-rich water solution to deliver essential nutrients directly to the plant roots. This results in faster growth and higher yields.
2. What are the benefits of using hydroponics for food production?
Some of the main benefits include reduced water usage, less space required, year-round crop production, and minimal pest problems. It’s a more sustainable way to grow food!
3. How do I set up a hydroponic system at home?
To set up your hydroponic system, choose a suitable location with adequate light, gather necessary materials (like containers, growing media, and nutrients), and follow specific setup instructions based on the system you choose.
4. How do I maintain my hydroponic system?
Maintaining your hydroponic system involves regularly monitoring plant health, adjusting nutrient levels, managing pests and diseases, and ensuring good water quality. Keeping tabs on these factors is crucial for thriving plants!
5. What are some common hydroponic systems I can use?
Common hydroponic systems include Nutrient Film Technique (NFT), Deep Water Culture (DWC), and Ebb and Flow systems. Each has its own benefits and suitability depending on what you’re growing!


