Choose the Right Seeds
Understanding Seed Varieties
When I first started my hydroponic adventure, one of the biggest lessons I learned was the importance of selecting the right seeds. Not all seeds are created equal, especially when it comes to hydroponics. Some varieties thrive in moisture and controlled environments, while others might struggle.
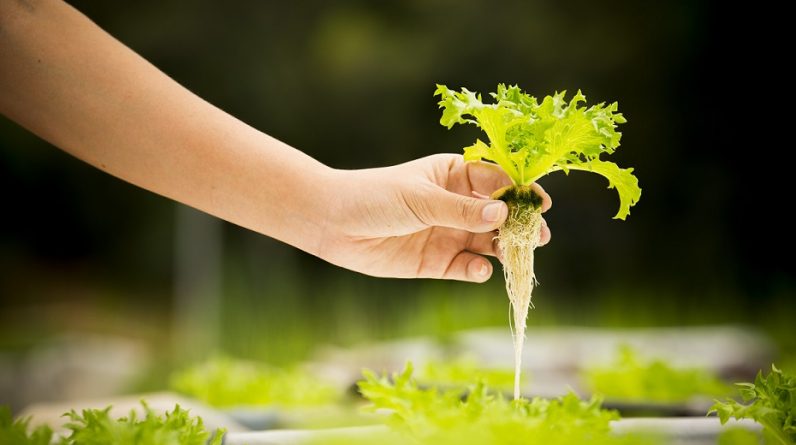
Take the time to research which plants are best suited for hydroponic growing. Leafy greens like lettuce or herbs such as basil are fantastic starter options. They grow quickly, won’t take up much room, and are generally forgiving for newcomers.
Don’t forget about your climate! If you’re in a cooler area, go for seeds that can adapt better to these conditions. Choosing seeds that suit your local environment can make all the difference in ensuring a successful start.
Purchasing Quality Seeds
I can’t stress enough how vital it is to buy quality seeds. I made the mistake of going for the cheapest options in the past, only to be met with poor germination rates and weak plants. Trust me, spending a little extra on high-quality seeds can save you tons of frustration down the line.
Look for seeds that are specifically labeled for hydroponic systems; they tend to have better genetics for this type of growing. Check reviews and talk to fellow gardeners for feedback on the best suppliers.
Additionally, remember to check expiration dates. Seeds can lose viability over time, and you want the freshest seeds available to ensure the best germination rates.
Preparing Your Seeds
So, you’ve got your seeds—now what? Preparing your seeds properly is an essential step that I learned the hard way. Depending on the type of seeds you’re using, you may need to soak them for a few hours or even overnight to jumpstart their germination.
Additionally, some seeds require scarification, which is a fancy word for scratching the outer coating of the seed. This method helps water penetrate the seed and kick-off the germination process. It’s like giving your seeds a little wake-up call!
Don’t forget to get energize your seeds with a seed starter solution if you really want to boost their chances. This nutrient solution can give them the extra push they need to sprout.
Setting Up Your Hydroponic System
Choosing the Right Hydroponic System
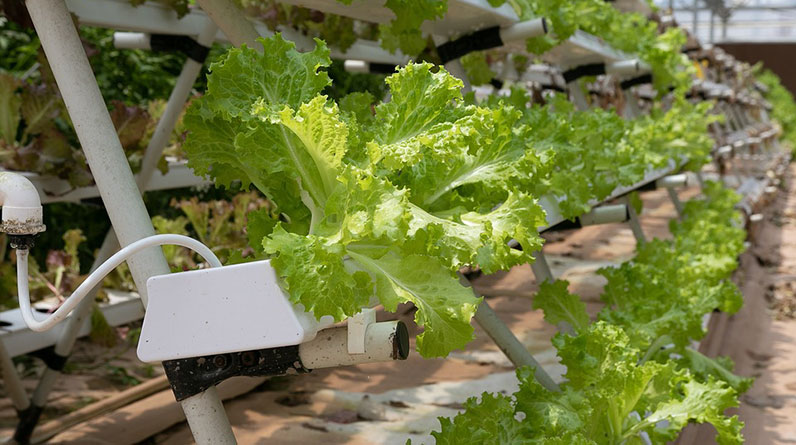
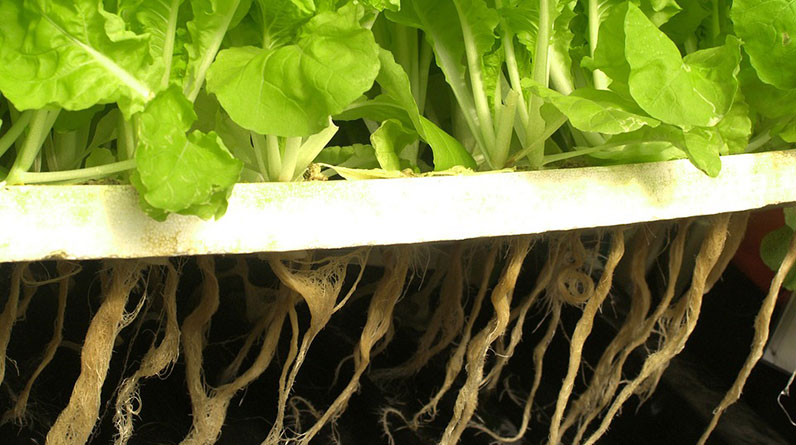
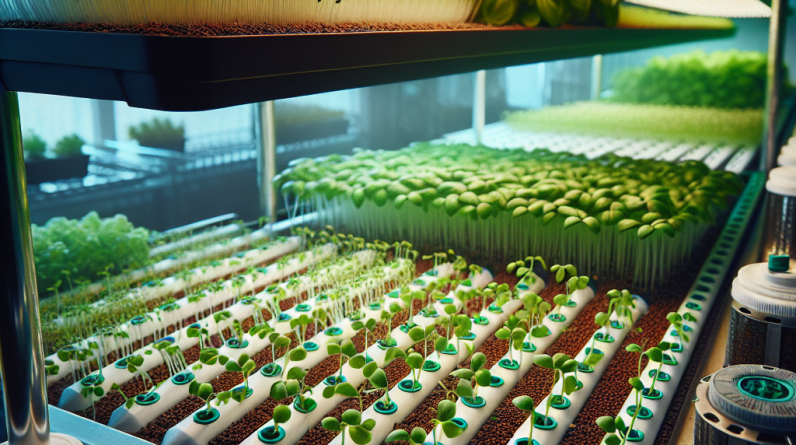
When I first dived into hydroponics, I was like a kid in a candy store overwhelmed by choices! There are various systems—from deep water culture to aeroponics, and each has its pros and cons. I personally went with a nutrient film technique (NFT) because I love the simplicity and effectiveness.
Your choice should be based on the plants you want to grow, your space, and your budget. Take a moment to evaluate your options and look for systems that maximize light exposure and nutrient delivery. Doing the homework upfront makes all the difference.
Each system has different components: pumps, grow trays, nutrient reservoirs—getting familiar with what you’ll need is key to smooth sailing once the seeds are in the mix.
Setting Up the Environment
The environment where your seeds will germinate is as crucial as the seeds themselves. I like to ensure that the temperature and humidity levels are just right. Most seeds prefer around 70-75°F for optimal germination, and a humidity level of about 70-80% can do wonders.
Using heated mats can be great, especially during colder months. I’ve found that a good humidity dome helps, too! It creates a mini-greenhouse effect that can keep things cozy for struggling sprouts.
Provide adequate light using grow lights; I prefer LED options because they’re energy-efficient and can be adjusted according to the plants’ needs as they grow. It keeps your seeds healthy and helps them thrive!
Monitoring pH and Nutrient Levels
One thing that took me a while to get the hang of was monitoring pH and nutrient levels in the water. It’s not just about putting seeds in water; it’s about the right balance! I realized that most plants prefer a slightly acidic pH of 5.5 to 6.5.
Utilizing a good pH meter helped me keep everything in check. I make it a routine to measure levels every couple of days, and if things are off, I make adjustments right away. Trust me; it’s worth it to avoid a mid-grow crisis!
Don’t skimp on nutrients, either. Seedling formulations can provide the essential nutrients that sprouting plants need. Following feeding schedules religiously is vital to nurturing those delicate growth stages.
Sowing Your Seeds
Using the Right Medium
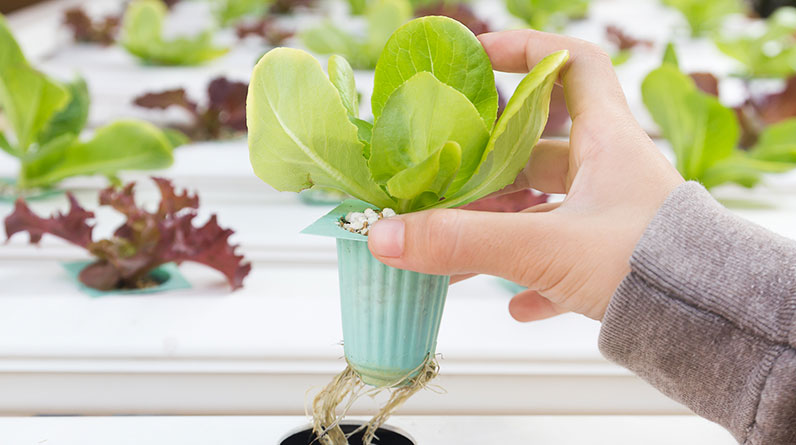
Sowing seeds into the correct medium makes all the difference. I first started with rock wool, which worked fine, but I’ve since switched to coconut coir for its eco-friendliness and superior moisture retention. It’s light and airy, allowing for better root aeration, which is crucial for seedlings.
Another popular option is peat pellets. They’re user-friendly and provide a nurturing environment for seeds to germinate. No matter the choice, it’s essential to keep the medium moist but not soaking wet. Overwatering is a sure-fire way to drown those little guys!
I’ve found that starting with smaller containers and then transferring to larger ones as the plants grow tends to yield better results. This way, you can monitor growth and adjust as necessary.
Sowing Techniques
Get ready to get your hands dirty! When it comes to sowing seeds, I like to follow simple techniques: make a small hole in the medium about 1/4 inch deep, drop in the seed, and cover it gently. The key is not burying them too deep; they need a little light to encourage sprouting.
I sometimes use tweezers for tiny seeds—it’s all about those tiny hands and precision! If you’re sowing multiple seeds, make sure they’re spaced out adequately; overcrowding leads to competition that weakens the seedlings.
After sowing, give the medium a gentle misting with water and cover them with a humidity dome until they sprout. It’s like giving them a cozy blanket until they’re ready to face the world!
Patience and Observation
Finally, remember that patience is a vital ingredient in this whole process. You’ve sown your seeds; now it’s time to take a step back and observe. I’ve often found myself hovering over my seed trays, but they really need that space to do their thing.
Check them daily, but try not to disturb them too much. Look for signs of sprouting, which can vary depending on the seed type. The excitement of those first little green shoots peeking through is a feeling like no other!
Don’t forget to adjust care based on what you observe. Some seedlings might require more light or a little extra nutrient boost if they look weak. Every seed is unique, and learning to tailor your care is a rewarding lesson.
Taking Care of Your Seedlings
Watering Practices
Ah, watering! It’s an art more than a science when it comes to seedlings in hydroponics. I learned to find that fine line—overwatering can drown your plants, while underwatering can leave them weak and wilting. Generally, I aim to keep the medium consistently moist, which means not just watering on a schedule but checking in frequently.
Using a moisture gauge is a handy tool to avoid the dreaded guesswork. If you notice that the seedlings are starting to droop, that usually means they need a drink. If they’re too wet, they can develop root rot. It’s a delicate balance!
As the seedlings grow, they will require more water, so remain attentive to changes in their needs. I also make it a habit to refresh my nutrient solution weekly to keep them well-fed!
Lighting Considerations
Lighting was another big leap for me as my seedlings sprouted. Initially, I relied on natural sunlight, which was fine, but I quickly realized that providing consistent, adjustable artificial light is a game changer. I now maintain the lights about 6 to 12 inches above my plants to avoid stretching.
Always ensure that the light cycle mimics natural daylight—around 14-16 hours on and 8-10 hours off works wonders for growth. When I started dimming the lights at night, I noticed a significant boost in seedling vigor.
Investing in a timer for your lights can make this task easier, so I don’t have to think about it. Plus, it creates a routine that seedlings can thrive on!
Pest and Disease Control
Pests—oh man, what a nightmare when you see those little critters creeping up on your budding plants! I learned early on that staying proactive is key. Inspect your seedlings regularly for any signs of pests or diseases. If you catch them early, it’s much easier to manage that situation.
I use a mixture of neem oil and water as a natural pesticide, which works wonders without throwing a wrench in my hydroponic system. Additionally, keeping everything clean and organized around your setup goes a long way in preventing unwelcome guests!
Don’t overlook the importance of airflow—the better the air circulation, the healthier your plants tend to be. A small fan can help blow away humidity and pests, keeping the environment stable.
FAQs
1. What types of seeds are best for hydroponics?
Leafy greens like lettuce and herbs such as basil, mint, and cilantro are fantastic options due to their quick growth and suitability for hydroponic systems.
2. How often should I check my seedlings?
It’s best to check your seedlings daily. Look for moisture levels, signs of pests, and overall health to ensure they get the best care!
3. Can I use regular soil seeds?
While you technically can use regular seeds, it’s best to choose seeds specifically bred for hydroponic systems as they tend to thrive better.
4. What’s the ideal pH for hydroponic seedlings?
The ideal pH for hydroponic seedlings is between 5.5 and 6.5. Regularly monitoring and adjusting this level is crucial for optimal growth.
5. Do seedlings need full light exposure?
Seedlings thrive on about 14-16 hours of light per day. Ensure they have a rest period during the night for optimal health.
Related Content
- How to Grow Hydroponic Strawberries for Sweet Success
- The Economic Benefits of Hydroponic Farming
- 10 Effective DIY Hydroponic System Tips for 2025: Boost Your Garden Success
- The Ultimate Guide to the Best Vertical Hydroponic System 2025: 7 Effective Tips
- Is Hydroponics a Sustainable and Efficient Approach to Growing Crops?


