1. Choosing the Right Hydroponic System
Understanding Different Hydroponic Methods
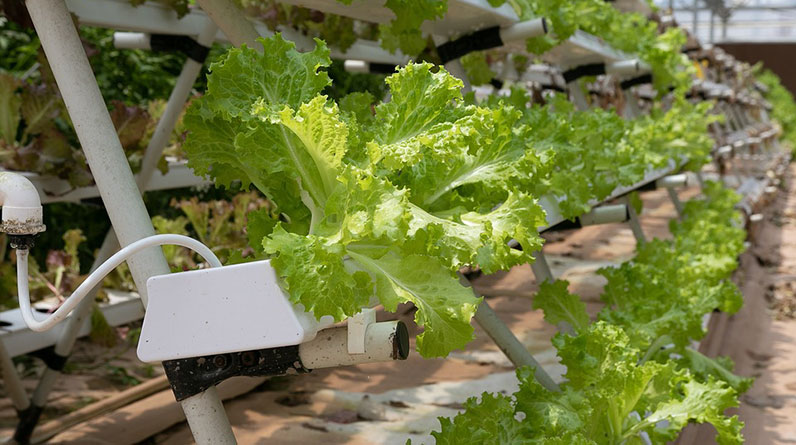
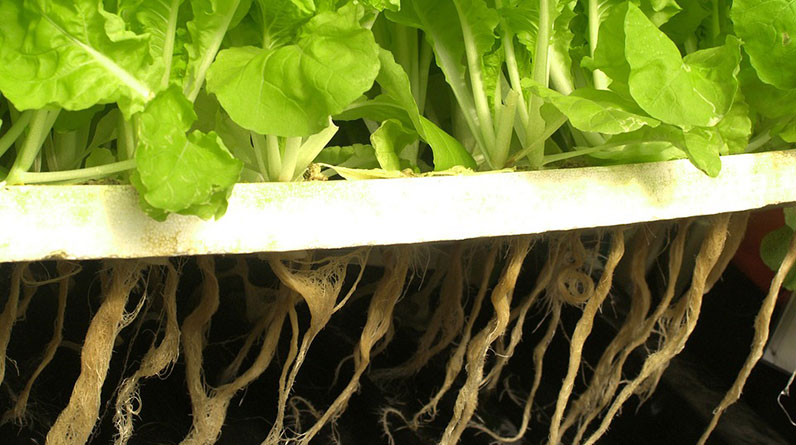
When I first got into hydroponics, the sheer variety of systems out there was overwhelming. From NFT (Nutrient Film Technique) to Deep Water Culture and Aeroponics, each has its own benefits and quirks. I found that understanding the basics of each method helped me choose the one that suited my lifestyle and space best. If you’re just starting out, I recommend looking for a deep water culture system. They’re pretty straightforward and great for beginners!
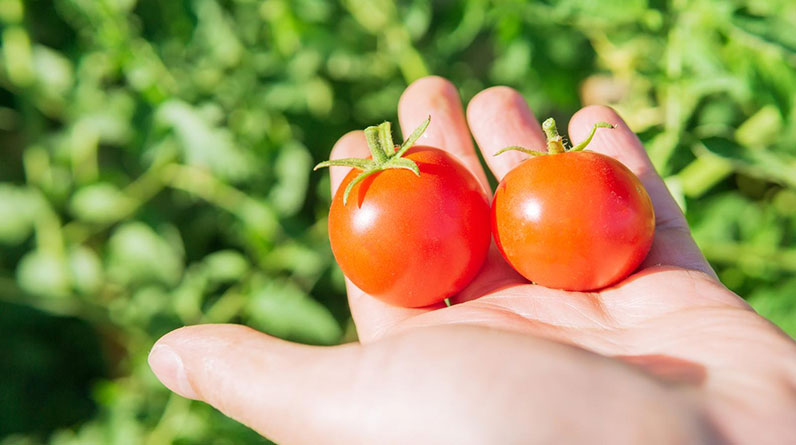
It’s super important to consider how much space you have, as well as the plants you aim to grow. If you’re aiming for leafy greens, a simple system will do just fine. But if you’re looking to grow bigger produce like tomatoes or cucumbers, you’ll need a system that supports larger plants. Take your time, do some research, and talk to fellow hydroponic enthusiasts!
Don’t forget to consider the initial cost and long-term maintenance when deciding on a system. Some setups might look pretty fancy, but they can be a real headache when it comes to upkeep. Make sure you choose a system that you feel comfortable managing in the long run.
Location Matters
One crucial aspect that often gets overlooked is where you set up your hydroponic garden. I remember when I was starting, I thought any corner of my home would suffice, but that couldn’t be further from the truth! Adequate light is essential, so choose a spot that gets plenty of natural sunlight or invest in some good grow lights.
Temperature and humidity play a massive role as well. Plants thrive in an environment that mimics their natural habitat. A consistent temperature helps prevent stress and disease. I learned the hard way that fluctuating temps can lead to issues down the line, like pests or mold. Keep that environment stable!
Lastly, think about accessibility. You’ll want to make sure you can easily reach your plants for watering, pruning, or harvesting. A thoughtful layout can save you a lot of back pain and frustrations. Yet another thing I found out after a few awkward stretches and lopsided plants!
Budget and Resources
No one enjoys going over budget, especially when you’re keen to get started with hydroponics. So, set a clear budget from the get-go, and stick to it! Trust me, things add up quickly. I’ve spent hours browsing online and at my local gardening store, and I always find something new I just “have to have”. But keeping a budget focused on essentials will keep your hydroponic journey on the right track.
Besides initial setup costs, don’t forget recurring expenses like nutrients, seeds, and general maintenance supplies. It’s also worth investing in good quality equipment in the long run. While it might feel tempting to cut corners, I learned that purchasing cheaper alternatives often leads to problems that end up costing more in repairs or replacements later.
And don’t shy away from asking for support. Online forums, local gardening clubs, or social media groups can be gold mines for budget tips and tricks. There’s a whole community out there eager to share their experiences. Use that to your advantage!
2. Selecting the Right Plants
Know Your Preferences and Goals
When I first dived into hydroponics, I eagerly planted every seed I could get my hands on. However, I soon realized that rushing into things isn’t the best strategy. Before you plant, take a moment to think about what you actually want. Are you after fresh salad greens or craving juicy tomatoes? Defining your goals is key!
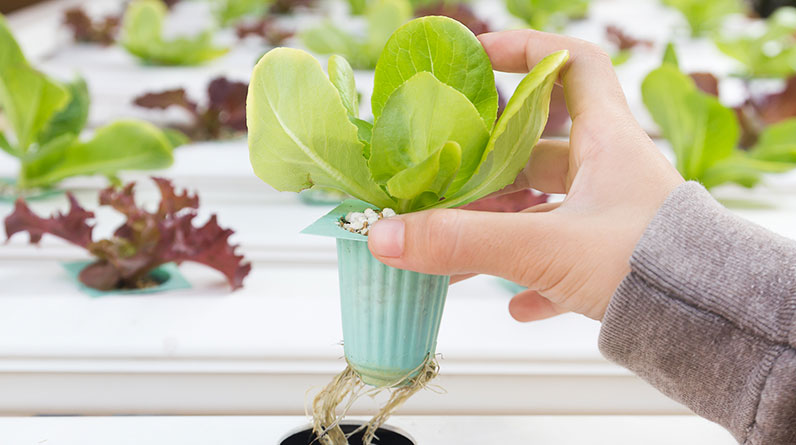
As I continued to learn, I found that starting with easier crops helped build my confidence. Leafy greens like lettuce and spinach are fantastic starters since they grow relatively quickly and are quite forgiving. As my skills improved, I slowly ventured into more challenging plants, which was an adventure all its own!
Also, remember to consider your climate, both indoor and outdoor. Some plants thrive in warmer temperatures, while others prefer cooler conditions. Make your choices based on what your setup can provide to avoid the frustration of stunted growth!
Seeds vs. Clones
Another decision I faced was whether to use seeds or clones. I chose seeds initially, which allowed me to learn the entire growth process firsthand. Germinating seeds and watching them sprout brings a unique joy that I absolutely cherish. I often took pictures as they grew and shared my progress with friends.
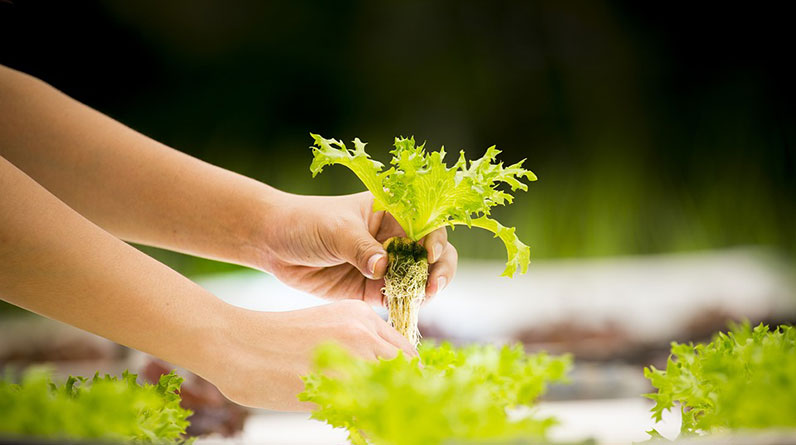
However, there’s nothing wrong with taking the shortcut with clones, especially if you’re looking to replicate a successful plant. Clones can help ensure that you’re getting a plant that has already shown it can thrive. Many hydroponic enthusiasts swear by them for certain crops, especially if you’re trying to maximize yield.
Ultimately, it’s all about personal preference and your goals. Both methods have pros and cons, and it’s worth experimenting to see what works best for you!
Harvest Timing
Timing your harvest has been one of the most challenging aspects for me. I learned the hard way that harvesting too early can mean less flavor and yield, while waiting too long can lead to overripe produce that isn’t as appealing. Finding that sweet spot is an art!
Always keep a close eye on your plants. Regularly check for signs of readiness—be it the color, size, or texture. I’ve found that using a calendar or growth journal to track the development can help me pinpoint the ideal time to harvest.
Don’t forget to research the specific plants you’re growing! Each plant has its own unique growth cycles. Once you know what to look for, you’ll find harvesting becomes so much more satisfying as you better understand the plant’s journey.
3. Maintaining Optimal Nutrient Levels
Understanding Nutrient Solutions
Nutrients are the lifeblood of your plants. When I started, I was totally blown away by all the different nutrient solutions and their concentrations. I realized, pretty quickly, that it’s crucial to tailor the nutrient levels based on the plants you’re growing. Some love a rich diet, while others prefer a more minimalist approach!
Learning about macronutrients like nitrogen, phosphorus, and potassium, as well as micronutrients is essential. You can’t just sprinkle a bit of everything willy-nilly; you need to know what your plants crave at different growth stages. For instance, during the flowering phase, they might need more phosphorus to support bud development.
I often refer to feeding schedules or charts that align nutrient levels with the plant’s growth stages. It’s like a cheat sheet for hydroponics! Keeping a close watch on the nutrient levels will support healthier growth, yield more robust plants, and avoid any nasty deficiencies.
Regular Monitoring
Monitoring nutrient levels became a sort of ritual for me, and I can’t emphasize enough how important this is! I check the pH and EC (electrical conductivity) regularly because these levels tell me just how well the nutrients and water are interacting.
I’ve learned that a stable pH level is critical because it affects nutrient uptake. Ideally, you want to keep it around 5.5 to 6.5 for most hydroponic crops. A slight divergence can affect growth, so I recommend investing in good testing kits and having them handy.
Documenting your readings over time helps you learn trends and anticipate potential issues before they arise. I’ve seen firsthand how being proactive instead of reactive keeps your plants happy.
Adjusting as Needed
Sometimes you’ll find that something just isn’t working and adjusting your nutrient solution is necessary. I went through phases where I had to tweak my nutrient levels based on what my plants were telling me. Maybe they were turning yellow—TIME TO ADD NITROGEN!
Listening to your plants is key. They respond remarkably to changes in their environment, and knowing how to interpret these signals has become a part of my gardening intuition. It adds an exciting challenge to the process as you become in tune with what they need!
Each crop is a unique journey, but with patience and observation, you can enhance your knowledge and skill. Experimenting can lead to some seriously rewarding experiences and better yields!
4. Managing Light and Environment
Light Sources and Types
In the beginning, I used natural sunlight and thought that was sufficient for my plants, but I quickly learned that it’s not always reliable, especially in less sunny seasons. It’s essential to understand the different types of grow lights available. I tried fluorescent, HID (High-Intensity Discharge), and LED lights on my hydroponic journey.
LEDs ended up being a favorite of mine—they’re energy-efficient and last for ages! Plus, they produce less heat, reducing the risk of damaging my plants. I adjusted the height of my lights regularly to make sure my plants received the right amount without getting burnt.
Understanding the light spectrum also played a significant role. When I learned that plants need different types of light throughout their growth stages (blue light for veg, red light for flowering), it transformed how I set up my light sources. It’s all about making sure your plants are as happy as can be!
Temperature and Humidity Control
Temperature and humidity control are super important to maintain healthy plants. I realized that a comfortable range of 70-75°F works wonders for most crops. I invested in a thermometer and hygrometer to track these factors closely. This also helps identify any changes in your setup that might require quick adjustments.
High humidity can lead to mold and other unwanted pests, while too low humidity can hinder growth. I learned to be mindful of the conditions my plants thrive in. If humidity started rising, I’d adjust my fans or even run a dehumidifier when necessary. Those small changes make a world of difference!
Additionally, I recommend keeping records of temperature and humidity levels during different times of the day. It helps forecast when adjustments are needed. Plus, it genuinely helps in developing a feel for your growing environment!
Pest and Disease Management
Pests and diseases can be a gardener’s worst nightmare! One day everything seems fine, and then suddenly, those little invaders show up. That’s when I learned the importance of being proactive. Regularly inspecting my plants became a habit. A quick check goes a long way in catching issues before they turn into major problems.
I also discovered various organic pest control methods, which were super helpful. Neem oil became my trusty sidekick in fighting off pests without harming my plants. Plus, keeping my growing area clean and organized helped reduce the risk of attracting unwanted critters.
Don’t forget that healthy plants are less susceptible to diseases! Ensuring that your plants have all the right conditions will keep them strong. If they are robust, they can fight off occasional invaders! It’s all part of the beautiful symbiosis of gardening.
5. Harvesting and Post-Harvest Care
Harvesting Techniques
Harvesting, oh man! It’s that moment we’ve all been waiting for! But I can’t tell you how many times I rushed in there without a game plan. Proper techniques are vital. Depending on the plants you’re dealing with, you may need to consider cutting them at the base or pinching off leaves. Each method can affect re-growth.
Timing and tools matter here, too! A clean, sharp pair of scissors or pruning shears helps avoid damage to your plants. I learned the hard way by using dull tools, which just made the task messier. A clean cut leads to better growth next time around.
Taking the time to harvest correctly pays off. I’ve noticed that plants tend to bounce back and produce more robust growth when treated right during harvest. Ensuring that you don’t disrupt the root system is particularly crucial to maintain their energy for future growth!
Post-Harvest Handling
After a bountiful harvest, it’s essential to handle your produce with care. I’ve seen too many heart-wrenching moments where excitement led to bruised fruits and veggies simply because I didn’t take extra care. The way you store and process your harvest can significantly affect the quality!
First and foremost, I recommend cleaning them thoroughly to remove any residues or pests. Depending on what you’re growing, proper washing methods can vary. I usually like to soak them in a vinegar solution, just to be safe. It adds that extra layer of cleanliness before anything else!
Storage is also a big deal! Some plants need refrigeration, while others thrive in a cool, dry place. I’ve learned the hard way what goes where—make sure to do your research on what your crops need post-harvest to maintain their crispness and freshness.
Enjoying the Fruits of Your Labor
There’s something fulfilling about enjoying food that you’ve cultivated yourself. Once the harvest is done, I love cooking up fresh salads, smoothies, or whatever else I can dream up! Sharing your bounty with friends and family is just the cherry on top of your hydroponic journey.
Take a moment to appreciate the hard work that went into growing those plants. Each leaf and fruit tells a story of your nurturing efforts. I often invite friends over to show off what I’ve grown, and it kicks off great conversations about gardening, recipes, and future plans.
Lastly, make sure to keep a journal of your experiences, what worked, and what didn’t, so you can always improve with each new crop cycle. That way, each harvest becomes a lesson in growth—quite literally!
Frequently Asked Questions
1. What is the easiest plant to grow in hydroponics?
Leafy greens like lettuce and spinach are often recommended for beginners due to their quick growth and resilience.
2. How often should I change the nutrient solution?
It’s generally good practice to change the nutrient solution every 2 to 3 weeks, depending on your plant’s growth stage and uptake rates.
3. Do I need grow lights for hydroponics indoors?
Yes! If you’re growing indoors and don’t have enough natural light, supplemental grow lights are crucial for healthy plant growth.
4. How can I tell if my plants are getting too much or too little water?
Too much water can lead to root rot, indicated by yellow leaves. Too little may cause wilting or brown tips. Regular checks can help prevent these issues.
5. What types of pests should I watch out for?
Common pests include aphids, spider mites, and whiteflies. Keeping your growing space clean and regularly inspecting your plants can help mitigate these invaders.


