Size a hydroponic pump by matching the required flow rate at the system’s total dynamic head, not by choosing a pump from its maximum gallons-per-hour rating. Measure vertical lift from the reservoir waterline to the highest outlet, add resistance from tubing, elbows, filters, emitters, and fittings, then select a pump curve that delivers the target flow at that head. A small recirculating system may need modest flow, while NFT channels, drip lines, and aeroponic sprayers impose different delivery requirements. Oversizing can cause splashing, leaks, heat, and unstable nutrient movement; undersizing leaves channels, emitters, or spray nozzles underfed.
Define the System’s Flow Requirement
The first sizing decision is the amount of solution the growing system must receive during operation. That requirement comes from the system design, not from reservoir volume alone. An NFT setup depends on a steady, shallow film across each channel; a drip system depends on the combined output of its emitters; and an aeroponic design may require pressure sufficient to atomize solution through its nozzles.
Write down the delivery points before comparing pumps. For a drip system, multiply the number of open emitters by each emitter’s rated output. Ten emitters rated at 1 gallon per hour require 10 gallons per hour before plumbing losses are considered. A pump that advertises 100 gallons per hour at zero lift may deliver far less once it pushes solution upward through narrow tubing. That zero-head figure is a maximum test value, not a working guarantee.
Hydroponic systems also need distribution rather than impressive flow at one outlet. If a manifold feeds several sites, uneven tubing lengths or clogged emitters can shift most of the flow toward the path with least resistance. NFT channels often need gentle, continuous delivery, whereas a spray system may need a stronger pressure profile. Follow the equipment manufacturer’s stated operating range when one is available.
A useful planning sequence is:
- List every outlet, emitter, channel, or spray nozzle.
- Calculate their combined rated demand.
- Decide whether the system needs continuous circulation or timed delivery.
- Allow practical capacity for head loss, fouling, and minor flow variation.
Do not compensate for uncertain design by buying the largest pump available. Excess flow can strip solution from channels, flood grow media, force open weak fittings, or create return turbulence that raises noise. A controllable pump or a valve on the discharge side may provide useful adjustment, but throttling is not a substitute for a pump whose curve suits the installation. The related topic How to size a hydroponic pump becomes much easier once the actual outlet demand is written down.
Calculate Head Height and Plumbing Resistance
Total dynamic head is the pressure burden the pump must overcome while moving nutrient solution. Begin with static lift: measure from the reservoir’s operating waterline to the highest point where solution is discharged. If that distance is 4 feet, the pump must overcome at least 4 feet of vertical lift. The measurement should use the normal low waterline, not a full reservoir, because the water level changes as the system runs.
Horizontal distance does not add vertical height, but long runs still create friction. Small-diameter tubing, sharp elbows, check valves, filters, tees, manifolds, and restrictive emitters all consume pressure. A tall tower with a short, wide supply line may be easier for a pump than a low bench with a long, narrow line and many branches. This is why two gardens with the same reservoir height can require different pumps.
Use the pump manufacturer’s head chart whenever possible. The chart may show flow at 0, 2, 4, or 6 feet of head. Choose the point at or above your calculated lift, then account for fittings and the delivery device. If a chart is unavailable, treat a pump’s maximum head as its shutoff height: it describes the point where flow approaches zero, not a useful operating rate.
For example, a reservoir below a two-tier rack might have 5 feet of lift, 20 feet of narrow tubing, two elbows, a check valve, and a manifold. A pump listed at 250 gallons per hour with a maximum head of 6 feet may be a poor choice because it is operating near its limit. A pump with a lower advertised free-flow number but a stronger curve at 5 feet may perform better.
Common mistakes include measuring to the top of the reservoir rather than the outlet, ignoring a check valve, and assuming a wider return line makes the supply pump stronger. The return line reduces backpressure only on the return path; it does not remove lift or restrictions before the growing sites. If you are changing tubing diameter, review How to size a hydroponic pump alongside the fitting sizes so the pump and plumbing are evaluated as one circuit.
Match the Pump Curve to Real Operating Conditions
A pump curve is the most useful comparison tool because it shows the relationship between flow and head. As head increases, delivered flow generally decreases. The target is the intersection between your required flow and the head imposed by the installation. A pump that reaches the desired gallons per hour only at zero head is not correctly sized for a raised hydroponic system.
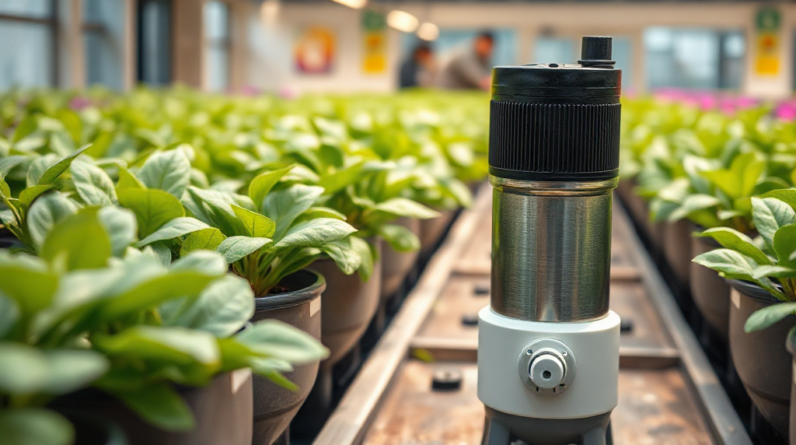
Submersible pumps are convenient for reservoirs and usually simplify priming, but their performance can change as the water level falls and as intake screens collect roots or debris. External pumps may offer stronger pressure or easier maintenance, yet they require careful plumbing, reliable seals, and protection against running dry. Neither style is automatically better; the choice depends on access, noise tolerance, system scale, and the consequences of interruption.
Choose a working point with some usable adjustment rather than operating at the edge of the curve. A variable-speed model can be helpful when seedlings, mature plants, or different channels have different demands. A fixed-speed pump can work well when the plumbing is simple and the outlet requirement is stable. A valve may reduce excessive discharge, but it adds resistance and can make a marginal pump ineffective.
Consider the pump’s compatibility with the solution. Nutrient deposits, biological material, and fine particles can restrict impellers and strainers. A pump designed for clean water may still need more frequent inspection in a garden reservoir. Confirm that the pump can run continuously if your crop system requires continuous circulation, and check the manufacturer’s electrical and operating instructions before connecting it in a wet area.
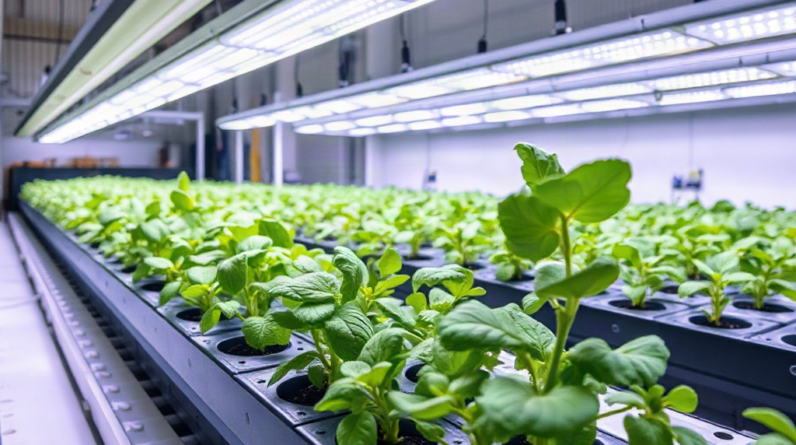
System type changes the decision. NFT needs dependable low-volume movement and a level installation; drip systems need enough pressure for the selected emitters; deep-water culture may use a water pump mainly for circulation while air pumps provide oxygenation; aeroponics may require a pump specifically suited to nozzle pressure. A pump selected solely by reservoir size overlooks the mechanism that actually moves solution to the roots.
Validate Flow, Noise, and Reliability After Installation
Real-world testing is the final part of sizing. Install the pump with the intended tubing, fittings, filter, manifold, and outlets, then measure flow at the growing sites. Collect discharge from an outlet for a timed interval and convert it to an hourly rate, or compare the result with the emitter’s expected output. Testing at the reservoir is misleading because it does not reveal losses at the delivery end.
Observe the system at both a full and low operating waterline. A pump that performs well when submerged deeply may lose output as the level drops. Watch for dry sections in NFT channels, pulsing drippers, weak spray patterns, excessive splashing, or a return stream that overwhelms the reservoir. These signs indicate a mismatch, a blockage, air entering the line, or a distribution problem rather than simply a need for more pump power.
Noise and heat are useful diagnostic clues. Rattling may indicate a blocked intake, trapped air, or an impeller issue. A warm pump housing can result from normal operation, but unusual heat combined with reduced flow deserves inspection. Keep the intake clear, clean deposits on the schedule appropriate to the water quality, and avoid allowing the pump to run dry. A backup plan matters for systems where a short interruption could dry roots or stop spray delivery.
Prioritize checks in this order:
- Confirm the waterline and measured vertical lift.
- Verify the pump curve at that lift.
- Measure flow at the farthest or highest outlet.
- Inspect intake screens, filters, and emitters for restriction.
- Secure fittings and monitor the system through a complete low-water cycle.
Do not use a valve to hide a distribution fault. If one channel receives too much solution while another receives too little, inspect manifold balance, tubing lengths, and blockages first. A balanced layout may outperform a larger pump. Keeping a short record of water level, measured outlet flow, cleaning dates, and unusual noise also makes future adjustments more precise. For plumbing decisions, How to size a hydroponic pump should be treated as an operating calculation, not a one-time product search.
Frequently Asked Questions
Should pump size be based on reservoir gallons?
No. Reservoir volume affects runtime and water management, but required pump output depends mainly on outlets, system type, lift, and plumbing resistance.
What does maximum head mean on a pump label?
Maximum head is approximately the height at which the pump produces almost no flow. Use the manufacturer’s flow curve to find useful output at your actual lift.
Can a pump be too powerful for hydroponics?
Yes. Excess flow may flood media, disturb NFT films, create splashing, stress fittings, and increase noise. Adjustable flow is preferable to uncontrolled oversizing.
How can flow be checked after installation?
Collect water from the highest or farthest outlet for a measured time and compare the result with the system’s required delivery. Test again at a low reservoir level.
Does larger tubing always solve weak flow?
Larger tubing can reduce friction, but it cannot remove vertical lift or a pump’s limited head capability. Check the complete path, including valves, filters, and emitters.
Further Reading
Authoritative Sources
- Academy of Nutrition and Dietetics
eatright.orgProfessional nutrition guidance, healthy eating resources, and practical dietitian-reviewed advice.
- U.S. Department of Agriculture
usda.govOfficial food, nutrition, agriculture, and consumer guidance from the USDA.
- NIH Office of Dietary Supplements
ods.od.nih.govResearch-based fact sheets on nutrients, supplements, dietary intake, and safety considerations.
- International Society of Sports Nutrition
sportsnutritionsociety.orgEvidence-informed sports nutrition resources and position stands for active people and athletes.
Conclusion
Reliable pump sizing comes from matching delivered flow to total dynamic head. Measure the lowest operating waterline, calculate the lift to the highest outlet, identify every restriction, and read the pump curve at that real operating point. Then test flow where the plants receive it rather than trusting the label’s free-flow rating. A modest, well-matched pump is often more useful than a powerful model that creates turbulence, leaks, or uneven distribution. Check the intake and emitters regularly, especially when nutrient deposits or roots can reduce flow. Before buying, write down the system type, outlet demand, lift, tubing path, and acceptable adjustment range; those details provide a defensible specification and make replacement decisions far less speculative.