Vertical hydroponic farming systems make limited floor space productive by arranging shallow-rooted crops in stacked channels, tower openings, or tiered trays while recirculating water and nutrients. The most practical layout preserves access for harvesting, reservoir service, airflow, and lighting rather than filling every possible vertical surface. Leaf lettuce, basil, arugula, and compact herbs generally fit these systems better than heavy fruiting plants with large root zones. Before building upward, verify ceiling height, loaded-floor capacity, drainage, electrical protection, and heat removal.
Choose a Vertical System That Fits the Room
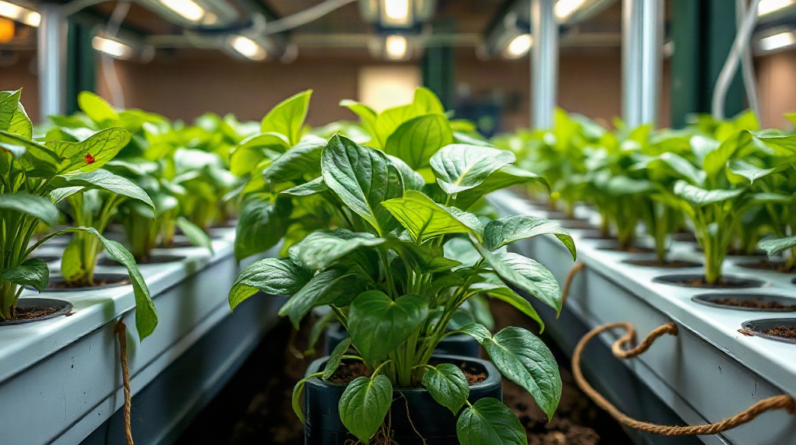
System geometry determines whether a compact installation remains workable after plants mature. A freestanding tower uses a small footprint and offers planting pockets around a central column, but the rear plants may be difficult to inspect if the tower sits against a wall. Stacked horizontal channels provide clearer access to roots and predictable water flow, yet their frames consume wall length and require enough depth for workers, lights, and plumbing. Multi-tier trays offer the greatest control over each level, although they usually demand more framing, fixtures, and pump capacity.
Ceiling height does not equal productive growing height. Space is needed above the upper canopy for lights, air circulation, plumbing, and safe maintenance. The bottom tier must also remain high enough to inspect drains and clean beneath the frame. A room with a low ceiling may therefore perform better with two accessible levels than with four cramped levels. Packing in an extra shelf often creates shaded leaves, trapped humidity, and fixtures that are too close to the canopy.
Consider how the nutrient solution moves before choosing a structure. Nutrient film technique channels carry a shallow stream past roots and suit lightweight leafy greens when channels are installed with a consistent slope. Drip-fed towers distribute solution near the top and collect drainage below, making them compact but sensitive to clogged emitters and uneven delivery. Flood-and-drain trays accommodate larger root modules, though the water held during each cycle increases structural loads. Deep-water containers are simple at one level but become heavy and awkward when stacked.
A practical comparison should include access from the start. A narrow rack on casters may outperform a fixed rack because it can move away from a wall for cleaning, provided hoses and electrical cords allow safe movement. Rotating towers can expose each side for inspection, but rotation does not correct poor light placement. Readers evaluating Hydroponic vertical farming systems for limited floor space should sketch the mature canopy, service aisle, reservoir, and drain path—not only the frame.
The common mistake is buying for planting-site count without checking the room around the unit. Select towers for very tight footprints and frequent hand access, horizontal channels for consistent leafy-green production, and tiered trays when independent crop zones justify the added equipment. If every plant cannot be inspected, harvested, and removed without dismantling adjacent levels, the layout is too dense.
Calculate Usable Capacity Before Adding Plant Sites
Usable capacity is limited by lighted canopy area, service access, utilities, and structural load rather than floor dimensions alone. Begin with a measured drawing that marks doors, outlets, drains, ceiling obstructions, vents, and any area that must remain clear. Then reserve a route wide enough to carry trays or harvested produce without brushing plants. The floor space left after those deductions is the true starting point for rack or tower placement.
Vertical clearance should be assigned level by level. Each tier needs room for the channel or tray, the crop at harvest size, the fixture and its mounting hardware, and a gap that allows air to move without scorching foliage. Basil allowed to grow tall needs more canopy clearance than baby lettuce. If shelves cannot be adjusted, one crop change may make the whole rack inefficient. Adjustable crossbars and removable levels cost space initially but preserve flexibility.
Water creates a load that is easy to underestimate. A reservoir, flooded tray, wet substrate, frame, lights, plants, and a person leaning on the unit all contribute to the floor and shelf load. Concentrating these loads on small caster wheels or narrow legs can be more demanding than spreading them across a broad base. Obtain the equipment’s filled weight from the manufacturer and confirm that shelves, anchors, floor, and wheels are suitable. Structural questions in an upper-floor room warrant review by a qualified building professional rather than guesswork.
A compact planning sequence keeps capacity claims realistic:
- Map fixed constraints: record room height, utilities, openings, drainage, and ventilation paths.
- Reserve working space: include access to every planting face, pump, filter, valve, and light.
- Draw mature plants: use expected canopy width and height instead of empty net-pot spacing.
- Check filled loads: account for water, wet media, equipment, and concentrated support points.
- Test one production cycle: measure growth uniformity and labor before expanding upward.
For example, two racks may physically fit along opposing walls, but servicing the rear plumbing could require pulling both into the center aisle. One wall rack and one accessible tower may provide fewer nominal sites while reducing spills and missed maintenance. Signs that the capacity calculation is working include easy canopy inspection, even fixture clearance, and unobstructed harvest movement. Repeated leaf damage, inaccessible drains, or temporary equipment stored in the aisle indicate that the plan has exceeded practical capacity.
Match Crops, Roots, and Canopies to the Structure
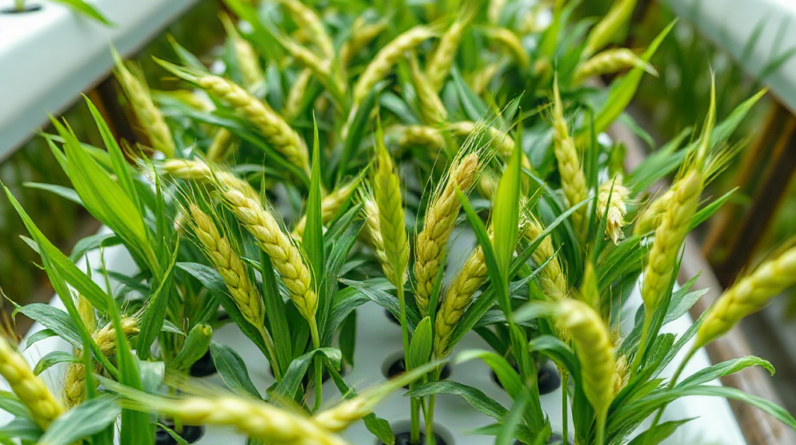
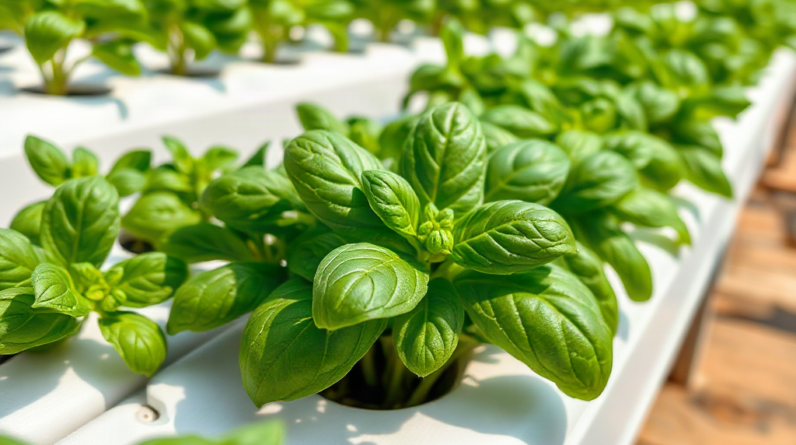
Compact crops convert vertical volume into harvestable canopy more efficiently than sprawling or top-heavy plants. Leaf lettuce, arugula, pak choi harvested young, basil, cilantro, and many culinary herbs are common candidates because their root zones can fit channels or modest modules and their canopies remain relatively predictable. Crop selection still depends on cultivar: a full-size lettuce or vigorous basil can crowd a tier designed around smaller plants.
Root architecture matters as much as foliage. Dense roots can bridge narrow channels, slow the returning solution, and create water backups that affect plants farther downstream. Tower roots may grow into a central drain or collection chamber, changing flow between upper and lower pockets. Regular root inspection is therefore part of crop scheduling. If mature roots repeatedly obstruct the system, reduce plant density, harvest earlier, choose a smaller cultivar, or move that crop to a tray with greater root volume.
Fruiting crops expose the limits of stacking. Tomatoes, cucumbers, peppers, and strawberries differ substantially, but all can require more support, pollination attention, light, or root space than leafy greens. A dwarf pepper on a generously spaced lower tier may be feasible; several vining cucumbers threaded through a narrow rack can block access and shade neighboring levels. Fruit weight also adds uneven loading. A single-level trellis beside a stacked lettuce rack is often more functional than forcing both crops into the same vertical frame.
Crop spacing should be based on harvest size, not seedling size. Closely packed seedlings initially make the installation look productive, then leaves overlap and restrict airflow. Inner foliage remains wet longer, lower leaves receive less light, and pests or damaged tissue become difficult to see. Staggered planting can reduce this pressure: instead of filling every opening on one date, maintain separate young, mid-growth, and harvest-ready sections. That approach also avoids a single oversized canopy overwhelming the room at once.
Use a small trial group to validate the crop-system pairing. Record whether upper and lower plants reach comparable size, whether roots interfere with drains, and how long harvesting and replanting take. The vertical hydroponic layout is working when canopy gaps remain visible, stems stay sturdy, and plants at difficult positions do not consistently lag. Persistent stretching, pale lower growth, tangled roots, or repeated pruning simply to preserve access means the crop or spacing should change.
Control Water, Light, Airflow, and Heat Across Every Level
Environmental uniformity becomes harder as levels are added. Water pressure, light intensity, air speed, and temperature can differ between the top and bottom of the same structure. A single reservoir may keep nutrient management simple, but it does not guarantee equal delivery. Long plumbing runs, elevation changes, clogged emitters, and roots in return lines can leave one section wetter or drier than another.
Test distribution with the system planted and operating, not merely when channels are empty. Observe flow at the first and last channel, compare tower outlets, and verify that return water reaches the reservoir without pooling. Filters should be reachable without moving plants, and each rack benefits from valves that permit isolation during cleaning. If one pump serves several elevated tiers, confirm that its flow at the required lift is adequate; the maximum flow advertised at little or no lift is not the relevant operating condition.
Lighting should be designed around each canopy plane. One bright fixture above a tall tower may produce an overlit top and shaded lower sides. Side lighting can improve exposure but may spill light into the room and complicate access. Tiered racks usually use a fixture above each shelf, which creates more uniform geometry while adding heat and electrical load. Reflective room surfaces can recover some stray light, but they cannot replace a fixture that fails to illuminate the crop face.
Air must move through foliage, not merely around the frame. Small fans aimed down an aisle may leave stagnant pockets under shelves and behind towers. Gentle circulation across each level helps moisture leave leaf surfaces, while exhaust or conditioned air removes heat and humidity from the room. Fans alone only redistribute heat. Condensation on cool surfaces, persistent leaf wetness, soft stretched growth, or a warmer upper tier are warnings that air exchange and heat removal are inadequate.
Electrical protection deserves equal attention because recirculating systems place water near pumps, fans, timers, and lights. Use equipment appropriate for the environment, keep connections away from splash and floor drainage paths, create drip loops where applicable, and follow local electrical requirements. Ground-fault protection and professional electrical work may be appropriate for wet growing areas. The recurring mistake is adding fixtures and pumps to an existing circuit without evaluating total load or heat. Expansion should stop when environmental uniformity or electrical capacity cannot be maintained safely.
Plan for Access, Cleaning, and Reliable Operation
Maintenance time often decides whether a space-saving system remains productive. Channels that cannot be opened, tower sections that require complete disassembly, and reservoirs trapped beneath fixed racks turn routine cleaning into a major task. Before installation, rehearse how a pump will be removed, how a blocked drain will be cleared, and where solution will go during a leak. A compact setup should shorten these tasks rather than hide them.
Design the water path so failures are contained. Place reservoirs where their level and temperature can be checked, support hoses to prevent kinks, and secure return lines that could jump out of a container. A catch surface or appropriately planned drainage may limit damage, but it must not conceal slow leaks. Water sensors can provide an early warning; they do not replace daily inspection of fittings, floors, and reservoir level.
Cleaning is easier when the operation has distinct plant batches. After harvesting one channel or tower section, remove roots and crop debris before replanting. Inspect emitters, returns, seals, and support hardware while surfaces are exposed. Avoid mixing incompatible cleaning products, follow equipment and product labels, rinse as directed, and keep residues away from active roots. A system that cannot be cleaned between batches is usually too crowded or too integrated for its room.
Operational resilience also requires a response to pump or power failure. The urgency varies by system: roots in a thin-flow channel can dry more quickly than roots held in a moisture-retentive medium. Keep spare connectors, an appropriate replacement pump, and a written map of valves and circuits available. Alarms or remote monitors may be useful where the garden is unattended, but test notifications and backup power assumptions rather than trusting them automatically.
Track a few direct observations: daily reservoir change, visible flow at remote outlets, canopy condition by level, root buildup, and time spent harvesting or cleaning. Rising labor, repeated clogs, uneven plants, and hard-to-reach leaks indicate that nominal yield is being purchased with operational risk. A smaller number of accessible planting sites may deliver more usable produce over successive cycles. For a deeper layout review, compare the room plan with the service requirements described for Hydroponic vertical farming systems for limited floor space before adding another tier.
Frequently Asked Questions
Which vertical hydroponic design uses the least floor space?
A freestanding tower usually has the smallest footprint, but its full space requirement includes access around planting faces, the reservoir, lighting, and room for maintenance.
How many tiers should a small indoor system have?
Use only the number that allows mature crop clearance, individual lighting, airflow, and safe access. Two well-spaced tiers may outperform a taller rack with shaded, inaccessible plants.
What crops are easiest to grow in a compact vertical setup?
Leaf lettuce, arugula, compact Asian greens, basil, and smaller culinary herbs are practical starting choices because their canopies and root zones are relatively manageable.
Can tomatoes grow in a vertical hydroponic rack?
Compact tomatoes may work with sufficient root volume, support, light, and canopy clearance, but a dedicated trellis often suits them better than closely stacked shelves.
What should be checked before placing a vertical farm upstairs?
Calculate the filled weight of water, wet media, plants, frames, and equipment, including loads concentrated through legs or casters. Consult a qualified building professional when floor capacity is uncertain.
Conclusion
A compact vertical farm should be designed from the mature canopy and maintenance route backward. Choose a structure that suits the crop’s roots and growth habit, then reserve vertical clearance for fixtures, airflow, and hands-on work. Verify filled weight, electrical capacity, drainage, and pump performance before expanding the planting count. During the first cycle, compare growth and water delivery at different heights while recording clogs, heat pockets, and service time. If lower plants lag, upper leaves overheat, or equipment cannot be reached without disturbing crops, remove density before adding technology. The strongest next step is a scaled room drawing followed by one modest, fully accessible installation. Its operating record will reveal whether another tier creates useful canopy or merely shifts the constraint to light, climate control, and labor.