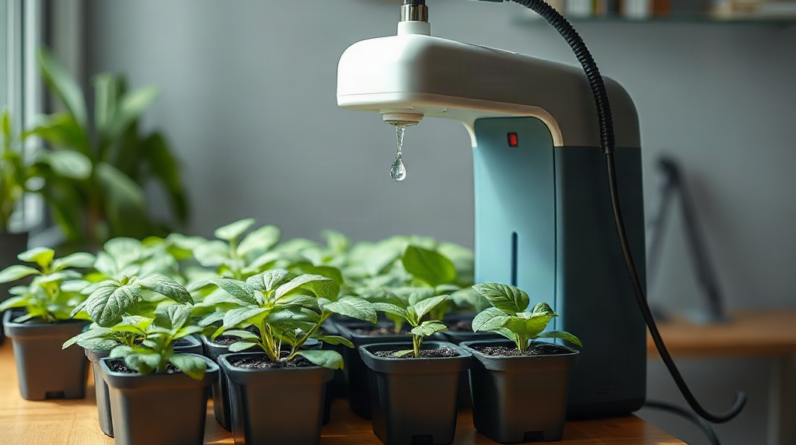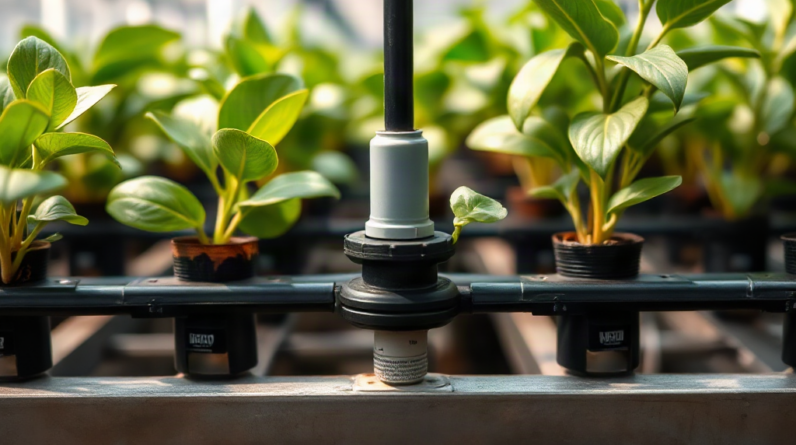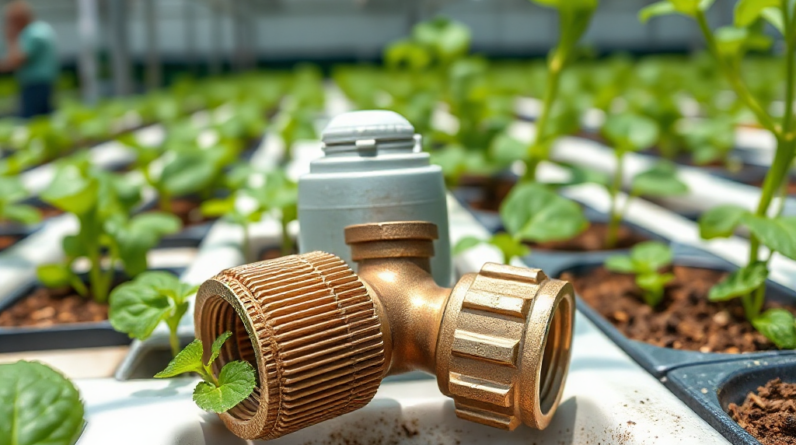
Preventing leaks at hydroponic fittings depends on matching each connector to the tubing, making a square clean cut, seating the tube fully, and testing the joint before plants or equipment are at risk. Drip emitters, bulkhead fittings, threaded adapters, and pump connections fail for different reasons, including crooked cuts, overtightened threads, damaged O-rings, side loads, and tubing that is too soft or undersized. Shut off the pump before inspection, dry every joint, and run a short pressure test while watching for a bead of water rather than waiting for a visible stream. PTFE tape belongs on compatible tapered threads, not on compression or push-fit connections, where it can interfere with sealing.
Why Hydroponic Fittings Leak
Hydroponic leaks usually begin at a connection where sealing surfaces, tubing dimensions, or mechanical alignment do not match. A fitting may look tight while a narrow gap remains around the tube, thread, gasket, or barb. Recirculating systems expose that weakness repeatedly because pump pressure, vibration, temperature changes, and nutrient solution movement act on the joint for hours each day.
The first useful distinction is between a connection that seals against a tube and one that seals against another fitting. Push-fit connectors grip tubing with an internal collet and seal it with an O-ring. Compression fittings deform a sleeve around the tube. Barbed fittings rely on elastic tubing stretched over ridges, while threaded adapters use mating threads plus a sealant or gasket appropriate to that thread design. Treating all four types as if they need the same tightening method is a common source of trouble.
Small leaks can create more than a wet spot. A slow loss from a nutrient line may lower reservoir volume, alter concentration, wet electrical equipment, or leave a pump starved of water. A leak in a drain line can be harder to notice because the solution may run behind a channel or into a tray. Inspect the entire path, including the underside of containers and the point where flexible tubing enters a rigid wall.
A practical first check is to identify the exact escape route. Dry the joint, wrap a clean paper towel around it, and operate the pump briefly. Moisture at the tube entrance suggests a tube, O-ring, or insertion problem; moisture around male and female threads points to thread damage, poor alignment, or an unsuitable sealant. Water emerging from a bulkhead face usually indicates a gasket position or surface problem rather than a need to tighten the attached hose.
Do not assume more force will solve a leak. Overtightening can distort a plastic fitting, squeeze an O-ring out of its groove, crack a reservoir wall, or damage threads that were sealing acceptably. The safer repair begins with identifying the fitting type and the sealing surface.
Selecting Compatible Fittings and Tubing
Leak prevention starts before installation: the tube outside diameter, fitting standard, material, and operating conditions must agree. A tube that is nominally close to the correct size may still be too loose for a push-fit seal or too large for a compression sleeve. Check the manufacturer’s dimensions rather than matching by visual appearance. Clear vinyl, polyethylene, silicone, and reinforced hose also behave differently under a clamp or barb.
Flexible tubing should be chosen for the job. Soft silicone can seal well on a barb but may pull off when a pump hose is bent sharply. Polyethylene tubing is often better suited to push-fit irrigation connections, provided its outside diameter is exact and its cut is clean. Reinforced hose may need a different adapter because its wall thickness can prevent a standard barb from gripping correctly. A reducer or coupler is preferable to forcing two incompatible tubes onto one fitting.
Material compatibility matters when nutrient concentrates, cleaners, or disinfectants contact the plumbing. A fitting that tolerates water may become brittle, swollen, or less flexible after repeated exposure to a particular chemical. Follow the tubing and fitting maker’s compatibility information, especially for systems cleaned with oxidizing products. Avoid relying on adhesive as a substitute for a properly matched mechanical connection; glue can make later inspection difficult and may not bond reliably to wet or flexible plastic.
Bulkhead fittings deserve special attention because their gasket seals a surface, not the hose. The tank wall must be smooth, flat, and free of burrs around the hole. Place the gasket on the side specified by the fitting design, then tighten the nut enough to compress it evenly. A thicker gasket is not automatically better: it may prevent the nut from engaging correctly or allow the fitting to shift.
For a small grow rack, inexpensive push-fit connectors can be convenient and easy to service. A larger pump line may benefit from a robust barb, suitable clamp, and supported hose because vibration and movement place more load on the joint. The tradeoff is serviceability: push-fit parts disconnect quickly, while clamped barbs can be more resistant to accidental pullout but take longer to inspect and replace. A useful related reference is Preventing leaks at hydroponic fittings, particularly when planning a new plumbing layout.
Installation Methods That Protect the Seal
A reliable connection begins with a square cut and a clean sealing surface. Use a sharp tubing cutter or blade suited to the hose, and remove crushed edges, plastic curls, and dirt. An angled cut leaves one side of the tube less deeply engaged than the other, which can expose part of an O-ring or create a channel for water. Never push a visibly scratched tube end into a precision push-fit fitting and expect the internal seal to compensate.
For push-fit connections, mark the required insertion depth on the tube with a pen. Push the tube through the collet and past the O-ring until it reaches the internal stop, then pull gently to confirm that the collet has gripped it. A tube that appears inserted but has not passed the seal may hold briefly at low flow and leak once pressure rises. To remove it, press the collet while pulling the tube; twisting or yanking can damage the fitting.
Barbed fittings need enough tubing engagement to cover the barbs without splitting the hose. Warming stiff tubing in warm water can make installation easier, but do not use an open flame or overheat the plastic. A clamp should sit behind the last barb rather than on the very end of the hose. The clamp must be snug and evenly positioned, not tightened so far that it cuts into soft tubing. A short unsupported hose attached to a vibrating pump can still leak even when the barb and clamp are correct, so add a bracket or strain relief.
Threaded connections require a different approach. Confirm whether the threads are tapered or parallel and whether a gasket is intended. Use PTFE tape only where the fitting manufacturer permits it, wrapping in the tightening direction and keeping the first thread clear. Tape cannot repair cross-threading, a cracked female socket, or a missing flat washer. Thread parts together by hand first; resistance at the start usually signals misalignment. Stop when the fitting is correctly oriented instead of forcing it into position and stressing the plastic.
Assemble fittings without side pressure from the tubing. If a line must bend immediately at the connector, use an elbow or extend the straight section before turning it. A frequent mistake is installing the fitting correctly and then using the hose to pull a reservoir, channel, or pump into alignment. Support each component independently so the joint only carries fluid pressure, not structural movement.
Pressure Testing and Finding Small Leaks
Test plumbing before adding plants, nutrient solution, or electrical loads. Fill the system with plain water and run the pump for a controlled interval long enough to expose cycling, vibration, and drain behavior. Plain water makes cleanup easier and prevents an early leak from wasting fertilizer. Keep electrical connections protected and use the system’s normal operating position, since a fitting can behave differently when a reservoir or channel is tilted.
Inspect joints in a deliberate order: pump outlet, pressurized supply manifold, emitters, return line, bulkheads, and reservoir penetrations. Look for a glossy ring, a growing droplet, dampness under a fitting, or water tracking along a tube. A towel or tissue can reveal a pinhole that is invisible on dark plastic. Mark any suspect joint, shut down the pump, dry it completely, and retest after the repair rather than adjusting several connections at once.
Pressure testing should imitate normal conditions without exceeding the system’s design limits. Do not block a return line to create artificial pressure, and do not use compressed air on fittings or containers that are intended only for water service. If a drip appears only when the pump starts, inspect for a loose tube, pump vibration, or a pressure surge. If it appears after the system warms, examine tubing expansion and whether a softened hose has relaxed over a barb.
When a leak is found, replace the damaged sealing component rather than smearing sealant over the outside. A cracked push-fit body, nicked O-ring, split tube, or distorted bulkhead gasket is unlikely to become dependable through patching. Clean the surrounding area and check for secondary damage, such as a wet power strip, swollen wood shelf, or nutrient residue that could attract debris and obscure a later leak.
Use a simple commissioning checklist before regular operation:
- Confirm every tube is the correct size and fully seated.
- Check that bulkhead gaskets are flat and nuts are evenly tightened.
- Support pump hoses and sharp bends.
- Run water through the system while inspecting both sides of each connection.
- Recheck the plumbing after the first operating cycle and after moving equipment.
Maintenance, Repairs, and Long-Term Reliability
Leak prevention continues after installation because tubing and seals age. Heat from grow lights, ultraviolet exposure, repeated disconnection, algae or mineral deposits, and cleaning chemicals can change the fit of a connection. During reservoir changes, inspect areas that are normally hidden and flex the tubing gently. A stiff, cloudy, swollen, cracked, or permanently flattened tube is a replacement candidate even if it has not leaked yet.
Schedule checks around events that disturb plumbing: filter cleaning, pump replacement, reservoir relocation, crop-channel adjustment, and winter storage. A fitting that survives steady operation may fail after a hose is disconnected and reinserted with a worn end. Cut back to fresh tubing when enough length is available; otherwise replace the short section. Reusing a tube end that has taken a set around a barb can prevent a new seal from forming.
Mineral residue can make a joint appear to be sealing because dried salts bridge a tiny gap, then dissolve during the next flush. Remove deposits according to the equipment maker’s cleaning instructions, rinse thoroughly, and inspect the actual sealing face. Do not scrape plastic threads with a metal tool or use a cleaner that the fitting material cannot tolerate. If a gasket has flattened or developed a permanent crease, replacement is more reliable than extra tightening.
Plan for failure containment as well as leak avoidance. Keep electrical equipment above possible splash zones, route tubing so a drip falls where it can be seen, and use a tray or secondary basin beneath reservoirs and manifolds. A normally closed shutoff valve can limit the amount of water released during a hose failure, although it adds another connection that must itself be checked. Label supply and return lines so an emergency shutdown does not lead to an incorrect reconnection.
Small systems often tempt owners to inspect only when a plant wilts or the reservoir level drops. That approach misses slow leaks and makes diagnosis harder because several variables change at once. Add a quick visual check to routine feeding or reservoir work, and record which parts were disconnected. For more plumbing-related planning, review the fitting layout alongside your system maintenance notes. Reliable connections come from compatible parts, controlled installation, supported tubing, and repeatable testing—not from maximum tightening force.
Frequently Asked Questions
Should PTFE tape be used on every hydroponic fitting?
No. It is intended for compatible threaded joints, not push-fit, compression, or barbed connections. A gasket or internal O-ring provides the seal in many fittings.
Why does a push-fit connector leak after installation?
The tube may be cut unevenly, scratched, undersized, or not inserted past the internal O-ring. Remove the tube, cut back to clean material, and reseat it to the marked depth.
How tight should a plastic bulkhead fitting be?
Tighten it enough to compress the gasket evenly without distorting the tank wall or gasket. If it still leaks, check gasket placement, surface damage, and hole size before applying more force.
Can a hose clamp stop a leak at a barb?
A suitable clamp may improve a correctly sized barbed connection, but it cannot fix a split hose, wrong diameter, inadequate barb engagement, or a cracked fitting. Replace the damaged part when necessary.
When should hydroponic plumbing be pressure-tested?
Test it before planting, after any fitting or pump change, after moving the system, and whenever a reservoir level or wet surface suggests a leak. Plain water is usually the simplest test medium.
Further Reading
Authoritative Sources
- Academy of Nutrition and Dietetics
eatright.orgProfessional nutrition guidance, healthy eating resources, and practical dietitian-reviewed advice.
- U.S. Department of Agriculture
usda.govOfficial food, nutrition, agriculture, and consumer guidance from the USDA.
- NIH Office of Dietary Supplements
ods.od.nih.govResearch-based fact sheets on nutrients, supplements, dietary intake, and safety considerations.
- International Society of Sports Nutrition
sportsnutritionsociety.orgEvidence-informed sports nutrition resources and position stands for active people and athletes.
Conclusion
Dependable hydroponic plumbing comes from treating each fitting according to its sealing design. Match tubing dimensions, make clean square cuts, seat push-fit tubes fully, support pump hoses, position bulkhead gaskets correctly, and use thread sealant only where the joint calls for it. A short water test before commissioning can reveal installation errors while cleanup is still simple. Afterward, inspect connections whenever equipment is moved, tubing is disconnected, or cleaning exposes mineral buildup. Prioritize pressurized joints and fittings near electrical equipment, then add visible routing, shutoff access, and secondary containment where a failure would be costly. When a leak persists, replace the damaged tube, O-ring, gasket, or fitting instead of relying on extra torque or exterior sealant.
Related Content
- Hydroponic pH Balance: Key Factors for Healthy Plant Growth
- The Ultimate 2025 Guide to Hydroponic Growing Towers: 10 Effective Strategies to Boost Your Harvest
- When Hydroponic Air Stones Need Replacement: Symptoms, Timing, and What to Check
- Top Maintenance Tips for Hydroponic Water Quality
- How Difficult is it to Build a Hydroponic Gardening System?