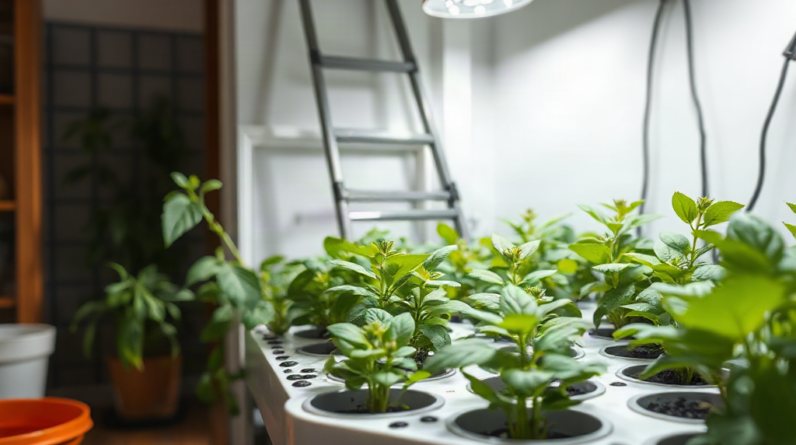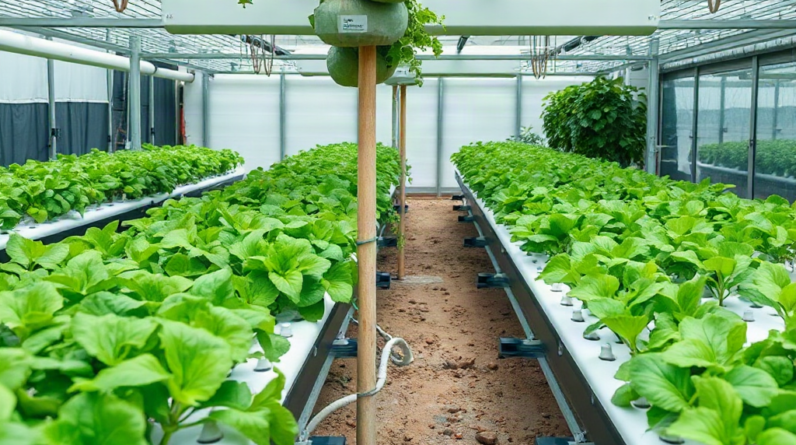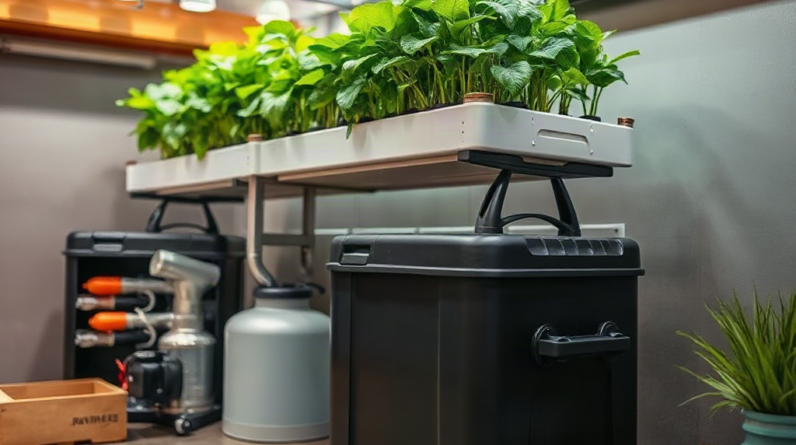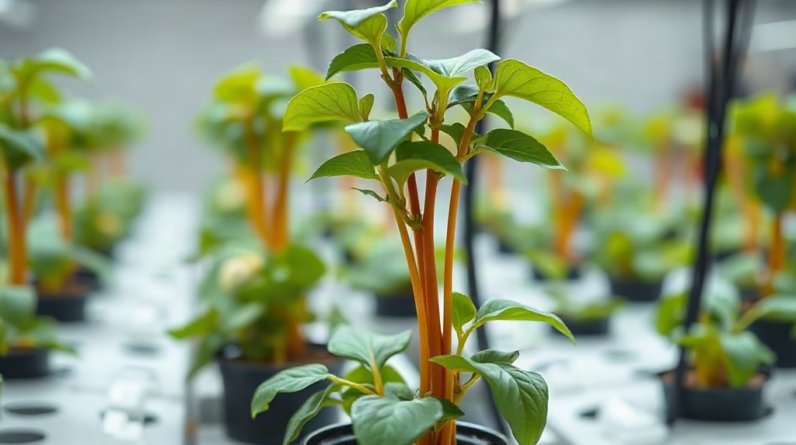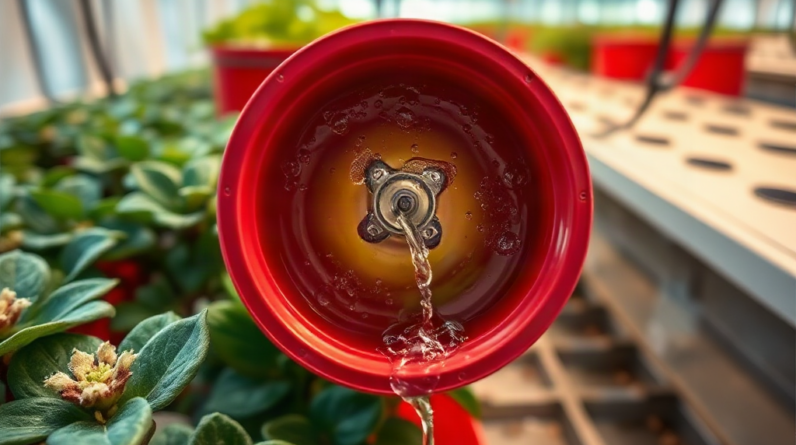
Repairing rather than replacing hydroponic equipment is usually the better choice when the fault is isolated, the frame and food-contact parts remain sound, and a replacement component can restore reliable operation. Begin by unplugging the unit, identifying whether the failure is electrical, mechanical, hydraulic, or structural, and testing the affected part separately. A clogged pump intake, worn impeller, split hose, loose fitting, failed timer, or damaged power cord may be replaceable without discarding the reservoir or growing channel. Replacement is safer when plastic is cracked, wiring has overheated, leaks reach electrical components, corrosion is extensive, or repair costs approach a dependable new unit. Record the fault and test the repaired equipment under observation before returning plants to normal operation.
Why Repairing Equipment Often Makes Sense
Repairing hydroponic equipment makes practical sense when the failed part is modular and the rest of the installation remains in good condition. A pump, air stone, timer, tubing section, float valve, fan, or connector can fail while the reservoir, channels, lighting frame, and support structure are still usable. Replacing only the defective component reduces waste and avoids the setup changes that come with installing an unfamiliar unit.
The financial benefit is not limited to the purchase price. A complete replacement may require new fittings, different hose sizes, altered mounting points, or a revised electrical arrangement. Those changes can introduce leaks or circulation problems during a crop cycle. For example, replacing a small submersible pump with a model that has a higher flow rate may create excessive turbulence, empty a reservoir too quickly, or overwhelm a return line. A correctly sized impeller or replacement pump may restore the original design with less disruption.
Repairing also preserves useful knowledge about how the installation behaves. When a grower opens a clogged intake or replaces a cracked elbow, the cause of the failure becomes visible. That information can lead to a simple improvement, such as adding an intake screen, supporting a heavy hose, or moving a timer away from splash exposure. The common mistake is treating every malfunction as proof that the entire system has reached the end of its life.
Repair is not automatically the sustainable or economical option. Time, access to parts, tool requirements, and the consequence of another failure all matter. A low-cost fitting may be worth changing immediately, while a sealed electrical device with burn marks may not justify experimentation. The useful comparison is not repair cost versus the sticker price of new equipment; it is repair cost and risk versus the value of dependable operation during the current crop.
For broader planning, the decision can be considered alongside Repairing rather than replacing hydroponic equipment as part of a maintenance record rather than an isolated emergency response.
How to Diagnose a Repairable Failure
Diagnosis should begin with isolation, not disassembly. Switch off power, unplug the system, and prevent water from reaching outlets, power strips, and exposed connections. Note the symptom before touching anything: no flow, weak aeration, intermittent lighting, a persistent leak, unusual heat, vibration, noise, or an unexpected change in reservoir level. A clear symptom narrows the search more effectively than replacing several parts at once.
Hydroponic failures usually fall into four useful groups. Hydraulic problems include blocked tubing, air locks, loose fittings, and clogged pump screens. Mechanical problems include worn impellers, seized bearings, cracked brackets, and stripped threads. Electrical problems include failed timers, damaged cords, loose terminals, and overheating components. Structural problems involve split reservoirs, warped channels, degraded seals, and mounting points that no longer hold equipment securely. Each group has a different repair boundary.
Test one variable at a time. If a pump hums but does not move liquid, inspect the intake, impeller, and water level before declaring the motor defective. If a light flickers, test the timer and power connection separately, then check for heat or discoloration at the plug. If a fitting leaks, dry the area completely and observe whether the leak originates at the threaded joint, tubing wall, gasket, or a crack in the fitting. Water tracking along a hose can make the source appear farther away than it is.
A useful inspection record includes the equipment model, observed symptom, suspected cause, part removed, repair performed, and test result. The record prevents repeated guesswork and helps identify patterns. A hose that fails after being sharply bent is a handling issue; repeated pump blockage points toward debris management or insufficient filtration. The weak assumption is that the first visible defect is the only defect. A clogged intake may coexist with an impeller damaged by running dry.
When a repair requires opening a sealed mains-powered device, replacing internal wiring, or bypassing a safety feature, stop and consult the manufacturer’s instructions or a qualified technician. Low-voltage modules still deserve careful handling because moisture and improvised connections can damage plants, equipment, or the grow area.
Components Worth Repairing or Replacing
Small, accessible components are the strongest candidates for repair because their failure can be corrected without disturbing the main growing structure. Tubing, barbed connectors, clamps, gaskets, check valves, air stones, pump strainers, and float assemblies are often easy to inspect and exchange. Cleaning may be enough when mineral deposits or algae restrict a passage. A replacement is more appropriate when flexible plastic has hardened, become cloudy and brittle, or no longer seals after cleaning.
Pumps require closer judgment. A pump with a blocked intake or removable impeller may return to service after cleaning and inspection. A grinding sound can indicate debris, a worn impeller, or a damaged shaft. Running it repeatedly while dry can worsen the damage, so a short water test is preferable to prolonged operation. Match a replacement by flow requirement, lift height, outlet size, and continuous-duty rating rather than choosing the largest available model. Excess capacity is not a universal improvement.
Air pumps and air stones show a similar distinction. A split airline or clogged stone is a component problem; a hot, noisy pump with an unstable output may be nearing failure. Replacing the stone alone will not fix a weak diaphragm. Likewise, a timer that loses its schedule may be replaced if the surrounding connection is dry and undamaged, but heat marks or melted plastic should prompt removal from service rather than another test.
Growing channels and reservoirs can sometimes be repaired when a nonstructural fitting seat leaks and the material remains rigid. Repairs involving food-contact surfaces deserve extra caution: adhesives, sealants, and tapes must be compatible with the manufacturer’s intended use and fully cured before contact with nutrient solution. A patch that holds during a five-minute test may fail after constant pressure, temperature changes, or cleaning.
Before ordering a part, compare the repair with the alternative of a dependable new component. Check dimensions, thread type, voltage, wattage, connector style, and whether the part is intended for continuous operation. A generic replacement may fit physically but perform poorly or lack suitable moisture protection. The practical goal is not merely to make equipment run; it is to restore predictable flow, aeration, lighting, or containment.
Keep a small inventory of failure-prone items such as tubing, clamps, spare gaskets, air line, and a correctly rated pump. That preparation is more useful than storing complete duplicate systems, although critical commercial installations may justify redundancy. A related maintenance record can be linked through equipment repair decisions for hydroponic gardens without treating every part as equally repairable.
When Replacement Is the Safer Decision
Replacement is usually the better decision when damage affects containment, electrical safety, or the reliability of a critical process. A reservoir with a spreading crack, a channel that has become brittle, a power cord with exposed conductors, or a pump housing that leaks into its electrical section should not be kept in service because a temporary patch appears to work. Hydroponic equipment operates around water, so a small defect can become a larger hazard under continuous use.
Structural condition matters more than age alone. Older equipment may remain serviceable if it is rigid, cleanable, and supported correctly. Newer equipment may deserve replacement after a single incident if heat, chemical exposure, or impact has changed the material. Inspect for warping, chalky plastic, stress lines around screw holes, swollen seals, corrosion, and darkened electrical contacts. These signs suggest that the failure may not be limited to the first part noticed.
Replacement also becomes sensible when the same repair has failed repeatedly. A hose connection that loosens because the pump vibrates needs better support or a different fitting, not endless retightening. A timer that fails after repeated splash exposure points to placement and protection problems. Repeating a temporary fix can cost more in lost plants and cleanup than replacing the underlying component.
Use a simple decision screen:
- Repair: the fault is isolated, the main material is sound, and the repair can be tested safely.
- Replace the component: the part is worn or damaged, but the surrounding installation is suitable and compatible.
- Replace the assembly: several linked parts are degraded, parts are unavailable, or reliability is uncertain.
- Stop and seek qualified help: mains wiring, overheating, recurring electrical trips, or hidden water intrusion is involved.
Do not judge the outcome by purchase cost alone. A cheap replacement that changes flow or mounting may create new problems, while a modest repair may preserve a stable crop environment. Conversely, saving an old part is not worthwhile if failure could drain a reservoir, interrupt aeration overnight, or expose electricity to nutrient solution.
A Testing and Maintenance Workflow
A repaired unit should be tested away from plants before it is trusted with a full crop. Reassemble the part according to its instructions, confirm that seals and clamps are seated, and run the equipment with clean water where practical. Watch the repair continuously at first, then inspect it again after the system has operated long enough to reveal vibration, heat buildup, pressure changes, or a slow leak.
For a circulation repair, confirm that the return stream is steady and that the pump does not run dry as the reservoir level changes. For aeration, inspect bubble output at more than one point in the cycle rather than relying on a brief burst. For lighting or timers, observe the complete on-off schedule and check that connections stay cool. A successful short test shows function; a longer supervised test provides evidence of stability.
Clean the surrounding area before returning the equipment to service. Debris left near an intake can immediately recreate the original blockage, and spilled nutrient solution can accelerate corrosion on nearby metal contacts. Record the date and part changed. If the repaired component fails again, that history supports a better decision about replacing the assembly.
Preventive maintenance should match the component. Inspect pump intakes and tubing during reservoir changes, examine gaskets when fittings are opened, keep timers and power connections above splash zones, and avoid forcing rigid tubing onto undersized barbs. Follow manufacturer cleaning limits; aggressive scraping or incompatible solvents can damage surfaces that looked sound before maintenance began.
The clearest sign that a repair is working is stable operation without compensating adjustments: no repeated priming, no unexplained reservoir loss, no rising motor temperature, and no need to reposition a hose each day. Failure signs include intermittent flow, renewed seepage, burning odor, unusual vibration, erratic scheduling, or a repair that only holds when equipment is left untouched. At that point, stop testing and reassess the part and the original cause.
For a more complete maintenance decision, use a repair-versus-replacement checklist for hydroponic equipment before purchasing a full new setup.
Manufacturer manuals and service documentation are the most useful references for model-specific pump ratings, electrical limits, compatible seals, cleaning methods, and approved replacement parts. When a repair involves household voltage or damaged wiring, consult official electrical-safety guidance or a qualified professional instead of relying on improvised modifications.
Frequently Asked Questions
Is repairing hydroponic equipment always cheaper than replacing it?
No. Include labor, downtime, compatible parts, and the risk of another failure. A simple hose or gasket repair is often economical, while repeated repairs to a degraded assembly may cost more than replacement.
Can a clogged pump be repaired?
Often, yes. Unplug it, clean the intake and removable impeller, inspect for shaft or housing damage, and test it in water. Replace it if output remains unstable, the motor overheats, or the housing leaks.
When should a leaking reservoir be replaced?
Replace it when the crack is structural, spreading, difficult to access, or close to an electrical area. A minor fitting leak may be repairable if the reservoir material itself remains rigid and intact.
How can repaired equipment be tested safely?
Use clean water where possible, keep electricity protected from splash, observe the equipment during operation, and check for leaks, heat, vibration, pressure changes, and schedule errors before reconnecting it to plants.
Should generic replacement parts be used?
Only when voltage, flow, dimensions, materials, connectors, and continuous-duty requirements match. Physical fit alone does not establish safe or reliable performance.
Conclusion
Repairing rather than replacing hydroponic equipment works best when the failure is clearly isolated and the main installation remains structurally sound. Diagnose the symptom with power disconnected, separate hydraulic, mechanical, electrical, and structural faults, then choose a compatible part instead of a merely convenient one. Pumps, tubing, fittings, gaskets, air stones, and timers are often practical repair targets; cracked reservoirs, overheated wiring, recurring electrical faults, and degraded plastic deserve a more cautious response. Test every repair with clean water or under supervised conditions before relying on it during a crop cycle. A short maintenance record, a few spare consumables, and attention to the original cause can prevent a minor fault from becoming a crop loss or safety problem.
Related Content
- Say Goodbye to Traditional Gardening Struggles
- The Ultimate 2025 Guide to Growing the Best Hydroponic Tomatoes at Home
- The Ultimate Guide to 10 Effective hydroponic gardening indoors Strategies for 2025
- The Ultimate Guide to Hydroponic Nutrient Solution: 7 Effective Tips for 2025
- Hydroponic Growing for Beginners: A Complete Guide