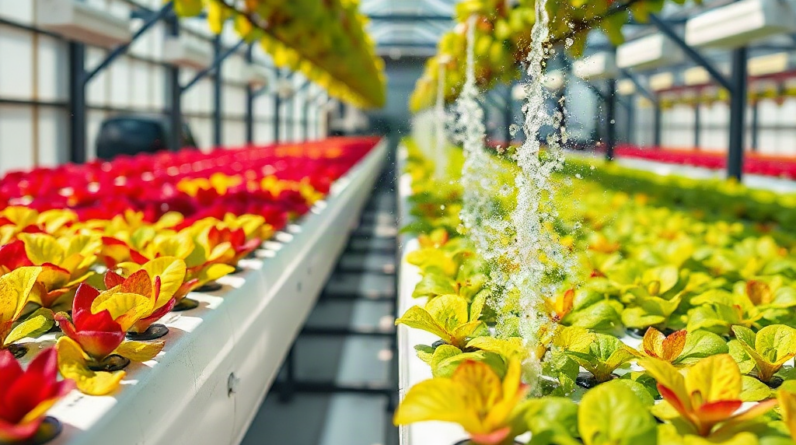
Reduce splashing in active hydroponic systems by lowering excessive pump flow, shortening the nutrient solution’s drop distance, securing return lines, and covering exposed reservoirs or channels. Begin at the splash source: adjust a valve or bypass rather than restricting the pump intake, then position the outlet close to the solution surface without submerging it so deeply that drainage backs up. Diffusers, elbows, or return manifolds can spread concentrated flow when simple repositioning is insufficient. After each correction, check aeration, root-zone circulation, drain capacity, electrical connections, and nearby foliage so a quieter return does not create stagnant water, leaks, or wet leaves.
Locate the Actual Source of the Splashing
Splash control starts with observing where moving nutrient solution first becomes airborne. A wet reservoir rim does not necessarily mean the reservoir return is responsible. Droplets may be traveling from an uncovered air stone, a misaligned drip emitter, a turbulent drain fitting, or water striking exposed roots before reaching the floor or lid. Dry the surrounding surfaces, run the system, and watch one circuit at a time under normal operating conditions.
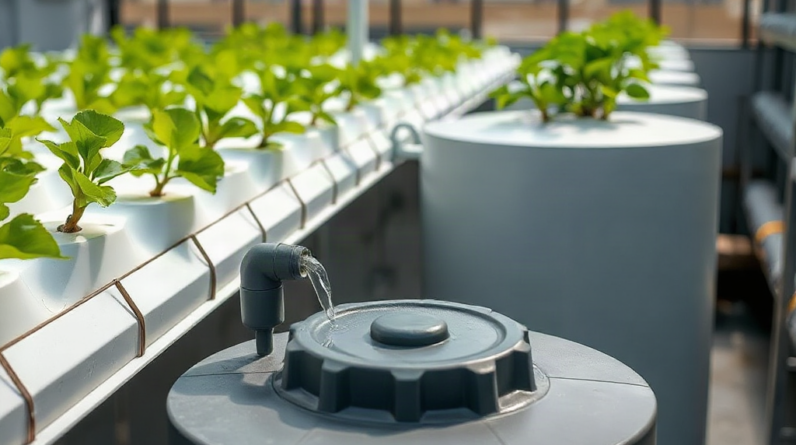
Drop height and impact angle usually reveal more than pump size alone. A modest stream falling several inches into a reservoir can throw more droplets than a stronger stream entering close to the surface. Likewise, a return aimed at a wall may send a thin sheet of solution upward, while the same return directed along the wall can dissipate energy with little spray. Use a flashlight held from the side to make fine mist and intermittent droplets easier to see, but keep lights and hands safely away from wet electrical connections.
Check the system during changes that alter water level. Reservoir returns become louder and more turbulent as the solution level falls. Nutrient film technique channels may spit at the inlet when roots or debris restrict downstream flow. Flood-and-drain equipment can remain calm during filling but splash sharply when the siphon breaks or the drain discharges. A repair based only on a freshly filled reservoir may fail later in the irrigation cycle.
A compact inspection sequence keeps diagnosis focused:
- Dry and isolate: Wipe lids, tubing, floors, and fittings so new moisture has a clear origin.
- Watch the full cycle: Observe startup, steady flow, drainage, and pump shutdown.
- Mark the impact point: Identify where the stream hits solution, plastic, roots, or growing media.
- Check changing levels: Repeat the observation near the lowest normal reservoir level.
- Inspect beyond the wet spot: Fine droplets can travel farther than visible streams.
Do not assume every wet surface comes from splashing. Condensation beneath a cool lid, seepage around a bulkhead, and capillary movement along tubing can resemble spray. Wrap a dry paper towel around a suspect fitting without blocking ventilation or moving parts. A localized wet patch points toward seepage; scattered spots beyond the fitting suggest airborne droplets. Correct identification prevents unnecessary pump changes and supports the more detailed checks described in How to reduce splashing in active hydroponic systems.
Correct Pump Flow Without Sacrificing Circulation
Excess flow should be reduced at the discharge side while preserving enough movement to deliver nutrient solution and avoid stagnant zones. If the pump has an approved built-in control, lower it gradually. Otherwise, a valve on the outlet line can regulate many suitable centrifugal water pumps, while a bypass line can divert surplus flow back into the reservoir. Pump instructions take priority because not every design tolerates throttling or continuous adjustment in the same way.
A bypass is useful when the pump serves several growing channels or when the required delivery rate is much lower than the pump’s output. A tee installed after the pump sends one branch toward the plants and another back to the reservoir through a valve. Opening the bypass reduces pressure in the delivery branch without starving the pump inlet. Direct the bypass return beneath or just above the solution surface so the cure does not create a second splash point.
Restricting the intake is a poor shortcut. An inlet obstruction can reduce cooling and produce erratic flow, noise, or cavitation rather than controlled discharge. Kinked tubing creates a similarly unstable restriction. If a valve adjustment leaves the pump sounding harsh, causes pulsing at emitters, or reduces flow unevenly between channels, restore normal operation and reconsider pump sizing or use a manufacturer-compatible controller.
Judge the correction by crop delivery and drainage behavior, not silence alone. In a drip system, the farthest emitter should still deliver consistently, and each container must drain before solution accumulates around the stem. In nutrient film technique, the channel should retain a shallow moving film rather than becoming dry at the inlet or pooled at the outlet. In a recirculating deep-water setup, roots still need circulation and oxygenation even if the return is quieter.
An oversized pump often invites repeated workarounds: tightly closed valves, hot-running equipment, noisy bypasses, and unnecessary electrical use. A correctly sized replacement may be the cleaner long-term choice when the current unit cannot operate steadily at the needed rate. Before replacing it, account for vertical lift, tubing length, fittings, filter resistance, and the number of outlets. The flow printed for a pump is commonly measured under easier conditions than those present in an assembled garden.
Make one adjustment at a time and mark the previous valve position. Wait long enough for channels, buckets, and the reservoir to reach a stable level before evaluating the result. A successful setting reduces airborne droplets while maintaining uniform delivery, reliable drainage, and normal pump sound. A failed setting produces dry channels, uneven emitters, rising grow-bed levels, or intermittent returns.
Redesign Returns, Drains, and Aeration Points
Outlet placement often controls splashing more effectively than reducing total flow. Shorten the free fall by extending the return line toward the reservoir surface, or turn the outlet so water travels along an interior wall instead of striking it directly. Keep the outlet accessible for cleaning and leave enough separation to avoid an unintended siphon or backflow path when the pump stops.
An elbow can redirect a vertical stream into a horizontal one, while a tee or manifold can divide one forceful discharge into gentler outlets. A perforated return bar may spread flow across the reservoir, but small holes collect roots, biofilm, or mineral residue and require routine inspection. Enlarging the final outlet can lower exit velocity if the drain remains open and properly vented. Never reduce drain capacity merely to quiet the system; a restricted drain can turn minor spray into an overflow.
Consider a return pipe dropping into a reservoir from several inches above the normal waterline. Extending it closer to the surface removes most of the fall energy. Submerging it deeply may become quieter still, but the tradeoff is reduced surface disturbance and a possible change in drainage behavior. The better position is often near the surface, where the return creates a gentle ripple without firing droplets onto the lid. If dissolved oxygen depends partly on that return, monitor roots and solution behavior after changing it rather than assuming quiet water is adequate water.
Air stones require separate treatment. Lowering the air pump excessively can reduce oxygen delivery, especially in warm nutrient solution or a heavily rooted reservoir. First move the stone away from openings and edges, where bursting bubbles eject droplets through lid gaps. A larger diffuser that produces finer, more evenly distributed bubbles may create less aggressive surface bursting than a concentrated plume, provided it matches the air pump. A simple internal splash baffle above the plume can intercept droplets without sealing the air space.
Drip emitters should terminate close to the media and remain secured. A loose stake can aim solution at a net pot, stem, or container wall, while an open tube may produce a narrow jet as pressure rises. Repositioning the outlet or using a suitable emitter is preferable to burying tubing where roots and particles make inspection difficult. If several emitters spit only at startup, trapped air or excessive line pressure may be involved.
Drain surges deserve attention in flood-and-drain and multi-bucket layouts. Confirm that hoses slope continuously, vents remain open, and roots have not narrowed outlets. Adding a calm return chamber or directing discharge against a broad internal surface can absorb a surge. The objective is controlled deceleration, not hidden restriction. These outlet-specific corrections are central to How to reduce splashing in active hydroponic systems because they address the energy and direction of the moving solution.
Contain Stray Droplets and Verify the Repair
Physical containment is the final layer, not a substitute for correcting uncontrolled flow. Opaque reservoir lids, fitted channel covers, grommets around tubing, and low internal baffles can catch the small number of droplets that remain after flow and outlet changes. Covers also limit light reaching the nutrient solution, but they must allow inspection, cable routing, ventilation where required, and safe removal without pulling tubing loose.
Avoid sealing every opening with improvised tape or absorbent material. Tape exposed to moisture and nutrient residue can lift, trap grime, or make maintenance difficult. Towels and foam placed near solution may remain wet and support unwanted growth. Use cleanable, water-resistant parts intended for the operating environment, and never cover pump vents, air intakes, electrical connections, or access needed to detect a leak.
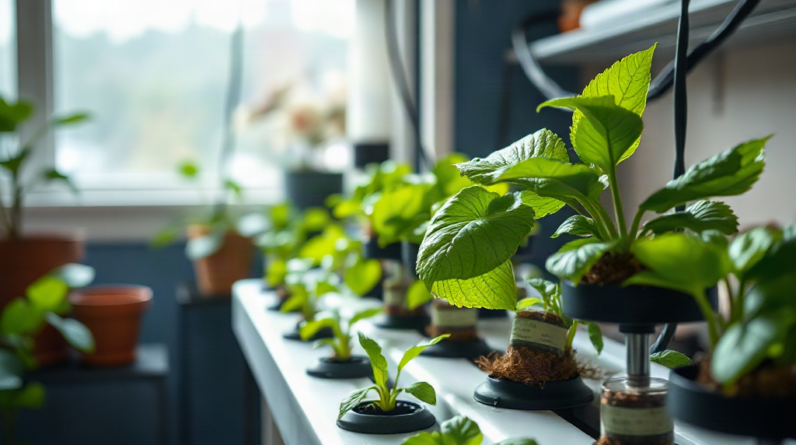
Protect nearby plants as well as floors and equipment. Repeated wetting of foliage under indoor lighting leaves mineral deposits and can create persistently damp leaf surfaces. Move leaves away from outlets, add a small internal shield, or redirect the stream rather than accepting routine spray. Keep electrical power strips and plug connections above the likely leak line, use drip loops on cords, and follow the equipment manufacturer’s electrical guidance. Disconnect power before placing hands into a reservoir or adjusting submerged components.
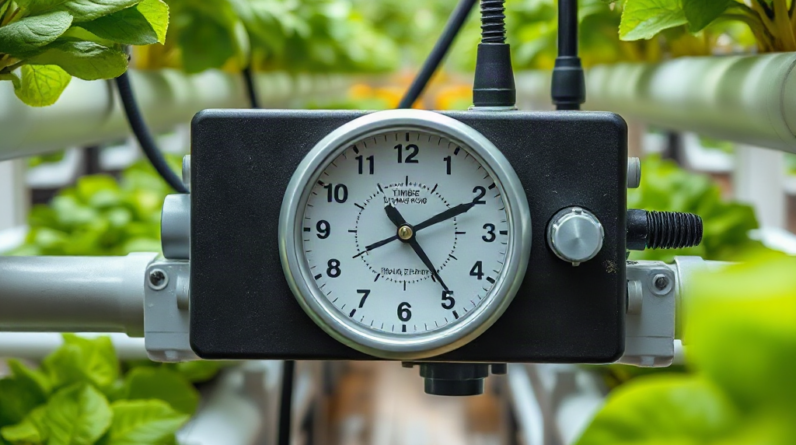
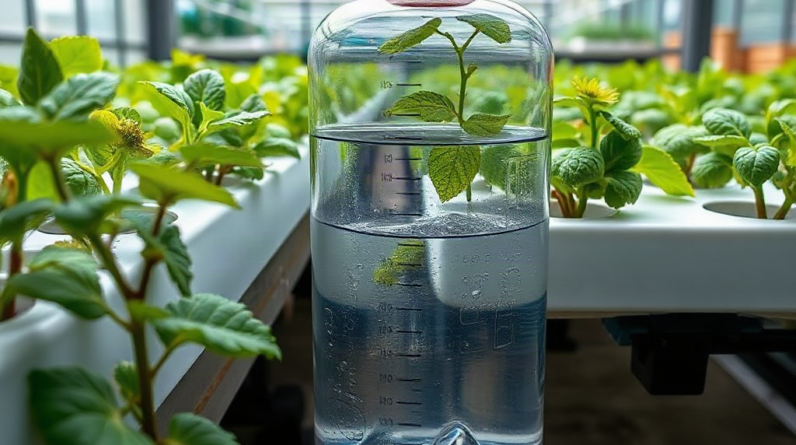
Verification should cover normal and abnormal operating states. Fill the reservoir to its usual upper level, run a complete cycle, and then repeat the observation near the planned refill level. Briefly inspect pump startup, shutdown, drain surges, and any moment when a timer or valve changes state. Check beneath the lid, around bulkheads, behind the reservoir, and under tubing connections. A dry floor alone is not enough if nutrient mist is collecting on lights, walls, leaves, or electrical enclosures.
Signs the repair is working include a stable solution level, consistent delivery at distant outlets, gentle surface movement, dry lid edges, and no new residue around the system. Warning signs include warmer or noisier pump operation, weak flow at the last channel, backed-up drains, rapidly falling reservoir levels, or roots sitting in unexpectedly still solution. Those symptoms indicate that splash reduction has compromised circulation or concealed a leak.
Recheck the installation after roots expand and after every cleaning. Root growth changes resistance inside channels and drains, while reassembled hoses may sit at a different angle. A system that was dry during early growth can begin spraying as flow paths narrow. Keeping valves marked, returns clipped in place, and drain openings visible makes later correction faster than rebuilding a concealed layout.
Frequently Asked Questions
Should a hydroponic return line be above or below the reservoir surface?
Positioning it near the surface usually balances low splash with useful surface movement. Deep submersion may be quieter but can alter drainage, backflow behavior, and aeration.
Can I reduce splashing by turning down the water pump?
Yes, if the pump supports adjustment and every growing site still receives adequate flow. Regulate the discharge or use a bypass; do not choke the pump intake.
Why does my system splash more as the reservoir empties?
The lower solution level increases the return’s drop distance, so the stream hits with more energy. Extend or redirect the outlet based on the lowest normal operating level.
Will a lid stop hydroponic splashing?
A fitted lid contains residual droplets, but it will not correct excessive flow, a blocked drain, or a misdirected outlet. Diagnose those faults before relying on containment.
How can I reduce air-stone spray without lowering oxygenation?
Move the diffuser away from lid gaps, spread bubbles across a larger suitable diffuser, or install a cleanable internal baffle above the plume. Avoid sharply reducing airflow without considering root demand and solution temperature.
Conclusion
Reliable splash control comes from tracing the first impact point and correcting water speed, drop height, and direction before adding covers. Observe a complete operating cycle, including low reservoir levels, startup, drainage, and shutdown. Adjust discharge flow gradually, keep pump intakes unrestricted, and confirm that distant emitters or channels still receive solution. Where turbulence remains, reposition the return, divide a concentrated stream, secure drip lines, or shield an air-stone plume with a cleanable baffle.
Finish by checking drains, roots, foliage, fittings, and electrical areas for new moisture. Mark successful valve settings and inspect them again as roots grow or equipment is cleaned. The best correction leaves the surrounding area dry without producing weak circulation, backed-up drains, stagnant solution, or stressed pump operation.