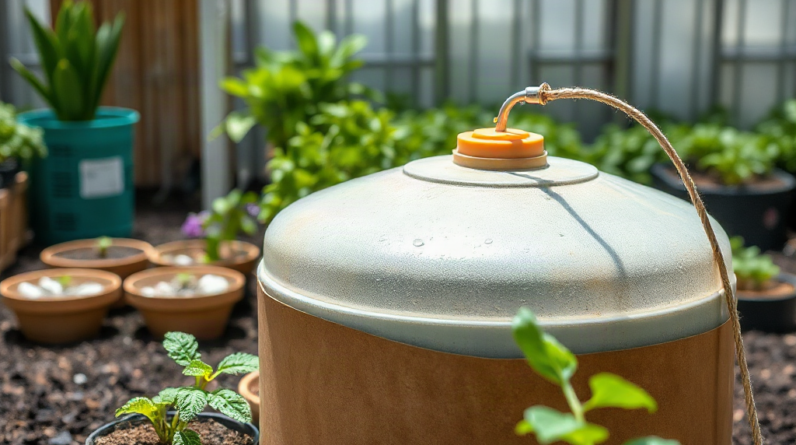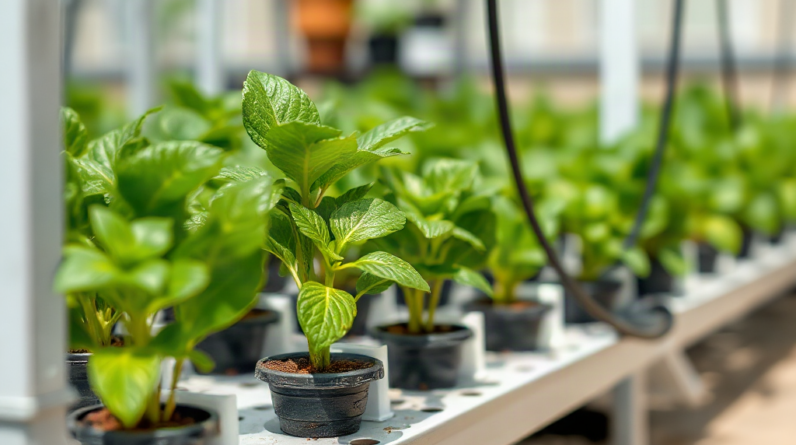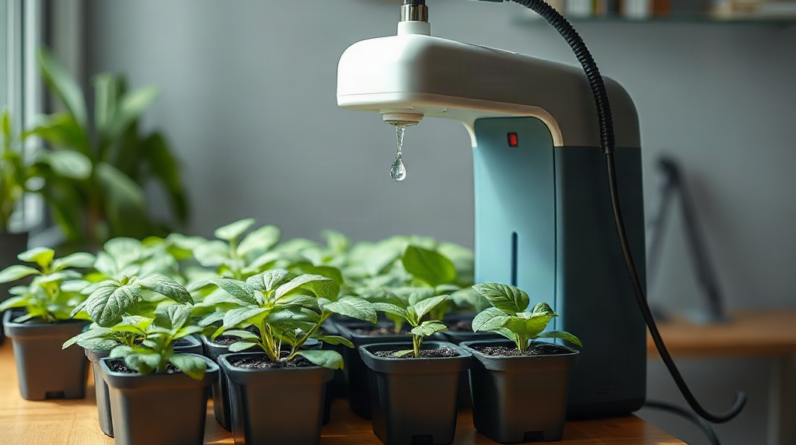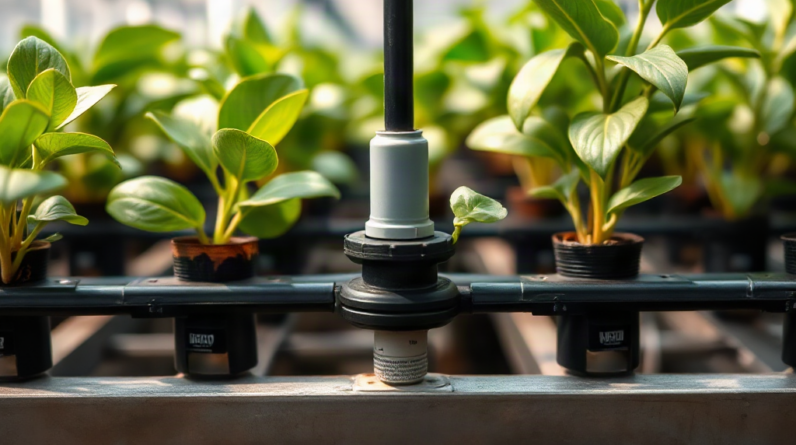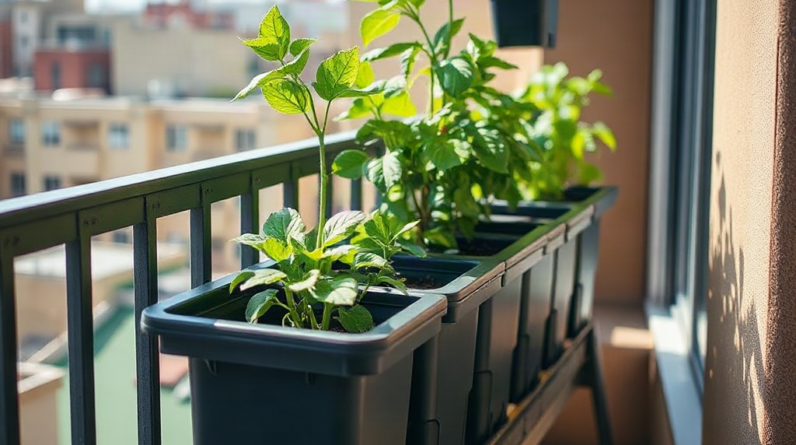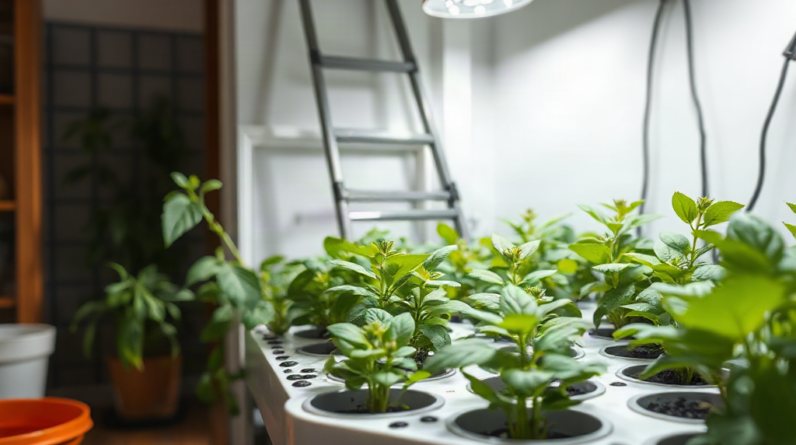
An indoor automatic watering system for hydroponic plants should deliver nutrient solution on a repeatable schedule while preserving enough root-zone oxygen and safely returning or collecting excess water. A dependable setup combines a suitable reservoir, submersible pump, timer or controller, correctly sized tubing, and emitters matched to the growing medium. Irrigation timing must reflect how quickly rockwool, coco coir, perlite, or clay pebbles retain and release moisture rather than following a universal schedule. Overflow protection, pump run-dry prevention, accessible filters, and routine flow checks are equally important because blocked outlets, loose tubing, and timer errors can damage plants or indoor surfaces.
Choose a Watering Design That Fits the Root Zone
The growing medium and drainage path determine which automatic arrangement will work reliably indoors. A drip-fed container filled with coco coir behaves differently from a bucket of clay pebbles or a slab of rockwool. Coco can hold substantial moisture between cycles, while coarse clay pebbles drain quickly and generally expose roots to more air. The watering design must account for those differences before pump capacity or timer settings are selected.
A recirculating layout sends drainage back to the nutrient reservoir. It conserves solution and works well when containers can sit above a properly sloped return channel. Its main tradeoff is that runoff from every plant changes the shared reservoir. Root debris, drifting nutrient concentration, and pathogens can circulate through the entire crop. A drain-to-waste arrangement collects runoff separately instead. It offers tighter control over what reaches each plant, but it consumes more water and nutrient solution and requires a collection vessel that cannot overflow.
Drip emitters are practical for coco, perlite blends, and rockwool because they apply solution near the plant base. Flood-and-drain trays suit pots containing clay pebbles when the tray, standpipe, and return line are designed as one hydraulic path. A small wick or passive reservoir may serve a few compact herbs, but it does not offer the same control over nutrient delivery and root-zone aeration. Deep-water culture is another distinct case: roots already occupy aerated nutrient solution, so its pump usually supplies air rather than scheduled watering.
Match the layout to the room as well as the plants. Containers on shelving need secure return plumbing and a reservoir that remains accessible without moving lights or plants. A floor-level garden may tolerate gravity drainage, whereas a countertop installation needs shallow trays and strong spill containment. The planning priority is a complete path from reservoir to roots and then to a safe destination for every unused drop.
A common mistake is treating automation as a substitute for drainage. Delivering a precise volume into a pot with a blocked outlet still leaves roots saturated and creates an indoor leak risk. Before buying components, pour plain water through each container and confirm that it exits freely, reaches the intended drain or collection tank, and cannot pool around electrical equipment. That check gives the Indoor automatic watering system for hydroponic plants a sound physical foundation.
Size and Assemble the Delivery Equipment
A useful component set includes a light-blocking reservoir, submersible pump, intake screen or filter, main supply line, branch tubing, emitters or open outlets, and a timer rated for the pump’s electrical load. Recirculating installations also require a return line with enough capacity to carry the combined discharge. The return should handle more water than the pump normally supplies so a partial obstruction does not immediately flood the tray.
Pump selection depends on required flow at the actual lifting height, not the largest number printed on the package. Vertical rise and tubing resistance reduce delivery. A pump that appears adequate at reservoir level may produce weak output after lifting solution to an upper shelf and pushing it through narrow branches. Consult the pump’s flow curve when available, measure the height from the reservoir waterline to the highest outlet, and allow capacity for filters and fittings. An adjustable pump or a bypass line returning excess flow to the reservoir makes fine control easier.
Several small containers expose a balancing problem. Water follows the path of least resistance, so the nearest dripper may discharge more than the outlet at the end of the line. Pressure-compensating emitters can reduce variation within their rated operating range, while simple open-ended tubes are easier to inspect and clean but require careful balancing. For a short herb shelf, equal-length branch tubes and a looped main line may distribute flow more evenly than branches tapped along one dead-end tube.
Assemble the system where every service point remains reachable. Place the pump on a small stand above settled debris rather than directly on the reservoir floor. Install a removable filter before narrow emitters, secure tubing with clamps where disconnection would cause a spill, and keep the reservoir covered to limit light exposure and evaporation. Avoid routing soft tubing against hot light fixtures or through a sharp cabinet edge.
Use this compact build order:
- Lay out containers, runoff trays, and the reservoir before cutting tubing.
- Install the main line and branches without tight bends or pinched sections.
- Run the pump with plain water and measure output at every plant position.
- Correct uneven delivery before adding nutrients or programming unattended cycles.
- Label plugs and verify that the timer restores its schedule after a power interruption.
Do not size the reservoir solely around one irrigation event. It must cover the planned operating interval while leaving the pump submerged and preserving free space for returning solution. An oversized reservoir is not automatically better, however; it occupies more indoor space and can make complete cleaning difficult. Choose a volume that supports stable operation but can still be drained, lifted, or serviced safely.
Set Irrigation Timing by Medium and Plant Demand
Irrigation frequency should keep roots supplied without leaving all pore spaces continuously filled. Plants use water at different rates as their leaf area, room temperature, airflow, and light intensity change. A schedule that suits young lettuce under modest lighting may under-water mature fruiting plants, while a cycle designed for large plants can keep seedlings excessively wet.
Start with observed output and moisture behavior rather than copying a fixed online schedule. Run one timed cycle, record how much each outlet delivers, and inspect how evenly the medium wets. Check the container again before the next proposed cycle. Coco should remain evenly moist without developing a stagnant lower layer. Rockwool should retain moisture while regaining some air as drainage proceeds. Clay pebbles hold much less water, so brief, more frequent cycles may be appropriate when roots are not yet extending into a larger moist zone.
Mechanical timers commonly operate in minute-scale intervals, which may be too coarse for a small pump and tiny pots. A short-cycle digital timer or irrigation controller offers finer control, but additional programming features create more opportunities for an unnoticed setting error. If a pump delivers too much during the timer’s shortest interval, reduce flow with appropriate emitters, a controlled bypass, or a smaller pump rather than restricting the line until the pump strains.
Day and night demands are not equal. Under strong indoor lighting, transpiration generally rises during the illuminated period. After lights switch off, plants usually use water more slowly and the medium dries less rapidly. Continuing the same frequent schedule overnight can reduce oxygen around roots, especially in water-retentive media. Some fast-draining systems may still require nighttime operation, so the decision should come from root-zone behavior rather than a blanket prohibition.
Drainage provides useful feedback. In a drip system, a modest amount of runoff can show that solution has moved through the container rather than wetting only a narrow channel. Excessive runoff every cycle wastes solution and can destabilize a recirculating reservoir, while no drainage combined with dry container edges may indicate insufficient volume or poor distribution. Measure runoff from representative pots instead of judging from the wet appearance of one surface.
Reassess timing after transplanting, canopy expansion, seasonal room changes, or replacement of a fan or grow light. Signs of under-delivery include unusually light containers, dry zones, wilting during the light period, or rising nutrient concentration as plants remove water. Persistent heaviness, slow drainage, algae on the medium, and weak root aeration point toward excessive delivery or inadequate drainage. The best schedule is a tested operating range, not a permanent number.
Build in Leak, Blockage, and Pump Protection
Indoor reliability depends on limiting the consequences of a single failure. A disconnected tube can empty a reservoir onto the floor, while a blocked dripper may deprive only one plant and remain hidden for days. Designing around both events is more effective than relying on occasional visual checks.
Place the entire plant area inside a waterproof tray with enough usable capacity to contain a plausible leak. Keep power strips and plug connections elevated and away from splash paths, use grounded equipment suitable for the location, and maintain drip loops in power cords. Water and electricity create serious hazards; if safe circuit protection or outlet placement is uncertain, consult a qualified electrician rather than improvising.
Reservoir position affects siphoning. If tubing runs below the reservoir waterline, solution may continue flowing after the pump stops. An anti-siphon opening or correctly placed line break can stop unintended drainage, but it must not spray outside the reservoir. Test for siphoning by unplugging the pump at the fullest expected reservoir level and watching every outlet until flow stops. Repeat the test after changing tubing height.
A low-water cutoff or level controller can prevent a pump from running dry, provided it is compatible with the system and installed where turbulence will not trigger false readings. A secondary high-level switch can stop delivery if a return reservoir or tray approaches capacity. These controls reduce risk but do not replace physical containment; sensors can foul, shift, or lose power.
Clog prevention begins with a covered reservoir, a clean intake screen, and nutrients that are fully dissolved before circulation. Fine emitters provide controlled delivery but block more readily than open tubing. If reliability during an absence matters more than exact dosing, a slightly larger outlet that can be inspected may be the safer compromise. Flush branch lines through removable end caps instead of forcing accumulated material toward the emitters.
Test each failure deliberately before trusting the Indoor automatic watering system for hydroponic plants unattended. Remove one dripper to see where loose tubing directs water, partially obstruct the return to observe tray behavior, lower the reservoir until the protection device activates, and interrupt power to confirm timer recovery. Conduct these tests with plain water while someone is present. A system is not fail-safe because it ran correctly once; it is safer when predictable faults remain contained and visible.
Test, Maintain, and Adjust the Setup
Commission the installation over several supervised days before depending on it during work hours or travel. Begin with plain water to expose loose fittings, siphons, uneven outlets, and inadequate drainage without wasting nutrient solution. Mark the reservoir level, run the intended program, and compare the actual change with the expected plant delivery and runoff. A large unexplained drop warrants a leak check before further operation.
Measure individual outlet volume by placing matching cups beneath the drippers for one timed cycle. Large differences indicate pressure imbalance, a partial blockage, inconsistent emitter performance, or a pinched branch. Swapping two emitters can distinguish a faulty emitter from a problem at that location. Recheck the farthest and highest outlets after adding every branch because system pressure changes as outlets are added.
Once nutrients are introduced, monitor reservoir level, solution temperature, pH, and electrical conductivity according to the crop and nutrient program. Automation moves solution; it does not keep its chemistry correct. In recirculating systems, plants remove water and dissolved ions at different rates, so topping up with a strong nutrient mix by habit can push concentration in the wrong direction. Measure first, then adjust in small steps using the nutrient manufacturer’s directions.
A practical maintenance rhythm separates quick inspections from deeper service. Daily or frequent checks should confirm pump sound, reservoir level, visible flow, dry floors, and normal plant posture. Weekly service may include comparing dripper output, cleaning the intake screen, inspecting roots and drains, and wiping residue from accessible surfaces. Reservoir changes and line flushing depend on crop demand, solution condition, and product instructions rather than a rigid calendar.
Plants themselves reveal distribution faults, but their symptoms can lag behind the mechanical cause. One wilted plant among otherwise healthy neighbors points toward its emitter, branch tube, root condition, or drainage hole. Similar stress across the entire shelf suggests a shared issue such as an empty reservoir, failed pump, incorrect timer program, or unsuitable solution. Check the hydraulic path before assuming every leaf change is a nutrient deficiency.
Keep a short operating record with timer settings, measured outlet volumes, reservoir additions, and observed runoff. This makes gradual drift visible and prevents repeated guesswork after equipment changes. Before leaving the garden unattended, fill only to the tested safe level, clean the filter, confirm the next scheduled activation, and observe one full cycle. Remote leak sensors or cameras may provide an alert, but someone who can access the room remains the strongest backup for an extended absence.
Frequently Asked Questions
How often should an automatic hydroponic watering system run?
Set frequency from the medium’s water retention, plant size, light period, and measured drainage. Start with supervised cycles, then adjust when containers remain saturated or become too dry before the next run.
Can a standard outlet timer control a hydroponic pump?
Yes, if its electrical rating covers the pump and its minimum interval suits the required cycle. Small gardens may need a short-cycle digital timer because a basic timer’s shortest setting can deliver too much water.
Should the nutrient solution recirculate or drain away?
Recirculation conserves solution but mixes runoff from all plants and requires closer reservoir monitoring. Drain-to-waste offers more separation and predictable input, but it uses more solution and needs secure runoff collection.
How can indoor hydroponic leaks be prevented?
Use waterproof containment, clamped connections, adequate return capacity, anti-siphon protection, and elevated electrical connections. Test loose-line, blocked-return, low-reservoir, and power-loss scenarios with plain water.
Why do some drippers deliver less water than others?
Unequal delivery can result from elevation, long branch runs, low pressure, pinched tubing, or deposits inside an emitter. Measure each outlet for the same interval, then isolate the fault by swapping emitters and inspecting the line.
Conclusion
A dependable indoor watering installation begins with the root zone and drainage path, then adds a pump, tubing, outlets, and controls sized for the actual lift and required delivery. Calibrate every outlet instead of trusting nominal pump flow, and adjust cycle length from medium moisture, runoff, plant demand, and nighttime drying behavior. Physical spill containment deserves the same attention as nutrient delivery because timers and sensors cannot neutralize every loose tube or blocked return.
Build and test the layout with plain water, observe it through several complete cycles, and document normal reservoir use and outlet volume. Once plants are connected, inspect flow and solution condition regularly rather than assuming automation means independence. The next practical step is to map the supply and drainage route, measure elevation, and perform a supervised container test before purchasing or programming the final components.