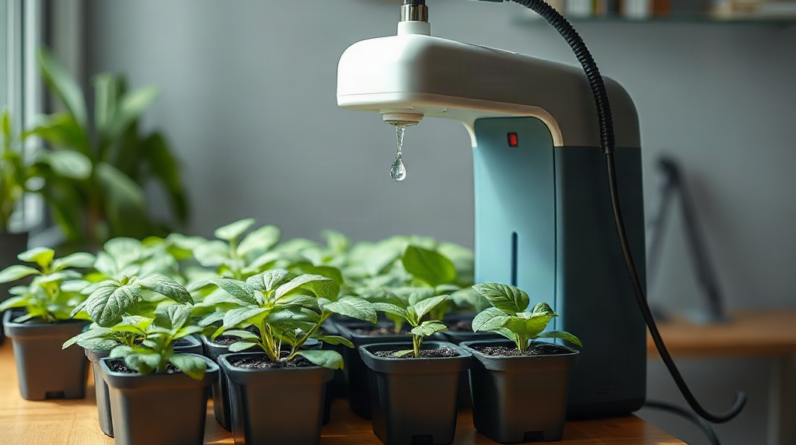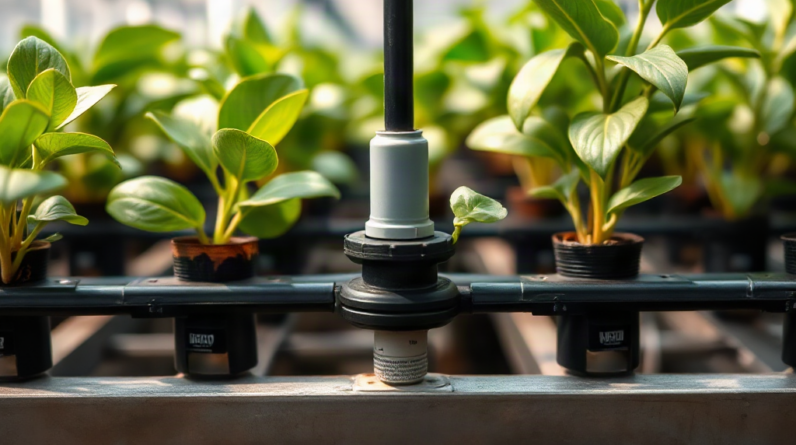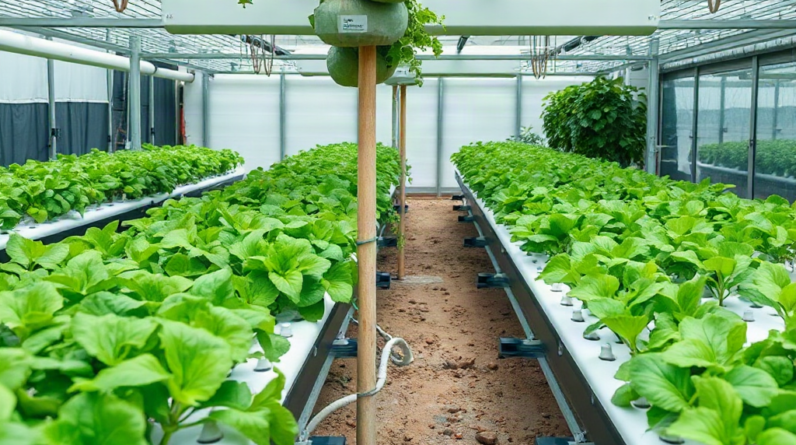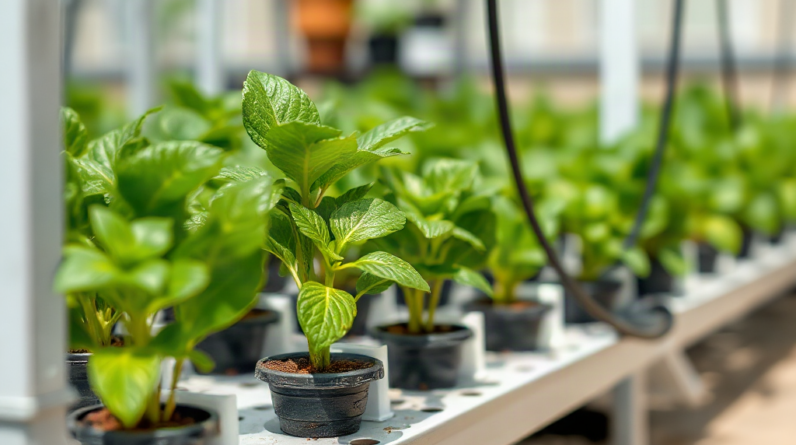
Hydroponic irrigation system pressure troubleshooting should begin by measuring pressure near the pump and at the farthest outlet, then comparing those readings with actual emitter flow. Low flow commonly points to a clogged filter, restricted intake, undersized pump, air leak, or excessive lift, while surging suggests trapped air, an unstable reservoir level, or intermittent intake blockage. Uneven drippers often result from long tubing runs, elevation changes, mineral deposits, or emitters operating outside their intended pressure range. Test one variable at a time, clean restrictions before adjusting valves, and confirm the repair by collecting and comparing outlet volumes over an equal interval.
Separate Pressure Problems From Flow Problems
Pressure and flow describe different conditions, even though growers often use the terms interchangeably. Pressure is the force available to move nutrient solution through tubing and fittings. Flow is the volume delivered over time. A line can show pressure while delivering little solution through a blocked emitter, and a large unrestricted return line can move substantial volume without building much pressure.
Begin by identifying whether the symptom affects the entire irrigation network or only part of it. If every dripper is weak, investigate the reservoir, pump, intake, filter, and main supply line before touching individual emitters. If outlets near the pump perform normally but distant outlets do not, friction loss, elevation, branching, or line diameter is more likely. A single weak outlet usually indicates local debris, a kink, root intrusion, mineral accumulation, or a defective emitter.
A pressure gauge provides the clearest distinction. Install or temporarily connect one after the pump and, when possible, at the far end of the active zone. Gauge readings must be interpreted alongside a timed volume test: place identical containers beneath several outlets, run the irrigation cycle for the same interval, and compare the collected amounts. This exposes distribution differences that visual inspection misses. A dripper can appear active while supplying far less solution than neighboring outlets.
Do not assume the pump label states the pressure available at the plants. Pump performance changes with vertical lift, tubing resistance, filters, valves, fittings, and total outlet demand. A pump may produce a strong open discharge into a bucket yet struggle after being connected to a narrow, branched network. Conversely, closing too many outlets can raise pressure beyond what loose push-fit connections or low-pressure drippers tolerate.
Record the operating configuration before making corrections: reservoir level, number of open outlets, cycle duration, gauge location, and collected volume. That baseline prevents a common troubleshooting mistake—changing the pump, valve position, and emitters simultaneously, then not knowing which change mattered. The diagnostic sequence in Hydroponic irrigation system pressure troubleshooting is most reliable when each restriction and adjustment is tested separately.
Test the Pump, Intake, and Main Line
The supply side deserves attention first when pressure is low throughout the system. Switch off and unplug the pump before removing an intake screen, opening a filter housing, or handling an impeller area. Confirm that the reservoir contains enough nutrient solution to keep a submersible pump fully covered or an external pump intake consistently flooded according to its design. A shallow reservoir can allow the intake to form a vortex and draw air, producing erratic output before the pump visibly runs dry.
Inspect the intake for roots, leaf fragments, growing-medium particles, and biofilm. Clean the prefilter and downstream filter, then test the system before changing valve settings. A filter can look acceptable from the outside while its internal surface is coated with fine material. If pressure returns after cleaning but falls again quickly, the filter is capturing a continuing source of debris; removing the filter would merely transfer that obstruction to emitters.
Check accessible tubing for flattening, sharp bends, pinched sections, and fittings with reduced internal openings. Soft tubing can collapse on the suction side of an external pump, especially when a dirty intake increases suction resistance. On the discharge side, an undersized main line creates friction loss that becomes more pronounced as total flow rises. Replacing only the final branch tubing will not correct a restrictive main line between the pump and manifold.
Test the pump separately only after preserving the nutrient solution and protecting electrical connections from water. Compare its discharge with the manufacturer’s pump curve or operating documentation rather than relying solely on the maximum-flow number printed on packaging. Maximum flow is generally measured under little or no head, while maximum head occurs near zero useful flow. The actual operating point lies between those extremes.
For example, a pump may feed four plant channels adequately when the reservoir is full but lose delivery to the highest channel as the level drops. That pattern indicates changing vertical head or intake conditions rather than four simultaneous emitter blockages. Raising the minimum reservoir level, reducing unnecessary lift, shortening restrictive tubing, or selecting a pump suited to the required head may be more effective than installing higher-flow drippers. A larger pump is not an automatic solution because excess pressure can create leaks, oversupply near outlets, and unnecessary heat input.
Trace Uneven Pressure Through the Distribution Network
Uneven delivery usually develops where the main line divides into branches. Each elbow, tee, valve, filter, reducer, and length of small tubing adds resistance. The effect becomes visible when nearby outlets receive acceptable flow while the farthest or highest outlets receive less. Long rows and multi-level gardens are particularly sensitive because distance and elevation work against uniform delivery.
Map the network from the pump outward instead of checking emitters randomly. Note tubing diameters, branch lengths, elevation changes, valve positions, and the number of outlets supplied by each branch. Then collect solution from a near, middle, and far outlet during one full irrigation interval. If flow declines progressively with distance, the line is probably losing pressure along its length. If one branch is uniformly weak while another is strong, look for a branch restriction or imbalance at the manifold.
Emitter type changes the diagnosis. Pressure-compensating emitters are designed to provide relatively stable output within a stated operating range, but they cannot compensate below their minimum pressure or through a clogged passage. Simple open-ended tubes and non-compensating drippers respond more directly to pressure differences. They may be suitable for small, level layouts, yet become inconsistent across long or elevated runs. Mixing emitter models or flow ratings on one zone makes interpretation harder because unequal output may be intentional rather than evidence of a fault.
A compact balancing check keeps the work focused:
- Open every intended outlet and set valves to their normal operating positions.
- Measure near, middle, and far delivery with equal collection times.
- Flush branch ends into a waste container before cleaning individual drippers.
- Swap two emitters to see whether weak flow follows the emitter or remains at the location.
- Adjust branches gradually and repeat the same volume test after each change.
Swapping emitters is especially revealing. If the low output moves with the emitter, clean or replace that component. If the same plant position remains weak, inspect its feeder tube, connector, elevation, and branch supply. Avoid balancing a dirty system by partly closing healthy branches. That can temporarily equalize output while preserving the obstruction, and the balance will shift again as deposits worsen. Flush and clean first; use valves only to correct remaining hydraulic differences.
When redesign is necessary, a larger main line feeding shorter, similar-length branches generally produces more predictable distribution than one long chain of small tubing. A looped supply manifold may also reduce the disadvantage at the far end, although it uses more tubing and introduces additional joints. For small gardens, careful branch matching may be sufficient. Larger layouts benefit from distinct irrigation zones rather than forcing one pump setting to serve rows with very different elevations and outlet counts.
Correct Surging, Pressure Loss, and Excess Pressure
Surging is a repeating rise and fall in outlet flow rather than a consistently weak supply. Air entering the intake, a vortex above a submersible pump, intermittent debris against a screen, or a poorly primed external pump can create this pattern. Flexible tubing may pulse visibly, and drippers may alternate between spurting and slowing. Treating that symptom by opening a valve wider rarely addresses the source.
Stabilize the reservoir level and watch the pump intake while the system operates. The intake should remain submerged and free of a rotating air funnel. Repositioning it deeper, keeping it away from a turbulent return, or maintaining a higher minimum solution level can stop air ingestion. Examine suction-side connections on external pumps because a fitting may draw air without leaking water outward. Follow the pump manufacturer’s priming instructions; repeated dry operation can damage pumps that rely on moving water for cooling or lubrication.
Consistent low pressure after cleaning points toward excessive head, excessive total demand, a worn pump, or a line that is too restrictive. Isolate branches briefly to observe how pressure changes, but do not dead-head a pump unless its documentation explicitly permits that operating condition. If pressure rises sharply as branches close, the pump can create force but may not sustain the full requested flow. Dividing the layout into timed zones can be more practical than replacing every line, provided each crop group can tolerate the revised irrigation schedule.
Excess pressure has its own evidence: tubing disconnects, emitters spraying instead of dripping, fittings weeping, or nearby plants receiving much more solution than distant plants. A correctly selected pressure regulator can protect downstream components, but it requires adequate inlet pressure and must match the intended flow range. A partially closed ordinary valve creates resistance but does not necessarily maintain stable downstream pressure as filters load or outlet demand changes.
Do not use chemical cleaning as a blind pressure correction. Mineral deposits may respond to a system-compatible cleaning process, while organic slime requires different sanitation measures. Mixing cleaning agents can be hazardous, and residues can affect roots or nutrient chemistry. Remove plants from exposure when the chosen procedure requires it, follow product and equipment instructions, and rinse thoroughly. Routine flushing with clean water and keeping light out of nutrient lines can reduce recurring deposits without masking mechanical faults. Refer back to Hydroponic irrigation system pressure troubleshooting whenever a correction changes both pressure and nutrient delivery.
Verify the Repair Under Normal Operating Conditions
A repair is confirmed by stable delivery across a complete irrigation cycle, not by a brief burst when the pump starts. Reassemble all filters, restore every branch, and return the reservoir to its normal working level. Testing with components removed can create an unrealistically low-resistance condition that disappears as soon as the system returns to service.
Repeat the same timed collection test used for the baseline. Compare outlet volumes rather than judging stream appearance alone, and check for leaks at every disturbed fitting. Watch the gauge during startup, steady operation, and shutdown. A momentary startup movement may be normal for the equipment, but continuing oscillation indicates that air, intake instability, or changing demand remains unresolved.
Run a second check near the lowest reservoir level expected between top-ups. Systems that work only with a full tank are not reliably repaired. Likewise, test with the usual number of outlets open. Closing half the network during diagnosis can make a marginal pump appear adequate. If irrigation zones run at different times, verify each zone separately because their elevation, line length, and emitter count may produce different pressure requirements.
Plants provide delayed evidence, so hydraulic measurements should lead the decision. Repeatedly dry growing media at far sites, wilt that coincides with irrigation intervals, or salt residue concentrated around low-flow drippers may indicate inadequate delivery. Persistently saturated media near the pump can reveal overdelivery after an aggressive pressure increase. These plant-level signs are useful confirmation, but they can also result from root condition, blocked drainage, or environmental demand; they should not replace outlet measurements.
Keep a short maintenance record with filter-cleaning dates, reservoir minimum level, normal gauge readings, and representative emitter volumes. The goal is not a universal pressure number because acceptable pressure depends on the pump, layout, regulator, and emitter specification. The useful target is a repeatable operating range for the installed network. A gradual drift from that baseline gives earlier warning than waiting for visible crop stress or a disconnected tube.
Schedule inspection according to how quickly debris and deposits accumulate rather than using an arbitrary interval. A system using loose growing media may need frequent intake checks, while a clean, covered reservoir may remain stable longer. If readings decline soon after every cleaning, investigate the source of contamination or redesign filtration access instead of treating repeated blockage as normal maintenance.
Frequently Asked Questions
Why does my hydroponic pump run but produce little pressure?
The intake or filter may be restricted, the pump may be drawing air, or the required lift and tubing resistance may exceed its useful operating capacity. Clean restrictions first, confirm submergence or priming, and test pressure with all normal outlets open.
How can I tell whether a dripper is clogged or the line pressure is low?
Collect output from several drippers for an equal time, then swap the weak dripper with a normal one. A problem that follows the dripper indicates a clogged or defective emitter; a problem that stays at the location points to its tube or branch supply.
Can I increase pressure by partially closing a return valve?
It may change system pressure, but the effect depends on the layout and pump type. Do not restrict a pump beyond its documented limits, and do not treat a valve as a substitute for correcting blocked filters, undersized lines, or unsuitable pump capacity.
Why do hydroponic drippers pulse instead of flowing steadily?
Pulsing commonly indicates air entering the intake, a low reservoir vortex, intermittent debris blockage, or unstable pump priming. Observe the intake during operation and inspect suction-side fittings before adjusting branch valves.
Should every hydroponic outlet deliver exactly the same volume?
Matched emitters on the same zone should deliver reasonably consistent volumes within their specified operating range. Exact equality may be unrealistic, but a repeatable difference at one location warrants inspection for elevation effects, restrictions, or emitter wear.
Conclusion
Reliable pressure diagnosis comes from separating whole-system weakness from local distribution faults. Establish a baseline with gauge readings and timed outlet volumes, then work from the reservoir and pump toward the farthest emitter. Clean intake and filter restrictions before changing valve positions, and account for vertical lift, tubing diameter, branch length, and total outlet demand when judging pump performance.
After each correction, restore the complete operating layout and test it at both normal and low reservoir levels. Stable readings, comparable outlet volumes, dry fittings, and consistent flow through a full cycle indicate that the correction is holding. If pressure repeatedly declines, look beyond another quick cleaning: recurring debris, unsuitable filtration, excessive head, or an unbalanced network may require a design change rather than another adjustment.
Related Content
- How to Manage Nutrient Delivery in Hydroponics: Methods for Optimal Growth and Efficiency
- Build a Productive Hydroponic System at Home
- How to Maximize Pepper Yield in Hydroponic Systems
- Hydroponic Farming for Sustainable Living
- Selecting the Best Growing Medium for Vegetables by Root Zone and Irrigation Method