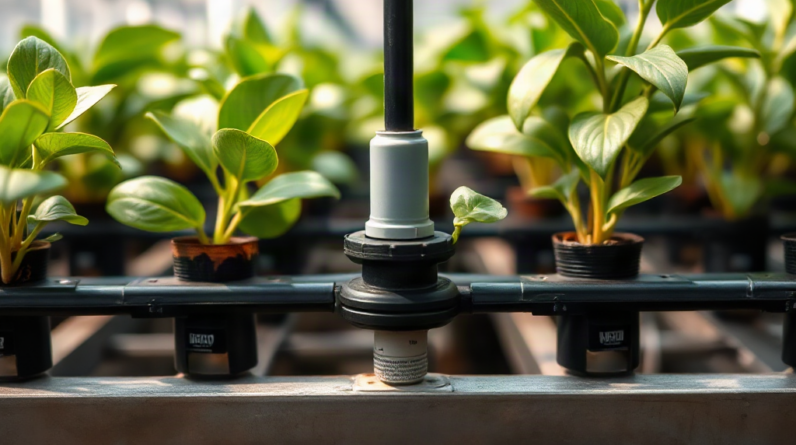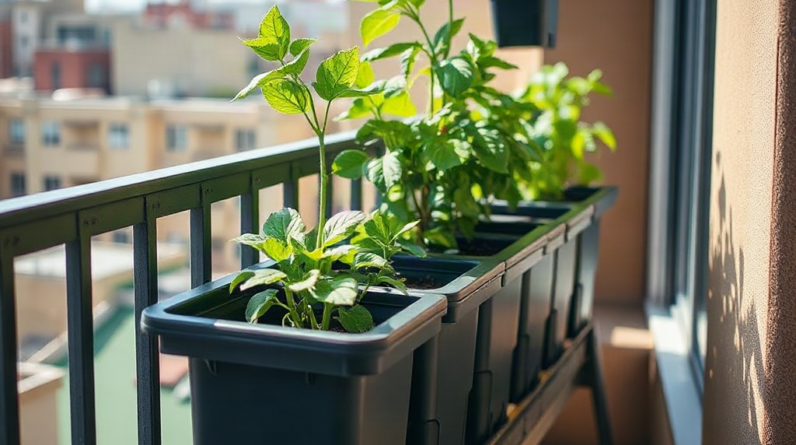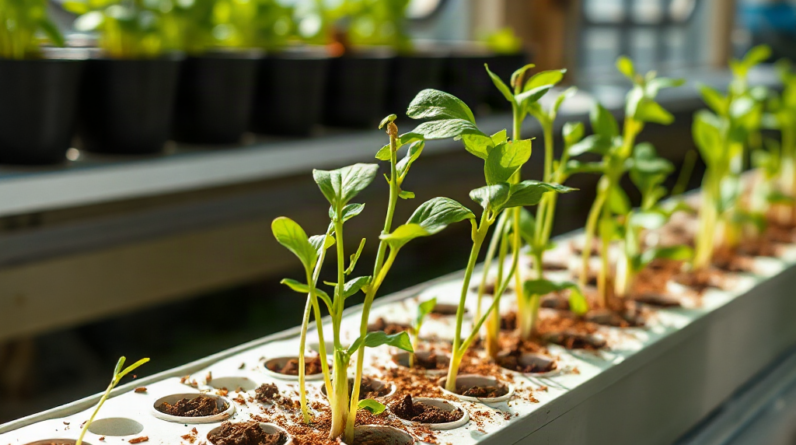
A self-watering plant system for hydroponic starts should keep the rooting medium evenly moist through capillary action without leaving seeds or young roots submerged. Use a shallow nutrient reservoir, an absorbent wick or capillary mat, and a starter plug with enough air space to avoid damping-off, algae, and oxygen-starved roots. Begin with plain water or a mild seedling solution, then increase nutrition only after true leaves appear. Check moisture at plug level rather than judging by the reservoir alone, and transplant when roots extend beyond the plug while remaining white, firm, and easy to separate.
How Self-Watering Seed-Starting Systems Work
Capillary movement, rather than a pump or scheduled irrigation event, supplies moisture to a self-watering starter tray. A wick, absorbent mat, or lower layer of growing medium draws water from a small reservoir toward the drier root zone. As seedlings use water and moisture evaporates near the surface, that difference in moisture encourages more water to travel upward.
The useful feature is not simply automatic watering. It is the ability to maintain a narrow moisture range around fragile emerging roots. A newly germinated seed has little capacity to recover if its plug dries completely, but constant saturation can displace the air that developing roots need. The system therefore works best when it replenishes moisture gradually rather than placing the entire plug below the waterline.
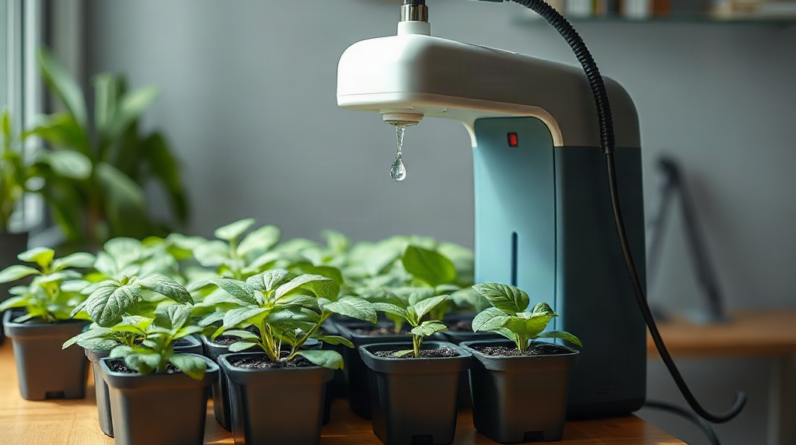
A basic arrangement can use a covered seed tray above a shallow reservoir, with polyester wicks passing through drainage holes. A capillary mat is another option when several cells need uniform moisture. Directly standing starter cubes in deep water is not equivalent: the lower portion remains saturated, and the water can climb higher than expected in fine-textured material. That may be acceptable for a brief initial soak, but it is a weak long-term arrangement for germination and early growth.
System scale changes the operating risk. A small tray holding six lettuce starts is easy to inspect and refill manually. A larger tray with dozens of cells may benefit from a float valve, but the valve introduces another failure point and can conceal a slow leak or continuous overfilling. Beginners generally gain more control from a visible, manually filled reservoir before adding automatic refill hardware.
The lid or humidity dome also affects watering behavior. A closed dome reduces evaporation before germination, so the wick may deliver more water than the tray loses. Once seedlings emerge, opening vents and then removing the dome increases airflow and moisture demand. Reservoir depth may need adjustment at that stage. Treat Self watering plant system for hydroponic starts as a moisture-control method, not a reason to stop observing the plugs.
Choosing a Wick, Tray, and Rooting Medium
Wick capacity must match the size and absorbency of the starter plug. A thick, highly absorbent wick can flood a small cell, while a thin cord may not move enough water across a wide tray. Polyester or other rot-resistant synthetic material is usually more predictable than untreated natural fiber, which can decompose, support microbial growth, or change its flow rate as it ages.
Test the wick before planting. Place one end in water and the other against the intended plug or mat, then inspect the moisture spread after several hours. The material should feel evenly damp without producing standing water in the cell. If only the area touching the wick becomes wet, add contact area or use a capillary mat beneath the cells. If the top of the plug becomes glossy and saturated, reduce wick thickness, lower the reservoir, or increase the vertical gap.
Starter media behave differently even when the tray hardware is unchanged. Fine coco-based mixes can move water readily but may compact if packed tightly. Peat plugs often hold substantial moisture and can stay wet longer under a dome. Mineral-wool cubes distribute water well after conditioning, yet their appearance can make it difficult to judge internal moisture by looking at the surface. Loose clay pebbles are poorly suited to germinating small seeds alone because their large air gaps provide limited seed contact and weak capillary continuity.
The tray needs an opaque or covered reservoir, secure support, and drainage paths that cannot trap the cells in pooled water. Light reaching nutrient solution encourages algae, while a flexible tray may sag until some cells touch the reservoir and others remain too high. A rigid insert or level shelf creates more consistent wick contact. Food-safe, easy-to-clean materials are preferable because scratches, seams, and corrugations can retain roots and organic residue between batches.
Use a simple selection checklist before sowing:
- Wick: washable, rot-resistant, and appropriately sized for the cells.
- Reservoir: opaque, shallow, stable, and accessible for cleaning.
- Cell support: level and held above the maximum waterline.
- Medium: able to retain moisture while preserving visible air spaces.
- Access: easy enough to inspect roots without pulling seedlings apart.
A common mistake is assembling every component and sowing immediately. A dry run reveals uneven tray contact, wicks that float away from cells, and reservoirs that drain faster than expected. Testing with unplanted plugs also prevents seeds from becoming the indicator that the design was too wet or too dry.
Setting Water Level, Nutrition, and Light
Reservoir height controls how strongly water rises into the rooting medium. The waterline should contact the lower end of the wick, not the starter plug itself. A small air gap between the tray and solution limits direct saturation while allowing the wick to remain active. Raising the reservoir increases capillary delivery; lowering it reduces delivery and may eventually break the moisture path.
Begin by pre-moistening plugs evenly and allowing excess water to drain. A wick is better at maintaining moisture than rehydrating a completely dry, water-repellent plug. Fill the reservoir only after confirming that the tray is level, then inspect a corner cell and a central cell later the same day. Edge cells often dry faster because they receive more airflow, while central cells can remain wetter under a dome.
Seeds contain stored energy for initial germination, so concentrated nutrient solution is unnecessary at sowing and can increase salt stress around emerging roots. Plain water is often sufficient until emergence, depending on the medium and crop. After the first true leaves begin developing, a dilute hydroponic seedling formula can replace plain water. Increase concentration gradually in response to healthy growth rather than applying the full vegetative strength intended for established plants.
Water chemistry still deserves attention. Extremely alkaline or acidic solution can affect nutrient availability, while high dissolved-mineral content adds to the salts supplied by fertilizer. Use the crop and nutrient manufacturer’s target ranges as operational references rather than assuming one setting fits every seedling. If solution concentration rises as the reservoir evaporates, replacing it with fresh, correctly mixed solution is more reliable than repeatedly topping it up with fertilizer.
Light and airflow determine how quickly seedlings consume water. Strong light and moving air increase transpiration; dim light and a sealed dome slow it. A tomato start under bright lighting may empty a small reservoir much sooner than newly germinated basil beneath a closed cover. Adjusting the wick without considering those conditions can lead to repeated overcorrection.
Keep the lamp close enough to limit stretching but far enough to avoid heating the tray surface. Remove the germination cover progressively after emergence and provide gentle air movement rather than aiming a fan directly at tender stems. Record the reservoir level at the same time each day for the first week. A steady decline accompanied by upright seedlings and expanding leaves indicates that the Self watering plant system for hydroponic starts is responding to actual plant demand.
Daily Checks and Common Failure Signs
Seedling condition is a more reliable control signal than a full reservoir. Inspect the medium at root depth, the underside of the tray, leaf posture, stem firmness, and any visible roots. A reservoir can contain plenty of solution while a kinked or poorly seated wick leaves the cells dry. It can also look nearly empty because a leak, not the seedlings, removed the water.
Dry failure usually appears as a light-colored plug, loss of leaf firmness, stalled emergence, or a wick that feels dry above the waterline. Confirm that both ends of the wick make firm contact, then restore moisture gradually. Pouring a large volume over collapsed seedlings may wash seeds deeper or leave the crown saturated. Rewet the plug carefully, correct the contact problem, and verify that capillary flow resumes.
Excess moisture tends to produce persistently dark plugs, surface algae, soft stems near the medium, or roots that turn tan and lose firmness. Not every discolored root indicates disease; some nutrients and media can stain roots. Texture, smell, oxygen exposure, and the direction of new growth provide better context. Slimy roots or a sour odor justify immediate attention to water level, cleanliness, and aeration.
Uneven growth across one tray often points to hardware rather than seed quality. For example, a tray on a sloped shelf may keep the downhill cells in contact with pooled solution while uphill wicks intermittently lose contact. Rotate the tray only after leveling the support; rotation can disguise the cause without correcting it. Similarly, replacing all weak seeds will not resolve a central dry zone caused by a wrinkled capillary mat.
Check the following items in priority order when performance changes:
- Confirm that the reservoir is not leaking and the intended waterline is stable.
- Touch the wick and plug separately to locate the interruption or excess.
- Inspect exposed solution and surfaces for algae or accumulated residue.
- Compare edge, center, and corner cells for a pattern.
- Review recent changes in dome position, light intensity, airflow, or nutrient strength.
Clean the reservoir between seedling batches and remove dead roots promptly. If algae repeatedly returns, block light before reaching for chemical controls. An opaque cover addresses the energy source algae uses, whereas additives may expose young roots to unnecessary stress. Replace a wick that has become stiff, coated, or difficult to clean; reduced capillary flow can persist even when the material still looks intact.
Knowing When Hydroponic Starts Are Ready to Transplant
Transplant readiness depends on root structure and active leaf growth rather than age alone. A suitable start normally has established true leaves, a stem capable of remaining upright, and roots extending beyond the plug without forming a dense, tangled mass. Moving it at that stage lets the young root tips enter the production system while they are still actively branching.
Waiting for a large top canopy can create problems below the tray. Roots from neighboring cells may weave together in the shared reservoir or capillary mat. Separating them can tear fine root tips and delay establishment. Lettuce and leafy greens often move successfully while compact, whereas tomatoes or peppers may remain in starter cells longer if the cells provide enough root volume and light remains adequate.
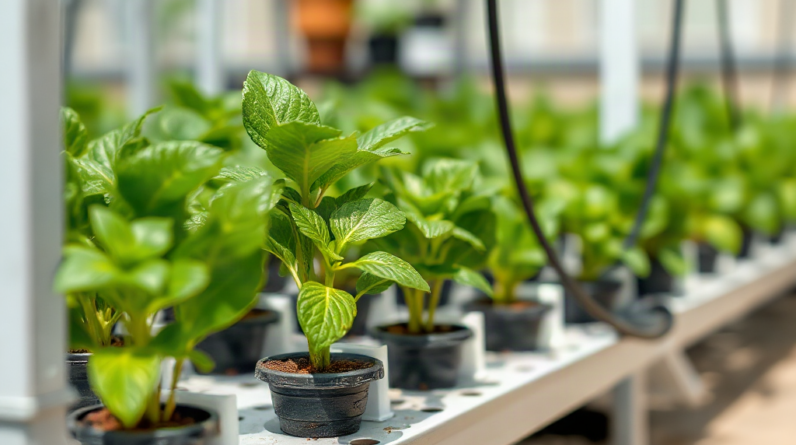
The destination system changes the decision. A deep-water setup needs a net pot arrangement that supports the plug while allowing roots to reach a moist, oxygenated zone. In nutrient-film channels, short roots must be positioned where they can contact the flowing film without burying the stem. A drip-fed container can accept a somewhat larger start because irrigation can be directed around the plug during establishment.
Condition the seedlings for the transition rather than abruptly changing every variable. If the production solution is stronger than the starter solution, increase nutrition gradually or use a milder initial reservoir after transplanting. Match the new root zone temperature and lighting as closely as practical. Avoid moving seedlings immediately after a long dark period with a dry plug; hydrated plants under moderate light are easier to position without root damage.
Healthy roots are generally firm and show fresh branching or pale growing tips. Warning signs include roots breaking with light handling, a waterlogged plug that collapses, severe stem stretching, or foliage that wilts despite a wet medium. Correct those conditions before transfer when possible. Placing a compromised seedling into a larger system does not remove the underlying oxygen, light, or nutrition problem.
After transplanting, monitor plug moisture separately from the surrounding system for the first few days. A mature system may circulate correctly while the small starter plug sits above the wet zone and dries. Conversely, a dripper aimed directly at the stem can keep the plug saturated after roots have already spread outward. The practical goal is a smooth handoff: maintain contact until roots enter the new solution path, then reduce starter-focused watering as the plant begins drawing from the main root zone.
Frequently Asked Questions
Can starter plugs sit directly in the reservoir?
Brief contact may help initially wet some media, but continuous submersion commonly reduces air around young roots. Keep the plug above the waterline and use a wick or mat for controlled moisture transfer.
Should seeds receive hydroponic nutrients immediately?
Most seeds can begin germination with plain water because they contain stored reserves. Introduce a mild seedling solution after emergence and true-leaf development, following crop and fertilizer guidance.
Why are the outside cells drying before the center cells?
Edge cells receive more airflow and have fewer neighboring cells buffering moisture loss. Improve mat contact, check tray level, or use separate wicks where the dry pattern persists.
How often should the reservoir be refilled?
Refill according to measured use rather than a fixed schedule. Check daily at first, mark the normal operating level, and investigate any sudden increase or decrease in consumption.
Can a self-watering tray be left unattended?
Only after its consumption and wick performance have been observed under the same light and airflow conditions. Size the reservoir conservatively, test for leaks, and avoid untested automatic refill hardware.
Conclusion
Reliable seedling watering comes from balancing capillary delivery with air in the root zone. Test the wick and tray before sowing, keep starter cells above the waterline, and adjust reservoir height according to plug moisture rather than reservoir appearance. Mild nutrition after true leaves emerge is safer than exposing germinating seeds to a strong solution.
Daily observation remains necessary even when watering is passive. Uneven cells, changing water use, soft roots, or persistent surface growth reveal problems earlier than a scheduled refill can. Once roots extend beyond the plug and true leaves are growing steadily, move the start before neighboring root systems become tangled. Monitor the plug during the first days after transfer so moisture delivery shifts gradually from the starter arrangement to the production system.