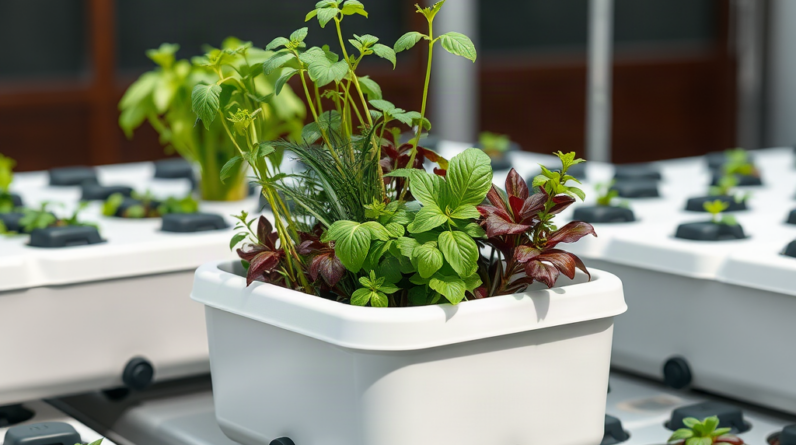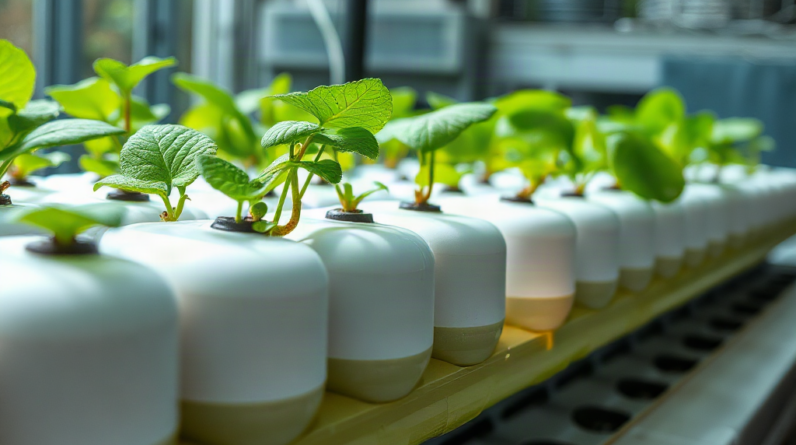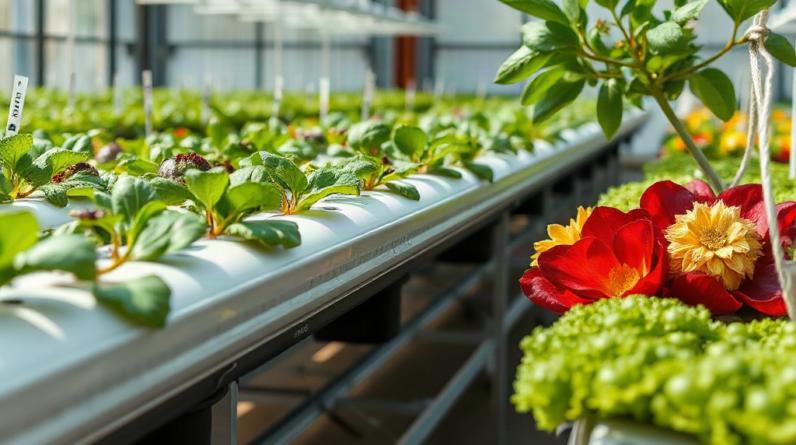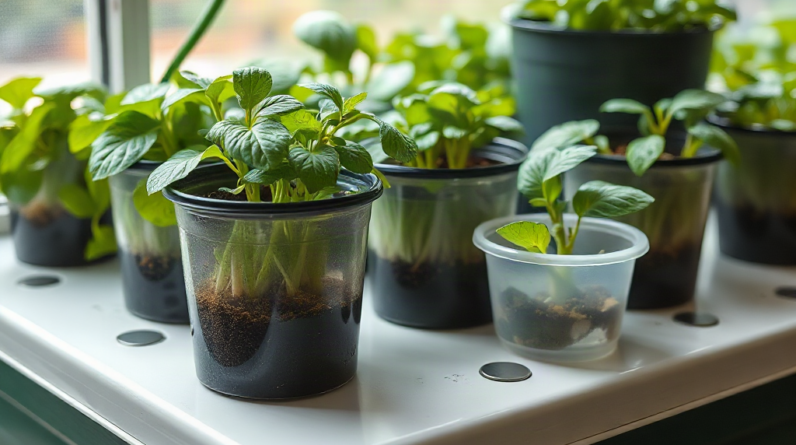
A sound hydroponic garden watering system design matches the layout plan to the crop’s root-zone needs, the growing method, and the distance nutrient solution must travel. Size the reservoir for stable operation, select a pump from the required flow and actual lift height, and arrange supply lines so every plant receives comparable delivery. Drip layouts suit containers and mixed crops, while recirculating channels work better for evenly spaced plants with similar water demands. Include accessible filters, return lines, overflow protection, and aeration where needed. Test collected output at the farthest outlets before planting because nominal pump ratings and identical emitters do not guarantee uniform watering.
Choose a Layout Around the Root Zone
The growing method should determine the watering layout, rather than forcing plants into a design chosen around an available pump. Roots in coco-filled pots need repeated, measured applications from above, while roots in nutrient film technique channels depend on a shallow, nearly continuous stream. Deep-water culture uses air movement rather than timed irrigation to keep submerged roots supplied with oxygen. Treating these arrangements as interchangeable leads to dry media, stagnant solution, or unnecessary plumbing.
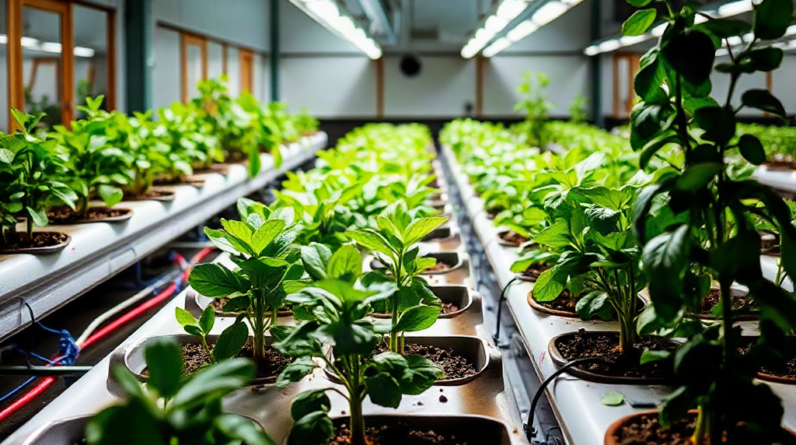
A drip-fed layout is usually the most adaptable choice for individual pots, slabs, or buckets. Each plant receives solution through an emitter or open-ended feed line, and runoff either drains away or returns to the reservoir. Pressure-compensating emitters may improve uniformity in longer rows, but they can clog when nutrient residue, root fragments, or biological growth reaches their narrow passages. Open feed lines are easier to inspect and clean, although their output can vary more as line length and elevation change.
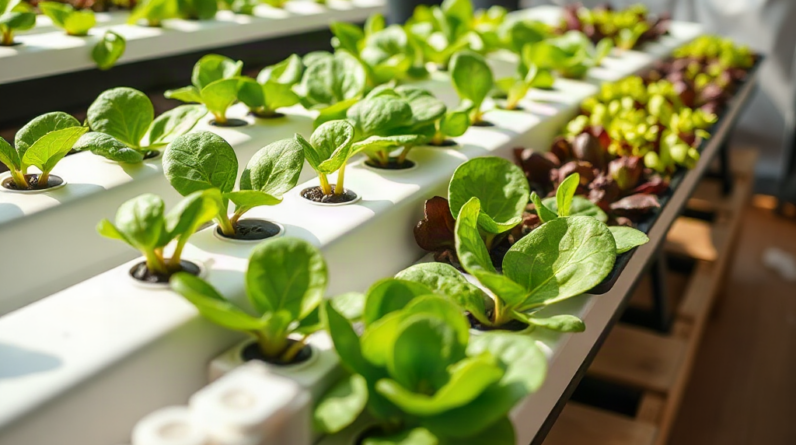
Channel-based layouts suit lettuce, basil, and other plants with modest root masses when the channels share a similar length and slope. A long channel is not automatically more efficient: nutrient solution can warm, lose dissolved oxygen, and become chemically different by the time it reaches the outlet. Large roots can also obstruct the stream. Splitting one long run into several shorter parallel runs generally makes distribution and cleaning easier, provided the inlet manifold divides flow evenly.
Match crop groups as carefully as the hardware. Young leafy greens and mature fruiting plants rarely belong on the same irrigation zone because their root volumes, feeding strength, and daily water use differ. Separate valves or manifolds allow one pump to serve distinct zones, but only if the pump can support the combined demand when zones run together. A simpler alternative is to operate zones at different times.
Draw the route before buying fittings. Mark the reservoir, pump, filter, main line, branches, plant sites, return path, highest outlet, and drain access. Keep the reservoir lower than gravity returns and avoid a return pipe that rises after leaving the growing bed. Readers comparing configurations can use this Hydroponic garden watering system design reference as a planning point, but final dimensions should come from the actual bench and crop layout. The common mistake is designing around plant count alone while ignoring elevation, route length, and how roots will change the hydraulic path.
Calculate Flow, Pump Capacity, and Pipe Size
Pump selection begins with required delivery at the outlets, not the maximum flow printed on the box. Published pump flow is commonly highest near zero lift. Output falls as the pump raises solution vertically and pushes it through tubing, valves, elbows, filters, and emitters. Measure vertical lift from the operating solution level in the reservoir to the highest discharge point, then consult the manufacturer’s pump curve at that head height.
For a drip layout, estimate total outlet demand by multiplying the intended flow per outlet by the number of outlets that operate simultaneously. Add reasonable capacity for line losses and future adjustment, but do not compensate for weak calculations by installing an excessively large pump. Too much flow can create splashing, unstable channels, leaking connections, and heat transfer to a small reservoir. A bypass line returning excess output to the tank can provide adjustment, but it also consumes power and may warm the solution during long operation.
Pipe diameter affects both resistance and distribution. A larger main line usually loses less pressure over distance than narrow tubing, while short branch tubes can deliver from the main line to individual plants. Running a long system entirely through small flexible tubing often produces strong delivery near the pump and weak delivery at the far end. A looped manifold, fed from both directions, can reduce the difference between the first and last outlets. A straight manifold is easier to build and clean, making it suitable for compact benches where measured output is already acceptably even.
Consider a 12-pot drip bench with two emitters per pot. The design calculation should include all 24 outlets if they operate together, the height of the bench above the reservoir, and resistance from the filter and manifold. After assembly, collect discharge from several near, middle, and far outlets for the same timed interval. Similar collected volumes matter more than identical-looking drips. If distant outlets lag, check for undersized mains, excessive lift, blocked fittings, or a pump operating below its useful point before increasing watering time.
The reservoir also acts as a hydraulic buffer. A very small tank experiences faster changes in temperature, nutrient concentration, and water level, and the pump may run dry if plants use more solution than expected. A larger tank is more stable but heavier, slower to replace, and harder to place indoors. Leave enough operating depth above the pump intake, plus unused volume for returning solution after a cycle stops. Designing only for the tank’s labeled capacity overlooks displacement, minimum pump depth, and the volume held temporarily in beds and pipes.
Build a Stable Delivery and Return Path
A reliable installation lets solution reach every root zone and return without hidden restrictions. Place a serviceable filter after the pump when emitters or small passages require protection. The filter should be accessible without draining the entire reservoir, and unions or removable hose connections should allow the pump and manifold to be taken out for cleaning. Permanent connections can look tidy while turning routine maintenance into a major disassembly job.
Recirculating designs need return capacity greater than the normal incoming flow. Roots, leaves, and mineral deposits gradually reduce drainage space, so a return sized only for clean-system flow has little tolerance for change. Use broad, continuously descending return routes where practical, and protect the reservoir with an overflow path that directs solution somewhere visible and safe. A hidden floor leak is a poor alarm system. Indoor installations also benefit from a tray or containment area beneath joints and growing vessels.
Siphoning deserves separate attention. When a pump stops, a delivery tube positioned below reservoir level may continue moving solution, while elevated lines may drain into the beds or tank. Test the shutdown behavior with the reservoir both full and near its minimum operating level. An anti-siphon opening or intentional air gap can interrupt unwanted flow, but it must be placed where spray and salt deposits will not create another problem. Check valves may help in selected layouts, although debris can prevent them from sealing completely; they should not be the sole protection against overflow.
Oxygen management changes with the layout. Falling return water can agitate the reservoir, but it should not automatically be treated as adequate aeration for every crop and temperature. Air pumps and diffusers provide a separate source of movement for deep-water culture and may be useful in other tanks. Keep air pumps above the solution level or use suitable backflow protection so a power interruption does not draw liquid into the air line.
Build in isolation points. A valve on each branch allows a leaking bed or blocked zone to be serviced while the rest of the garden remains operational. Label branches, especially when similar tubes serve different crops or schedules. During assembly, flush the main and branches before attaching emitters; pipe fragments and drilling debris can clog new outlets immediately. For more layout comparisons, the Hydroponic garden watering system design topic should be applied alongside the equipment manufacturer’s pressure, submersion, and electrical instructions. The weak approach is adding redundancy only after a failure rather than designing visible drains, accessible filters, and safe shutdown behavior from the beginning.
Set Watering Cycles and Test the Finished Layout
Watering frequency should respond to root-zone moisture and oxygen conditions, not a universal timer setting. Media type, container size, plant maturity, air movement, temperature, and light intensity all affect how quickly a root zone dries. Coco coir holds water differently from expanded clay pellets, and a newly transplanted seedling uses far less than a mature tomato plant. A schedule copied from another garden may therefore cause saturation in one installation and severe drying in another.
Short, repeated cycles can distribute solution through a container without leaving roots continuously saturated. Longer cycles may be necessary to wet a large container evenly or produce enough runoff to limit salt accumulation, but excessive runoff wastes water and nutrients in drain-to-waste systems. In a recirculating arrangement, extra runoff returns to the tank, yet it can still disturb reservoir concentration and temperature. Adjust one variable at a time—cycle duration or frequency—so the effect remains visible.
Use a staged commissioning process before adding valuable plants:
- Run with plain water. Inspect every fitting, drain, bulkhead, and overflow under continuous operation.
- Measure outlet delivery. Collect equal-time samples from representative near and distant outlets.
- Simulate shutdown. Disconnect power and watch for siphoning, backflow, bed overflow, and low reservoir levels after drainage.
- Load the root zones. Add media or plant supports because empty channels and containers may drain differently.
- Record a baseline. Note cycle length, collected output, reservoir level change, and the condition of the farthest root zone.
Early signs of a workable design include comparable delivery across outlets, complete drainage between appropriate cycles, a pump that remains submerged, and no standing solution in unintended low points. Warning signs include noisy intake operation, air entering feed lines, widening differences between near and far emitters, algae inside light-exposed tubing, roots backing up channels, or plants at one end wilting before the rest. Correct the physical cause before extending every cycle; longer runtime cannot reliably fix a blocked outlet or poorly balanced manifold.
Recheck performance as plants mature. Root growth changes drainage, larger canopies increase water use, and nutrient deposits narrow small passages. Keep spare emitters and cleanable connectors available, but avoid replacing components without measuring the failure. A simple collection test distinguishes a delivery problem from a crop-specific issue. The most useful maintenance record links observed plant response to measured outlet volume, reservoir loss, and schedule changes rather than relying on timer settings alone.
Frequently Asked Questions
Should a hydroponic watering system run continuously?
Continuous operation suits nutrient film channels and some aeroponic arrangements, but media-filled pots usually use timed cycles. The correct choice depends on drainage, oxygen availability, crop size, and how quickly the root zone dries.
How do I know what pump size I need?
Add the flow required by all outlets operating together, measure the vertical lift, and check the pump curve at that lift. Confirm performance by collecting output at the farthest outlets after the full plumbing is installed.
Is one watering line enough for a large plant?
One line may create a narrow wet zone in a broad container. Two or more delivery points can spread solution more evenly, but each outlet must be included in the pump and manifold calculations.
Why do emitters far from the pump release less water?
Long narrow tubing, elevation changes, clogged fittings, and an undersized pump can reduce pressure downstream. Measure outlet volumes, clean the filter, and assess the main-line diameter before increasing cycle duration.
How often should the plumbing be inspected?
Observe flow and reservoir level during routine garden checks, then inspect filters, emitters, roots, and drains on a consistent schedule suited to buildup rates. Test shutdown behavior again after modifying any pipe or bed.
Conclusion
Successful watering layouts are built from the root zone outward. Choose a delivery method that fits the crop and medium, calculate pump output at the actual lift height, and use a main line large enough to limit unequal delivery. Give returning solution a generous, obstruction-resistant path, with accessible filters, isolation valves, overflow control, and predictable shutdown behavior.
Before planting, operate the complete setup with water, compare measured outlet volumes, interrupt power, and observe where every remaining liter travels. Record that baseline and repeat the checks as roots expand and seasonal conditions change. If plants begin responding unevenly, inspect delivery and drainage before changing nutrient strength or extending all cycles. A layout that is measurable, cleanable, and adjustable will be easier to operate than one designed solely around nominal component ratings.