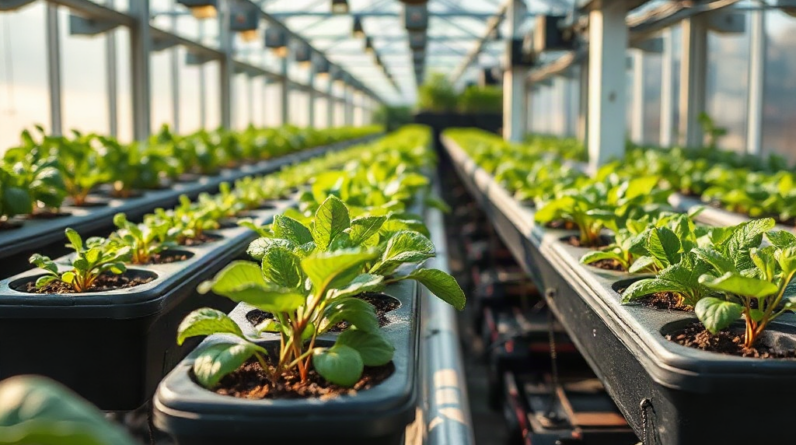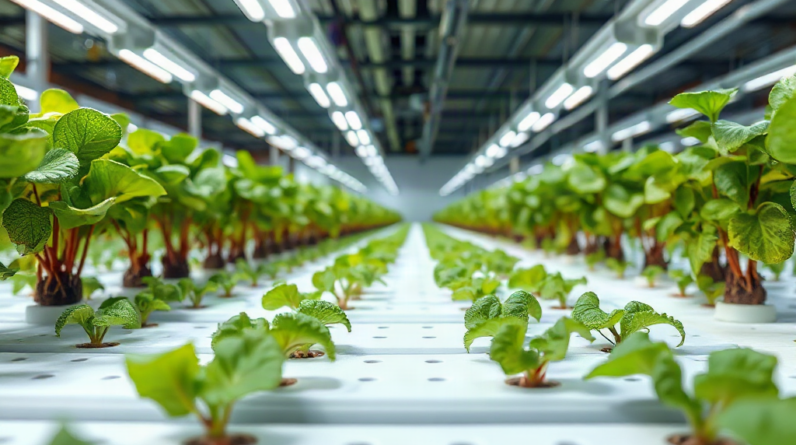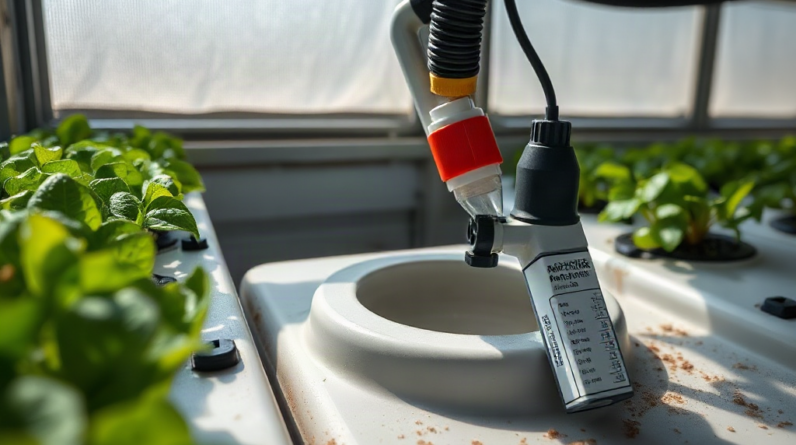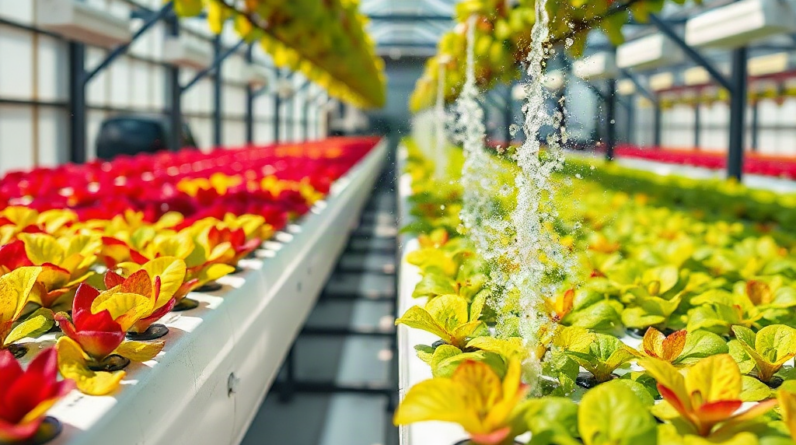
Assemble a first hydroponic system in sequence by positioning the reservoir, installing the grow tray or channels, connecting the pump and return line, adding aeration, checking for leaks, mixing nutrients, adjusting pH, and placing established seedlings only after a water-only test. Keep the reservoir below the root zone so drainage works without flooding, and shield nutrient solution from light to limit algae. Run every pump, timer, and drain before plants enter the setup. Stable water movement, adequate root oxygen, and a verified nutrient concentration matter more than adding optional accessories to a first build.
Select a Beginner Layout That Matches the Crop
A first build should be sized around the plants rather than the largest container that fits the room. Lettuce, basil, and other compact leafy crops are more forgiving than fruiting tomatoes or cucumbers because they need less support, occupy the system for less time, and usually place a smaller demand on the nutrient reservoir. Starting with four to eight similar plants also makes changes in water level, nutrient concentration, and leaf color easier to interpret.
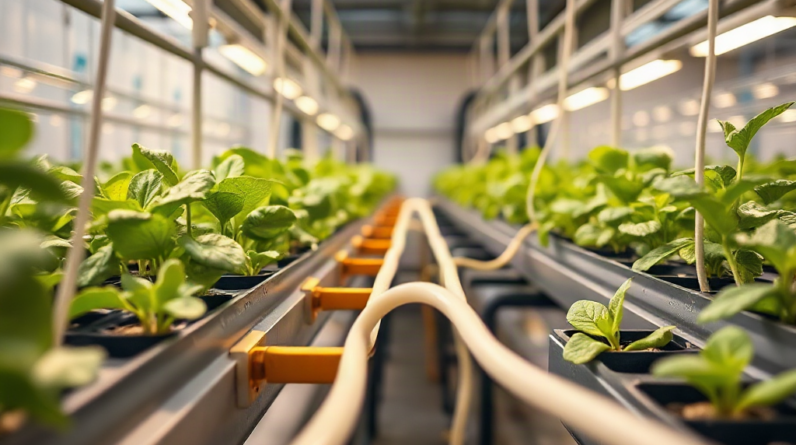
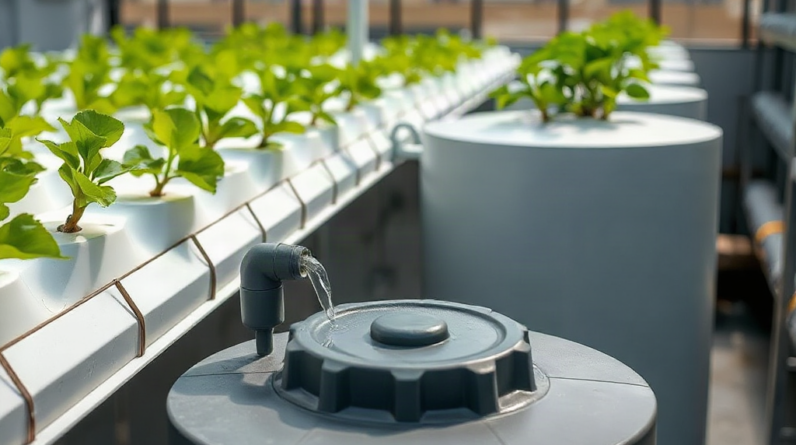
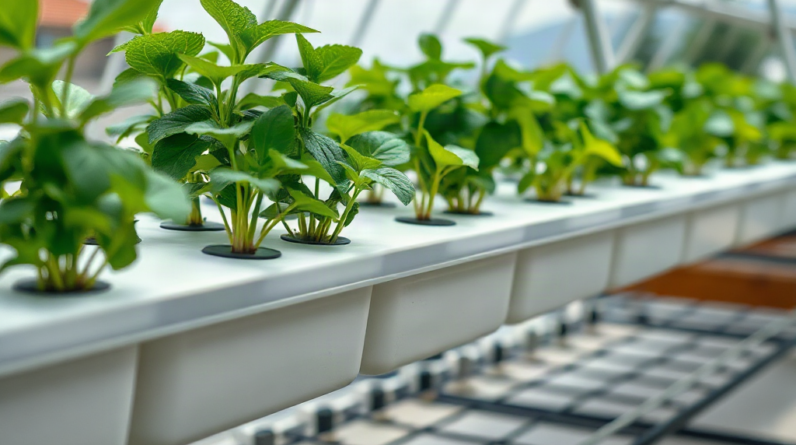
A deep-water culture setup is often the simplest powered arrangement: net pots sit in a lid above a reservoir while an air pump supplies oxygen through an air stone. A basic drip system adds tubing, emitters, a water pump, and a return path. A nutrient-film channel arrangement depends on a shallow, uninterrupted flow and accurate slope, so a blocked inlet or stalled pump can expose roots quickly. The extra plumbing does not automatically produce better growth; it creates more points that must be measured and tested.
Choose the method by examining what happens during a failure. Deep-water culture retains a volume of solution around the roots if the air pump stops, although oxygen will decline. Drip-grown plants in an absorbent medium may retain moisture for a period after a pump interruption. Narrow channels hold little reserve, making flow loss more urgent. For a first attempt, a reservoir-based design with an air stone or a simple recirculating drip layout offers visible components and manageable troubleshooting.
Before purchasing parts, sketch the route from the reservoir to the roots and back again. Mark the maximum waterline, pump position, tubing route, plant spacing, electrical outlet, and access needed to lift the lid. The reservoir should be opaque, food-contact appropriate, chemically clean, and large enough that normal uptake does not expose the pump between checks. A lid reduces light entry and evaporation but must still allow inspection and cable routing without pinching air lines.
Use a compact planning list before assembly:
- Growing components: reservoir, lid or tray, net pots, inert growing medium, and plant supports if required.
- Circulation components: water pump where applicable, tubing, fittings, drain or return line, and valves.
- Root-zone equipment: air pump, check valve, airline, and air stone for submerged roots.
- Monitoring tools: pH meter or test kit, conductivity meter, thermometer, and measuring container.
- Operating supplies: hydroponic nutrients, pH adjustment products, clean water, and a timer if the chosen method uses intervals.
A common purchasing mistake is mixing incompatible tubing and fittings, then trying to seal loose joints with excessive tape or adhesive. Match the inside and outside diameters specified for each connector. The planning stage of Assemble a first hydroponic system in sequence should resolve those connections before any holes are drilled.
Prepare the Site and Assemble the Hardware
Build the system dry before adding water so every component remains easy to reposition. Set the reservoir on a level, water-resistant surface that can carry its filled weight. Keep it away from direct sun, heaters, and surfaces where a small leak would damage flooring. Electrical connections should sit above likely splash and overflow points, with drip loops in power cords so water cannot travel toward a plug.
Place the reservoir first because it establishes the height and route of the rest of the installation. In a recirculating system, position the grow tray or channels above it and confirm that gravity can return solution without an uphill section. A nearly level return hose can trap water, sediment, or roots. Support the tray independently rather than asking thin reservoir walls or plumbing fittings to carry its weight.
Next, install bulkhead fittings, drains, and return lines according to their intended sealing direction. A gasket normally seals against a clean, flat surface; overtightening can deform the gasket or crack a rigid container. Remove plastic shavings after drilling because loose fragments can reach the pump. If the design uses an overflow, place it below the tray rim so a restricted primary drain does not send solution onto the floor.
Set a submersible water pump near the reservoir bottom while leaving enough clearance to avoid pulling settled debris directly into its intake. Connect the supply tube without sharp bends, then secure it so pump vibration cannot dislodge it. For drip irrigation, install emitters where their output can reach the medium rather than the plant stem. For channels, distribute flow evenly at the upper end and avoid outlets that produce forceful jets against young roots.
Install the air pump outside the reservoir and preferably above the maximum waterline. If it must sit lower, fit a correctly oriented check valve in the airline to reduce the chance of back-siphoning during a power outage. Put the air stone where bubbles circulate the solution instead of collecting beneath a solid corner of the lid. Fine bubbles provide broad contact with the water, but visible surface movement is also useful because it discourages stagnant zones.
Finish by fitting net pots and checking plant spacing. Crowded holes look efficient when seedlings are small, yet mature leaves can block airflow and light while roots merge into pumps and drains. Four lettuce plants may fit comfortably where four mature basil plants become dense. Leave enough room to remove an individual pot without dismantling neighboring plants. The main assembly error at this stage is making every connection permanent before testing; removable unions, accessible clamps, and service loops make later cleaning much easier.
Test Water Movement, Drainage, and Aeration
A water-only commissioning test separates mechanical faults from nutrient and plant problems. Fill the reservoir with enough plain water to cover the pump intake and reach the expected operating level. Mark that level on the outside of the container. Do not add fertilizer yet: spilled plain water is easier to clean, and a leak will not waste nutrient concentrate.
Run the water pump continuously while watching every joint, emitter, channel, drain, and return. A connection that stays dry for the first minute may seep after tubing warms or pressure stabilizes. Wipe each joint with a dry paper towel to reveal slow moisture. Confirm that the return flow does not splash outside the reservoir and that falling solution cannot strike electrical equipment.
Restrict the primary drain briefly without fully blocking it. This controlled check shows whether the tray has a safe overflow route and whether the reservoir can hold the returning volume when the pump stops. When power is disconnected, water remaining in supply lines and elevated trays may siphon backward. The reservoir needs enough empty capacity to receive that drain-down volume without overflowing. A common weak assumption is that the operating waterline can be filled to the lid; doing so leaves no margin for returning solution.
Inspect distribution at every plant position. In a drip setup, compare emitter output using equal-size cups over a timed interval. Large differences suggest a kinked line, uneven pressure, or a partially blocked emitter. In channels, look for a thin, continuous stream reaching the far end rather than isolated puddles. Excessive flow can deepen the stream and reduce root exposure to air, while insufficient flow can leave upper roots dry. Adjust valves or pump output gradually instead of selecting flow by pump noise.
Switch on the air pump separately and look for steady bubbles across the air stone. Intermittent bubbling may indicate a loose airline, reversed check valve, or pump that cannot overcome water depth. Warm water holds less dissolved oxygen than cooler water, so placing the reservoir beside a heat source creates an avoidable constraint even when bubbles remain visible. Root zones should smell fresh rather than swampy, and pumps should not run unusually hot or produce grinding sounds.
Run the complete setup long enough to observe several timer cycles if irrigation is intermittent. Record the waterline before and after the test. An unexplained drop points to a leak, splash loss, or retained water outside the reservoir. Only after the flow path remains stable should the builder move from mechanical testing to solution preparation. That sequence is central when following Assemble a first hydroponic system in sequence, because it prevents plumbing faults from being mistaken for nutrient trouble.
Add Nutrients and Introduce Plants
Prepare the nutrient solution only after the hardware passes its test. Begin with water whose source and temperature are known, then add a complete hydroponic fertilizer according to its label and the crop’s stage. Multi-part concentrates should be diluted into the reservoir separately rather than mixed together at full strength; concentrated components can react and form solids that plants cannot use efficiently.
Measure electrical conductivity after mixing because it indicates the total concentration of dissolved ions, not whether every individual nutrient is balanced. Young seedlings generally need a milder solution than mature, fast-growing plants, so the fertilizer label and crop response should guide the starting range. Adding concentrate until a plant looks greener is a poor correction: high concentration can make water harder for roots to take up and may burn tender root tips.
Check pH after the nutrients have dispersed, since fertilizer can shift it. Adjust in small increments with products intended for nutrient solutions, stir thoroughly, and wait before testing again. Chasing a single decimal reading often causes repeated additions and unstable chemistry. A modest drift within the crop-appropriate range is more manageable than large daily corrections. Calibrate digital meters as their instructions specify, rinse probes after use, and avoid storing a pH probe dry unless its manufacturer explicitly allows it.
Transfer seedlings when roots are visible outside the starter plug and the plant can support itself. Remove soil from soil-grown transplants carefully if they must be converted, but purpose-grown seedlings in inert plugs introduce less debris and usually experience less root disturbance. Keep the crown above standing solution. In deep-water culture, the initial water level may touch the lower portion of a starter plug until roots extend, but a saturated stem base invites deterioration. In drip media, aim moisture at the root zone without leaving the entire container waterlogged.
Observe the first two days more often than a mature setup. Confirm that leaves remain firm, roots reach moisture, emitters continue flowing, and reservoir temperature does not climb unexpectedly under the lights. A slight transplant pause can occur, but rapid wilting, curled leaf margins, a sour odor, or slimy roots calls for an immediate check of water access, concentration, pH, and aeration. Do not respond by changing every variable at once. Correct the clearest fault, document it, and reassess.
Establish a simple operating record with the date, reservoir level, pH, conductivity, temperature, and any nutrient or water additions. Top up based on measured conditions rather than automatically adding full-strength fertilizer. Plants remove water and mineral ions at different rates, so concentration may rise even while the reservoir level falls. Replace solution and clean the reservoir when imbalance, residue, or sanitation concerns can no longer be corrected predictably through measured top-ups. A successful first system is not the one with the most automation; it is the one whose flow, root condition, and solution changes remain easy to inspect.
Frequently Asked Questions
What is the easiest type of hydroponic setup for a beginner?
A small deep-water culture unit is mechanically straightforward because it needs a reservoir, net pot, air pump, airline, and air stone. A basic recirculating drip setup is also approachable when the return path is visible and accessible.
Should nutrients be added before testing the pump?
No. Test with plain water first so leaks, drainage problems, and pump faults can be corrected without wasting fertilizer or leaving nutrient residue around the work area.
How high should the water sit below a net pot?
The correct level depends on root length and system design. A young plug may need moisture close to its base, while established roots can extend into the solution with the plant crown kept dry and exposed to air.
Does every first system need both a water pump and an air pump?
No. Deep-water culture normally relies on an air pump but may not need a water pump. Recirculating channels need water movement and may gain oxygen through return flow, although supplemental aeration can provide useful protection.
When is the system ready for seedlings?
Add seedlings after the equipment has completed a leak and drain-down test, flow reaches every planting site, aeration is steady, and the mixed solution has been checked for concentration and pH.
Conclusion
A dependable first build comes from preserving the order of work: choose a crop-appropriate layout, position the reservoir, complete accessible plumbing, test with plain water, and prepare the nutrient solution last. Give special attention to drain-down capacity, protected electrical connections, root-zone oxygen, and room for inspection. Those details determine whether a minor blockage or power interruption remains manageable.
Begin with a small group of similar leafy plants and record water level, pH, conductivity, temperature, and visible root condition. During the first operating days, check the setup more often than automation suggests is necessary. Stable flow, fresh-looking roots, predictable reservoir changes, and new leaf growth indicate that the build is functioning. Leaks, uneven emitters, persistent wilting, odors, or rapid measurement swings should be corrected individually before expanding the system.
Further Reading
Authoritative Sources
- How to Set Up a Hydroponic System for Beginners
miilkiiagrow.com1. Wick System · 2. Deep Water Culture (DWC) · 3. Nutrient Film Technique (NFT) · 4. Ebb and Flow (Flood and Drain) · 1. Grow Trays and Reservoirs.
- Building A Hydroponic System
doityourself.comFollow this guide to build an beginner's hydroponic grow system. What You'll Need. You can purchase many of these items at a hydroponic ...
- How to Setup Hydroponic System at Home - Amazing Garden
amazinggarden.netHow to setup hydroponic system the smart way · Start with your grow space · Choose the right equipment · Assemble the system in the right order.
- DIY Hydroponics System Guide | PDF
scribd.comThe key steps include: 1) Cutting holes in buckets/containers to hold baskets and insert air stones for aeration of plant roots. 2) Placing rockwool cubes with ...