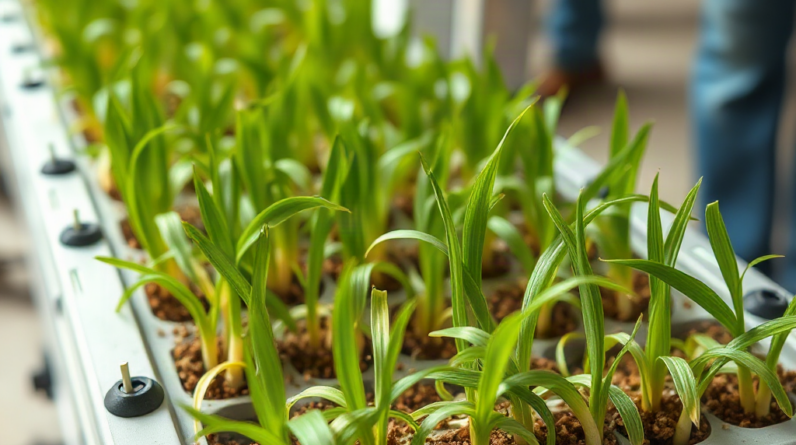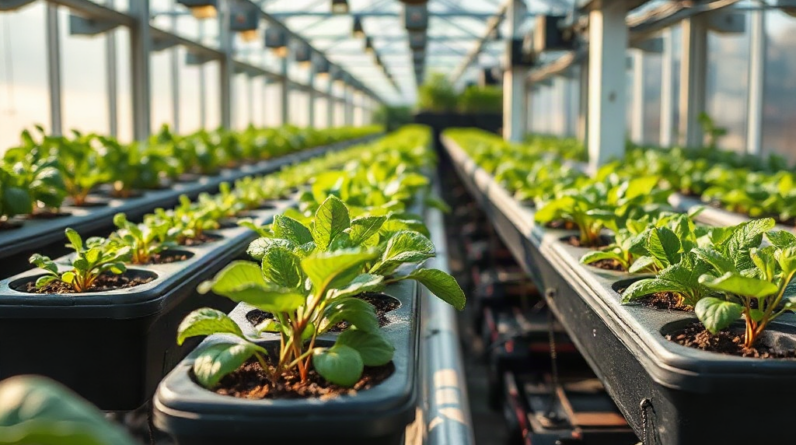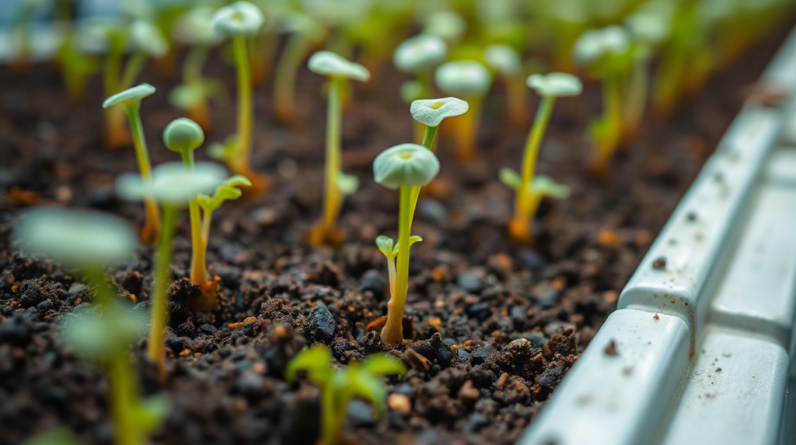
Approach hydroponic seed germination challenges by stabilizing moisture, temperature, oxygen, and seed-to-medium contact before changing nutrients or lighting. Keep the germination medium evenly damp rather than saturated, match root-zone temperature to the crop, and provide gentle airflow without drying exposed seeds. If emergence is uneven, inspect seed age, sowing depth, water quality, and whether plugs are sitting in standing solution; each points to a different correction. Move seedlings into the hydroponic system only after roots extend from the starter medium and the first true leaves begin developing, using a mild nutrient solution rather than full-strength feed.
Separate Seed Problems From Environmental Problems
Uneven germination should be investigated before the entire tray is reseeded. A seed must absorb water, resume metabolic activity, and push a root through its coat, but it can complete those stages only within a workable range of moisture, temperature, and oxygen. A tray containing both healthy sprouts and untouched seeds often points to inconsistent plug moisture, sowing depth, or seed-to-medium contact. A tray in which nothing emerges is more likely to involve seed viability, unsuitable temperature, or a tray-wide watering problem.
Start by opening a small sample of failed cells rather than disturbing every seed. A firm seed that has barely swollen may not have received enough moisture, may be dormant, or may be too old to germinate reliably. A soft, discolored seed commonly indicates decay associated with prolonged saturation or contamination. A seed with a short brown root may have germinated and then lost oxygen, dried out, or encountered damaging conditions near the surface.
Seed quality should be checked with a small pretest when the packet is old, was stored in heat or humidity, or has produced poor stands before. Place a counted sample in a clean, moist germination medium under the crop’s normal temperature range. The result will not reproduce every condition in a hydroponic tray, but it can distinguish broadly viable seed from a batch that is unlikely to justify repeated environmental adjustments. Avoid assuming that hydroponics can compensate for weak seed; the system controls the environment but cannot restore a dead embryo.
Record the crop, cultivar, sowing date, seed lot, plug type, root-zone temperature, and first emergence date. Those details turn a vague failure into a comparable event. Lettuce that emerges unevenly in one corner of a tray suggests a local moisture or temperature gradient, while two successive trays failing from the same packet place more suspicion on storage or viability. This evidence-based approach is more useful than changing water, light, heat, and nutrients at the same time.
A sound approach to how to approach hydroponic seed germination challenges therefore begins with classification: determine whether the seed never activated, germinated and died, or emerged but became weak. Each stage has different likely causes and requires a different correction.
Control Moisture, Oxygen, and Temperature Together
Moisture is useful only when air remains available around the seed. Starter plugs should feel uniformly damp, with no dry core, but they should not release a stream of water when lightly handled. Saturated pores contain less air, slowing root respiration and creating conditions favorable to decay. At the opposite extreme, a seed that absorbs water and then dries may stop developing before the root establishes itself.
Standing the plug tray permanently in deep solution is a frequent mistake. Capillary contact may keep some media excessively wet, especially fine-textured plugs, while upper cells remain different because of airflow or tray slope. Moisten the medium evenly before sowing, allow excess water to drain, and rewater according to plug weight, color, and feel rather than a fixed daily schedule. A humidity cover can reduce evaporation during the earliest stage, but it should not become a sealed, dripping chamber. Condensation running onto the medium is a reason to vent the cover, not proof that the plugs themselves have the correct moisture.
Temperature must be assessed at the seed or plug level. Air temperature measured above a propagation shelf can differ from the root zone, particularly near a cold floor, a sunny window, or a heat mat. Different crops also have different germination preferences, so one shared tray environment may favor basil while producing poor lettuce emergence. Use the seed supplier’s crop-specific range as the starting point and measure with a probe placed among representative plugs rather than against the heating surface.
Heat mats present a practical tradeoff. They can improve consistency in a cool room, but an unregulated mat may create hot spots, accelerate evaporation, and overheat cool-preferring seed. A thermostat-controlled mat is more useful when room temperatures fluctuate. If only one edge of the tray germinates poorly, rotate the tray after checking conditions and inspect whether the edge is receiving more heat or airflow; rotation can reduce variation, but it should not conceal a persistent equipment problem.
Use a compact daily check during germination:
- Plug moisture: damp throughout, without pooling beneath the tray.
- Root-zone temperature: appropriate for the specific crop and reasonably uniform.
- Cover condition: lightly humid rather than dripping or sealed without fresh air.
- Seed status: swelling, root emergence, discoloration, or visible fungal growth.
Successful adjustment produces steady emergence without sour odors, slimy surfaces, or collapsing roots. If plugs remain wet for long periods and seeds soften, reduce saturation and improve drainage before adding more heat.
Match the Germination Medium and Sowing Method to the Crop
The germination medium should hold enough water for imbibition while preserving air spaces for the new root. Rockwool-type cubes, stabilized peat or coir plugs, and loose seed-starting blends behave differently after watering. A dense plug may stay wet longer than its surface suggests, whereas a coarse or exposed plug can dry rapidly under a fan. Changing media without adjusting irrigation often recreates the same failure in a new material.
Sowing depth also changes the seed’s access to moisture, oxygen, and light. Small seeds generally have limited stored energy and can fail when buried deeply. Some are normally surface-sown or covered only lightly, while larger seeds can be placed farther into the plug for stable moisture contact. Follow crop-specific packet directions instead of pressing every species into an identical hole. If a plug has a large preformed opening, gently closing the material around a small seed can improve contact without compacting it.
Pre-soaking can be useful for some larger or slower-imbibing seeds, but it is not a universal remedy. A prolonged soak can deprive seed of oxygen or damage seed that hydrates quickly. Likewise, paper-towel germination makes root emergence easy to observe, yet transferring a delicate root into a hydroponic plug can bend or break it. Direct sowing avoids that transfer, making it the simpler option for small seed and routine production. A separate pretest is better reserved for uncertain seed lots or crops whose seeds are easy to handle.
Sanitation matters most at the point where moisture and warmth are concentrated. Begin with clean trays, clean tools, fresh or properly stored media, and potable water. Reusing plugs containing old roots or algae introduces variability and possible contamination. Cleaning does not make a saturated tray safe, however; environmental correction remains necessary when seedlings repeatedly decay. Treating every failure as a sanitation problem can lead to repeated disinfection while the actual cause—poor drainage or excessive heat—continues.
Light becomes more important as shoots emerge. Before emergence, crop requirements vary, and light should not be used as a substitute for suitable seed temperature. After shoots appear, delayed placement under adequate light can produce elongated stems that are difficult to support in net pots. Position emerging seedlings under appropriate grow lighting while monitoring plug drying, because increased light and airflow raise water use. When assessing how to approach hydroponic seed germination challenges, treat the medium, sowing depth, and post-emergence light as connected decisions rather than isolated settings.
Diagnose Delayed Emergence and Weak Seedlings
The appearance and location of failure provide more diagnostic value than the number of empty cells alone. Delayed but clean emergence may reflect cool conditions, deep sowing, or natural differences among crops. Rapid decay, surface fuzz, and seedlings pinched near the medium suggest excessive moisture, limited airflow, contamination, or a combination of those pressures. Pale, stretched seedlings have already emerged; their problem is more likely inadequate light than failed germination.
Map the tray before correcting it. Failure along the perimeter commonly corresponds with faster drying or cold drafts. Failure in the center may occur where condensation and poor air movement keep plugs wetter. A diagonal pattern can reveal an unlevel tray that directs water toward one corner. Random empty cells scattered among strong seedlings place greater weight on variable seed viability, inconsistent depth, or poor contact within individual plugs.
Change one high-probability variable at a time when the crop can tolerate the delay. For example, if plugs are saturated and several seeds are soft, improve drainage and reduce watering before altering pH or adding fertilizer. Germinating seeds rely mainly on stored reserves, so stronger nutrient solution rarely corrects non-emergence. Concentrated salts can instead make water uptake more difficult and may injure new roots. Plain suitable water or a very mild seedling feed is generally easier to manage during the earliest stage, with crop-specific nutrition introduced after establishment.
Water quality still deserves attention when unexplained failures repeat. Extreme pH, high dissolved salts, or water contaminated by an inadequately cleaned reservoir may affect young roots more strongly than established plants. Compare the source water with the solution reaching the plugs, and verify meters with proper calibration rather than trusting an old reading. Do not chase small pH movements while the tray is visibly waterlogged; the physical root environment is the more immediate constraint.
Set a reseeding decision based on the crop’s expected germination window and the condition of inspected seeds. Seeds that remain firm may simply need more time if temperatures have been cool. Soft seeds or dead roots will not recover. Reseed failed cells only after correcting the likely cause, and label the replacement date so younger seedlings are not mistaken for stunted originals. This preserves useful plants while preventing a mixed-age tray from entering the main system unnoticed.
Move Germinated Seedlings Into the System Safely
Transplant readiness depends more on root and shoot development than on a fixed number of days. A practical seedling usually has roots visible outside the plug, an upright stem, and developing true leaves. Moving it before roots reach the plug exterior can leave the plant unable to contact moisture in the system. Waiting too long can produce crowded roots, tangled neighboring seedlings, or nutrient stress inside a small starter plug.
The root-to-solution relationship differs by system. In deep-water culture, the plug should remain above continuous saturation while emerging roots reach moist air and then the aerated solution. In nutrient film technique, roots need reliable contact with the shallow flow without placing the stem base in water. In drip irrigation, emitter placement and cycle length should moisten the root zone without repeatedly soaking the crown. Copying one transplant height across all three systems can either dry roots or drown the plug.
Begin with a mild nutrient concentration appropriate to young plants and increase it as roots and true leaves expand. Full production strength immediately after emergence can create unnecessary osmotic stress, particularly when plugs have already accumulated salts through evaporation. Maintain good reservoir aeration and avoid abrupt temperature changes between the propagation area and growing system. A seedling raised in a warm, humid dome may wilt when moved directly into strong airflow and intense light, even when its roots are healthy.
Acclimation is preferable to prolonged dome use. Vent the cover progressively after emergence, expose seedlings to gentle air movement, and establish the intended lighting before transplant. This reduces the sudden change in humidity and evaporation demand. Signs of a successful move include upright growth, new root extension, and continued true-leaf development. Persistent wilt despite wet media, browning root tips, or a plug that remains soaked calls for immediate inspection of water level, flow, and solution strength.
Keep weak seedlings out of shared channels when they show decay or badly damaged roots. A smaller but healthy transplant often catches up more reliably than an older plant with a compromised crown. Documenting plug height, solution level, and early nutrient settings creates a repeatable transplant process and completes the practical sequence for how to approach hydroponic seed germination challenges.
Frequently Asked Questions
Why are my hydroponic seeds not germinating?
Inspect several cells for dry, firm, soft, or newly rooted seeds. Those conditions help distinguish insufficient moisture, low viability, saturation-related decay, and post-germination root loss.
Should hydroponic seeds germinate in nutrient solution?
Seeds generally use internal reserves at first. Suitable water or a very mild seedling solution is easier to manage than full-strength feed, which may stress emerging roots.
How wet should hydroponic starter plugs be?
Plugs should be evenly damp without sitting continuously in pooled water. A saturated plug loses air space, while a partially dry plug can interrupt hydration during root emergence.
When should a humidity dome be removed?
Begin venting after shoots emerge, then remove the dome progressively as seedlings adjust to normal airflow. Persistent heavy condensation signals excessive enclosure.
When are seedlings ready for a hydroponic system?
Transplant when roots extend beyond the starter plug and true leaves are developing. Position the plug so roots receive moisture without submerging the stem base.
Conclusion
Reliable germination comes from reading the tray as evidence rather than responding with more water, fertilizer, or heat by default. Inspect failed cells, compare their location, and determine whether seeds stayed inactive, decayed, or emerged and weakened. Correct moisture and oxygen first, verify crop-appropriate root-zone temperature, and then review seed quality, depth, medium, and water conditions. Once shoots appear, provide appropriate light and gradually reduce humidity instead of keeping seedlings enclosed. Transplant only when roots can reach the system’s moisture zone, and avoid soaking the plug or crown. Record the settings and seed lot used for each tray; those notes make recurring patterns visible and allow the next sowing to begin with a tested process rather than another round of simultaneous adjustments.