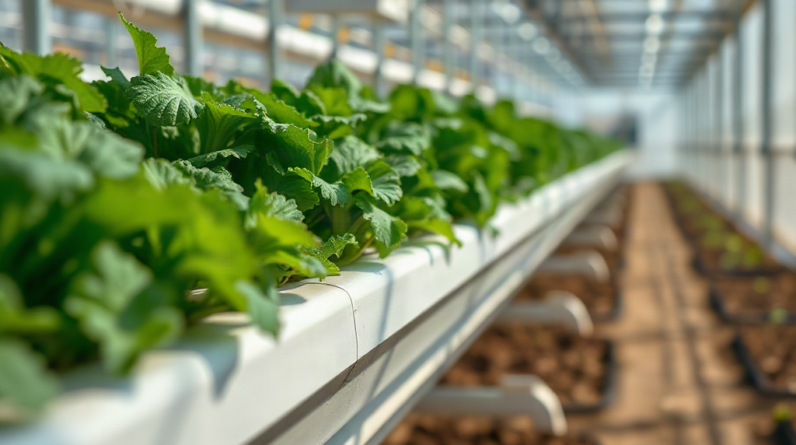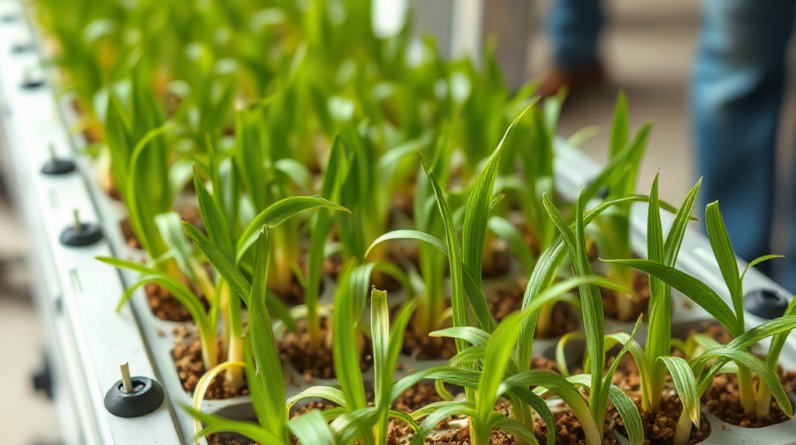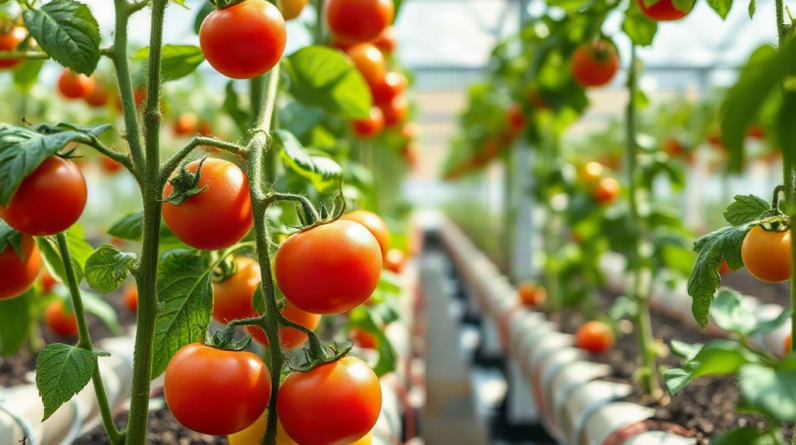
Hydroponic plants can be moved into soil successfully by keeping their water-adapted roots moist, using an airy potting mix, and reducing light stress while new soil roots develop. Transplant healthy plants before they become root-bound, rinse away loose growing media, and place the roots in pre-moistened soil without compressing it. Water thoroughly at planting, then allow modest drainage rather than keeping the container continuously saturated. For the first seven days, provide gentle light, stable temperatures, and moderate humidity. New growth and firm leaves indicate recovery, while persistent wilting, dark roots, or a sour-smelling mix signal root damage or excess moisture.
Why the Root Zone Changes After Transplanting
Roots produced in a hydroponic reservoir develop under conditions that differ sharply from those inside a pot. They receive abundant moisture, dissolved mineral nutrients, and—if the system is operating correctly—oxygen from aeration or circulating solution. Once placed in soil, those roots must draw moisture and nutrients from pore spaces while coping with greater physical resistance and uneven wetness.
The pale, fine roots commonly seen in hydroponics are not automatically weak or diseased. Their vulnerability comes from being exposed during handling and from entering a medium where oxygen availability can fall rapidly if the soil is compacted or saturated. A heavy garden soil placed in a small container is particularly risky: fine particles settle around the roots, drainage slows, and oxygen diffusion declines. An airy potting mix gives the existing roots time to function while the plant produces roots better suited to its new environment.
Leaf behavior also changes during this adjustment. A plant may lose water through its leaves faster than disturbed roots can replace it, producing temporary wilting even when the potting mix is moist. Adding more water in response can make matters worse by filling the air spaces needed for root respiration. The better response is usually to reduce light intensity and air movement temporarily while maintaining evenly moist—not waterlogged—soil.
Plant type affects the difficulty of the move. Lettuce, basil, mint, and young leafy seedlings often adjust quickly when transplanted before flowering. A large fruiting tomato or pepper has greater water demand, more root mass to disturb, and heavier stems that require support. Mature plants can still survive, but moving a young, actively growing specimen is generally less disruptive than relocating one carrying fruit.
Timing matters as much as technique. Choose a plant with white or cream-colored roots, firm stems, and no active pest or disease problem. Avoid transferring a specimen simply because it is already declining in the hydroponic unit. Soil does not correct root rot, severe nutrient injury, or stem disease; it adds another stress while the original problem remains. Readers comparing plant readiness can use this hydroponic-to-soil transplant reference as a checkpoint before removing plants from their system.
Preparing Plants, Containers, and Potting Mix
Successful preparation centers on drainage, root protection, and a close match between the container and the plant. Use a clean pot with unobstructed drainage holes and enough volume to accommodate the root system without folding it into a tight ball. An oversized pot is not automatically safer because a large mass of unused mix remains wet longer than a sensibly sized container.
A commercial potting mix intended for containers is preferable to soil dug from the garden. Container mixes typically combine moisture retention with larger pores that admit air. If the chosen product feels dense, an appropriate coarse amendment such as perlite may improve its structure. The final mix should become uniformly damp when watered but should not form a heavy, sticky lump when squeezed.
Moisten the mix before removing the plant from hydroponics. Dry material can pull moisture from exposed roots and may settle unevenly after planting. Fill part of the pot, form a cavity large enough for the roots, and keep additional damp mix ready. This preparation limits the time roots spend in open air.
Handle the plant by its stem base or root-supporting plug rather than pulling on individual roots. Rockwool, foam collars, clay pebbles, and other supports require different treatment. Loose clay pebbles can be eased away, but material tightly enclosed by roots should not be forcibly stripped off. A small, inert starter plug may remain attached if it is clean and does not prevent root contact with the new mix. Remove any plastic basket only when it can slide or be cut away without severing a large portion of the root system.
Rinse roots gently with clean water to remove loose nutrient residue, algae, and detached media. Vigorous scrubbing removes fine root hairs and creates wounds. Trim only roots that are clearly brown, soft, hollow, or foul-smelling, using clean scissors. Healthy roots should be preserved even if they look unusually long or threadlike.
Set the plant at approximately the same depth it previously occupied. Spread long roots downward and outward where practical, then add mix gradually so large air gaps are filled without hard packing. Tomatoes can tolerate deeper planting along a healthy stem, but lettuce crowns and the stem bases of many herbs should not be buried. Water slowly until excess drains from the bottom, confirming that the root zone is evenly moistened. This preparation is more reliable than planting first and trying to correct compacted, dry pockets afterward.
A 7-Day Hydroponic-to-Soil Transition Plan
The first week should reduce leaf stress while encouraging the root zone to exchange air and moisture normally. Treat the schedule as a set of observation points rather than a rigid watering calendar. Pot size, plant species, temperature, humidity, and potting-mix composition all alter drying speed.
- Day 1: Transplant into pre-moistened mix, water to drainage, and place the pot in bright indirect light. Protect outdoor-bound plants from direct midday sun and wind.
- Days 2–3: Check moisture below the surface with a finger or wooden skewer. Water only if the upper layer is beginning to dry and the pot feels noticeably lighter.
- Days 4–5: Increase light gradually if leaves remain firm. Rotate the pot for balanced exposure and inspect the stem base and drainage holes.
- Days 6–7: Move the plant closer to its normal light level. Continue watering according to actual moisture loss rather than maintaining reservoir-like wetness.
Bright indirect light is a temporary recovery setting, not a permanent growing condition for sun-loving crops. A basil plant moved immediately from indoor hydroponic lighting to an exposed patio may wilt or scorch even if its roots were transplanted perfectly. Giving it mild morning light first, followed by progressively longer exposure, separates root acclimation from the additional stress of intense sun.
Humidity can slow excessive moisture loss, but sealing the plant inside a wet enclosure creates stagnant conditions that favor leaf and stem problems. If indoor air is very dry, group plants nearby or use a ventilated humidity cover briefly without allowing foliage to remain wet. Air should circulate gently; a strong fan directed at newly transplanted leaves can overwhelm limited water uptake.
Do not add concentrated fertilizer during the initial watering. Hydroponic roots may retain nutrient salts, and many commercial mixes already include a starter charge. Fertilizing immediately can raise soluble salt levels around damaged roots and intensify leaf-edge burn. Wait for evidence of recovery or follow the potting-mix label when it specifies an initial feeding interval. When feeding resumes, use a fertilizer formulated for container plants and begin conservatively rather than pouring the old hydroponic solution into the pot.
Progress should be judged by the entire plant. Leaves that droop mildly during the first warm afternoon but recover by morning are less concerning than foliage that remains limp around the clock. Stable stems, normal leaf color, and eventually a small flush of new growth indicate that uptake is improving. The practical sequence outlined in moving hydroponic plants into soil successfully works best when observations override automatic daily watering.
Diagnosing Wilting, Root Damage, and Slow Recovery
Persistent wilting is a symptom, not proof that the plant needs more water. Check the pot before acting. If the mix is wet, the container is heavy, and leaves remain limp, roots may be oxygen-starved or too damaged to supply the foliage. Pause watering, ensure drainage holes are open, and move the pot away from harsh light while the root zone gains air. Repotting again immediately can compound the damage unless the mix is clearly unsuitable or smells sour.
Dry-stress wilting presents differently. The pot feels light, the upper mix is dry, and water may run down the sides if the medium has pulled away from the container. Apply water slowly in several passes so it penetrates the root ball instead of bypassing it. A brief bottom soak can rehydrate a potting mix that repels water, but the container should then drain freely rather than remain standing in water.
Some lower-leaf yellowing can occur after root disturbance because the plant reallocates resources while growth pauses. Rapid yellowing throughout the canopy, blackening at the stem base, collapsing tissue, or a rotten odor points to a more serious problem. Remove dead tissue, improve drainage, and inspect for soft roots if decline continues. Saving a healthy cutting may be more realistic than repeatedly disturbing a severely compromised root system.
Leaf scorch also deserves a separate diagnosis. Pale or brown patches on the most exposed leaves after an outdoor move usually suggest excessive sun exposure rather than a soil failure. Return the plant to gentler light, retain healthy foliage, and lengthen outdoor exposure gradually. By contrast, brown leaf margins following an early fertilizer application may indicate excessive salts. Flushing with plain water may help if the pot drains well, but repeated flushing of dense soil can create prolonged saturation.
A plant that looks stable but produces no growth for several days may simply be allocating energy below the surface. Continued firmness is more meaningful than immediate leaf production. Recovery becomes doubtful when there is no new growth after a reasonable acclimation period and the existing canopy steadily deteriorates. At that point, reassess temperature, light, moisture, pests, and planting depth instead of applying several treatments at once. Changing one variable at a time makes the plant’s response easier to interpret.
Long-Term Care After the Plant Establishes
Established plants should transition from recovery care to ordinary container culture gradually. Increase light to the level required by the species, allowing each change to settle before increasing exposure again. Fruiting tomatoes and peppers ultimately need much stronger light than mint or tender lettuce, but their roots should be functioning reliably before the canopy is asked to handle full sun and heat.
Watering should follow root-zone conditions rather than the plant’s former hydroponic routine. Lift the pot, inspect the surface, and test slightly below it. A container that becomes lighter between waterings usually maintains a healthier balance of moisture and air than one kept constantly heavy. Avoid letting the entire root ball become bone dry during early establishment, because the remaining water-adapted roots may not tolerate a severe dry-down.
Resume feeding when new growth shows that the plant has begun to establish and when the potting mix’s included fertility is no longer adequate. Choose a complete container fertilizer, follow its label, and account for the crop’s growth stage. A leafy herb needs a different feeding emphasis and quantity than a tomato setting fruit. More fertilizer cannot compensate for weak light, cold soil, or damaged roots.
Outdoor plants also need hardening against wind and temperature swings. Support tall specimens before stems bend, and inspect the underside of leaves for pests that may not have been present indoors. Containers dry faster outdoors, yet cool or rainy weather can reverse that pattern. Fixed schedules become especially unreliable after the move.
Permanent soil culture is not always the best destination. A large mature plant that is thriving in a functioning hydroponic unit may face unnecessary transplant stress, while a young surplus seedling may transfer easily. Soil is a sensible choice when the plant has outgrown indoor space, needs a garden location, or can no longer remain in the system. The decision standard in this hydroponic plant transplant plan is plant health and manageable root demand, not a belief that every hydroponic specimen should eventually enter soil.
Frequently Asked Questions
Should hydroponic roots be trimmed before planting in soil?
Keep healthy white or cream roots intact. Trim only soft, rotten, hollow, or badly damaged sections with clean scissors, because unnecessary cutting reduces the plant’s immediate capacity to absorb water.
Can hydroponic plants go directly into garden soil?
They can, but a container with airy potting mix offers tighter control over moisture, shade, and drainage. If planting directly outdoors, choose mild weather, prepare loose soil, and harden the plant to sunlight first.
How often should a newly transplanted plant be watered?
Water thoroughly at planting, then check the mix rather than following a daily schedule. Rewater when the surface begins to dry and the pot becomes lighter, while avoiding both complete drying and constant saturation.
Why does the plant wilt even though the soil is wet?
Disturbed roots may be unable to replace water lost through the leaves, and saturated soil can further restrict root oxygen. Reduce light stress, confirm drainage, and let the mix lose some excess moisture before watering again.
When can fertilizer be added after transplanting?
Wait until the plant is stable and beginning to produce new growth unless the potting-mix label directs otherwise. Start conservatively because damaged roots and pre-fertilized mixes make early overfeeding more likely.
Conclusion
A good transfer protects roots during the short period when the plant must function in two very different growing environments. Select a healthy, preferably young specimen; prepare a draining container mix before removing it from the system; and avoid stripping or compressing delicate roots. During the first week, manage light and airflow to limit water loss while checking the pot itself before irrigating.
Recovery should be measured through firm foliage, a stable stem, normal root-zone odor, and eventual new growth—not by an arbitrary number of watering or feeding days. If decline appears, distinguish dry soil from saturated soil, sun scorch from fertilizer injury, and temporary pause from progressive tissue collapse. Once growth resumes, increase light, watering intervals, and nutrition according to the species and its container conditions rather than its former reservoir routine.