Hydroponic gardening with recycled household containers works well for herbs, lettuce, and seedlings when each vessel is food-safe, opaque, easy to sanitize, and deep enough to keep roots in nutrient solution without submerging the plant crown. Wide-mouth jars, plastic food tubs, and sturdy bottles can become simple passive units after adding a fitted lid, net cup, or supported growing plug. Clean containers thoroughly, block light to limit algae, leave an air space for root oxygen, and use a measured hydroponic nutrient rather than plain water. Avoid vessels that held chemicals, damaged plastic, metal that can corrode, or containers too narrow to inspect and clean.
Which Household Containers Are Suitable?
A reusable vessel is suitable only when its previous contents, material, shape, and condition support safe contact with nutrient solution. Food tubs, wide-mouth beverage bottles, glass jars, and rigid plastic containers that originally held edible products are the most practical candidates. Their history is usually clear, and smooth interiors are easier to scrub than containers with seams, handles, or inaccessible corners.
Reject anything that previously contained detergent, automotive fluid, paint, pesticide, solvent, or another nonfood substance. Washing does not establish that a chemical container is safe for growing edible crops. Containers with persistent odors, internal scratches, brittle walls, rust, or unknown origins should also stay out of the garden. A recycled vessel saves little if it leaks over a windowsill or cannot be cleaned between crops.
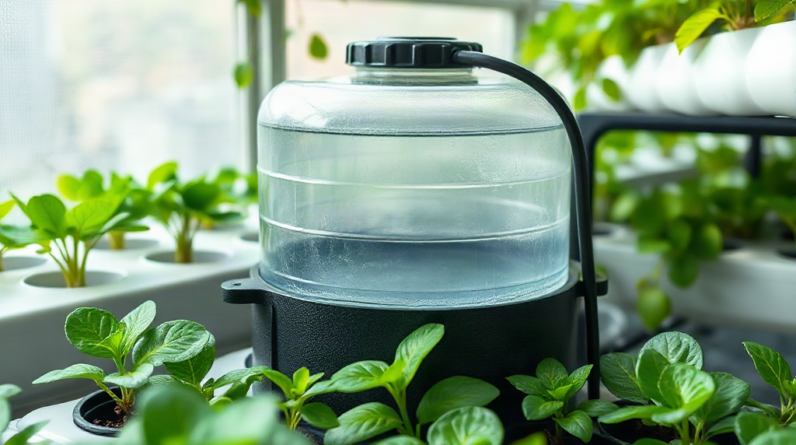
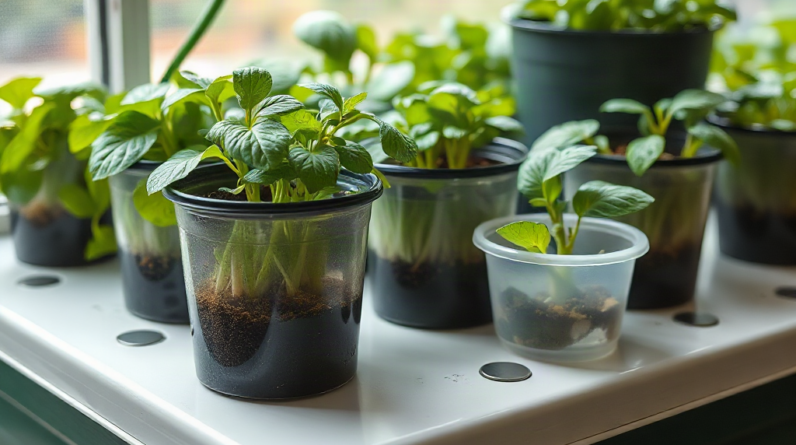
Shape affects performance as much as material. A broad opening makes it easier to remove roots, wipe away residue, and check the solution. A narrow bottle may look convenient, but a mature root mass can become trapped inside its neck. Clear containers permit useful inspection, yet light reaching the nutrient solution encourages algae. Cover transparent walls with an opaque, removable sleeve or place the vessel inside a light-blocking outer cover. Paint is less convenient because it can chip and prevents inspection unless a viewing strip remains.
Capacity determines how rapidly conditions change. A small jar loses solution quickly as a plant drinks and as water evaporates. Its nutrient concentration and acidity can shift faster than those of a larger tub. Small vessels are reasonable for basil cuttings or young lettuce, but they demand more frequent checks. Larger food-storage tubs provide a steadier root environment and can support more growth, although every extra planting hole increases competition for the same water and dissolved oxygen.
Use this compact screening checklist before making any holes:
- Known history: The container held food or drink and has no lingering odor.
- Sound surfaces: There are no deep scratches, cracks, rust, or deteriorating plastic.
- Serviceable shape: The interior can be reached, inspected, and cleaned.
- Light control: The root zone can be kept dark without hiding leaks.
- Stable placement: The base will not tip after foliage becomes top-heavy.
Glass jars resist scratching and are simple to sanitize, but they are heavy, breakable, and transparent. Plastic food tubs are lighter and easier to drill, though thin lids may sag beneath plants. The strongest choice is not automatically the most attractive container; it is the one that remains stable, dark around the roots, and accessible throughout the crop. Those criteria form the foundation of reliable hydroponic gardening with recycled household containers.
How to Convert a Container Into a Passive Hydroponic Unit
A passive container garden suspends the plant above nutrient solution so lower roots can reach moisture while upper roots receive oxygen from the humid gap beneath the lid. This arrangement is commonly suited to compact, leafy crops because it avoids pumps and tubing. It is less appropriate for plants that become large, fruit heavily, or consume water faster than a modest reservoir can supply it.
Begin by washing the vessel and lid with dish soap, rinsing away all residue, and sanitizing them with a product and dilution intended for food-contact surfaces. Follow that product’s directions rather than mixing household cleaners. Let the parts drain and dry. Inspect the lid while it is empty; warped or flexible lids need reinforcement or replacement before they carry a wet growing plug and mature plant.
Cut a hole that supports a net cup, slotted nursery cup, or other inert holder without allowing it to fall through. The rim should rest flat, and the cut edge should not press sharply against the cup. A heated tool can release fumes or deform plastic unpredictably, so a correctly sized hole saw or careful mechanical cutting is generally easier to control. Remove every plastic shaving before adding water. Wear eye protection, secure the empty container, and never cut toward a supporting hand.
Place a seedling in an inert hydroponic medium such as a starter plug or rinsed expanded clay pebbles. Soil from a pot is a poor shortcut: loose particles cloud the reservoir, retain excessive moisture around the stem, and introduce organic debris that is difficult to remove. At first, set the solution high enough to moisten the bottom of the plug or reach emerging roots. Do not drown the stem or plant crown. Once roots extend into the solution, allow a distinct air gap to develop beneath the holder rather than repeatedly filling the vessel to its lid.
A useful assembly sequence is:
- Clean, sanitize, rinse as directed, and inspect the container.
- Fit a sturdy lid and cut one accurately sized planting opening.
- Block light from the sides while preserving access for inspection.
- Add properly mixed nutrient solution and mark the initial level.
- Insert the seedling, confirm moisture reaches its young roots, and check stability.
Marking the starting level reveals how much the crop uses and whether a leak is present. During early growth, inspect the plug daily enough to prevent it from drying before roots reach the reservoir. Later, check the air gap and root color rather than automatically topping up to the original line. White or cream new roots and steady leaf growth indicate that the arrangement is functioning. A saturated crown, sour odor, slimy roots, or a leaning lid indicates that the setup needs correction rather than another refill.
Matching Container Size to Herbs, Lettuce, and Seedlings
Crop choice should follow reservoir capacity, root volume, and expected harvest stage. Recycled containers perform most predictably with plants harvested for leaves while relatively compact. Lettuce, basil, mint cuttings, and some other culinary herbs can fit that profile. Tomatoes, cucumbers, and peppers develop larger roots, heavier tops, and greater nutrient demand, making a small passive jar a poor long-term home even if a young transplant initially appears healthy.
A single lettuce plant benefits from a container that gives its roots room to spread without tangling with neighboring plants. Putting several seedlings into one food tub may create an appealing display, but the shared solution can decline quickly once the leaves expand. Crowded foliage also reduces airflow, while intertwined roots make it difficult to remove one unhealthy plant. For a first build, one planting position per container provides clearer feedback and easier cleaning than a densely drilled lid.
Herbs require crop-specific judgment. Basil grows rapidly in warm, bright conditions and may outgrow a small vessel before the first substantial harvest. Regular tip harvests keep it compact, but repeated wilting between refills means the reservoir is undersized. Mint roots aggressively and can fill a narrow container, so a wide opening is valuable when the crop must be removed. Woody perennial herbs are generally less forgiving of continuously wet conditions than soft, leafy herbs and may be better suited to another growing method.
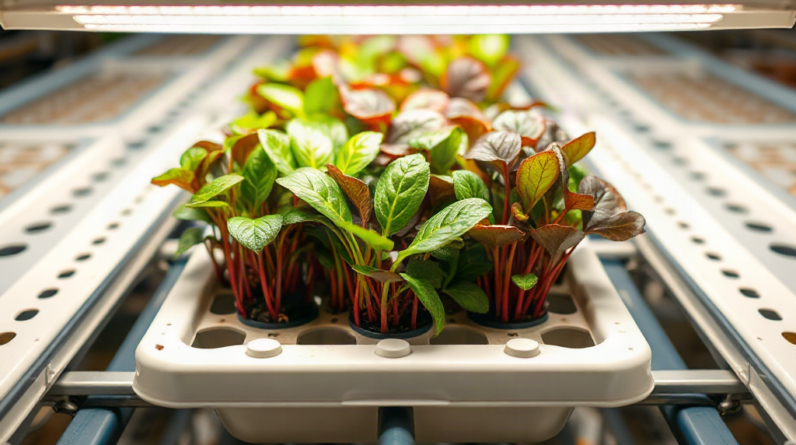
Seedlings need a different setup from mature plants. A shallow food tub can hold several propagation plugs temporarily, provided the plugs stay moist rather than submerged and receive adequate light. Once roots from adjacent seedlings knit together, separation damages them and delays transplanting. Space holders far enough apart to lift each plug cleanly, and move seedlings before their roots form a shared mat. A propagation container is therefore a short-stage tool, not necessarily the vessel in which every seedling should finish.
Consider a practical countertop scenario: a one-liter jar may support a small basil plant while it establishes, but leaf growth can soon cause water use to outrun a casual weekly check. Moving that plant to a wider, larger food tub reduces refill frequency and improves stability. By contrast, a lettuce plant intended for an early whole-head harvest may finish in a moderate container before its root demand becomes excessive. Container size should be judged by observed water use and root crowding, not merely by whether the seedling fits on planting day.
The strongest beginner approach is to run separate containers for separate plants. It costs a little more space than a shared reservoir, but an individual vessel makes nutrient use, root condition, and crop failure easier to interpret. After learning those patterns, a larger multi-plant tub becomes a reasonable next step. A planning page for hydroponic gardening with recycled household containers can help keep crop choice tied to available vessel volume rather than appearance alone.
Managing Nutrients, Oxygen, Light, and Cleaning
Stable root conditions depend on managing the solution as a living part of the build rather than treating the container as a vase. Plants remove water and mineral ions at different rates, evaporation concentrates what remains, and warm solution holds less dissolved oxygen than cool solution. A passive unit has little mechanical correction for those changes, so routine observation carries more weight than complicated equipment.
Use a complete nutrient formulated for hydroponic crops and mix it according to its label for the crop’s stage. Ordinary plant food may not provide nutrients in forms or proportions intended for water culture. More concentrate does not create faster growth; an overly strong solution can damage roots and make water uptake harder. If local tap water is unusually hard or produces recurring deposits and unstable readings, compare it with an appropriate alternative water source rather than continually adding corrective products without understanding the baseline.
Solution acidity influences nutrient availability, but test results are useful only when the test method is maintained and read correctly. Beginners can keep the process manageable by mixing consistently, recording what they add, and watching the crop’s response. Pale new leaves, scorched edges, stalled growth, or distorted foliage call for a review of light, root condition, nutrient strength, and acidity together. Treating every leaf symptom as a fertilizer shortage often makes the reservoir stronger while leaving the actual cause untouched.
Oxygen is the defining limitation of a passive build. The air space below the lid supplies oxygen to roots that are not continuously submerged. Filling the container to the top erases that zone and can leave the crown persistently wet. If a crop repeatedly develops dull, soft, or foul-smelling roots despite correct fill levels, a bubbler system may be more suitable than passive culture. Adding an air pump and stone can improve aeration, but it introduces electricity, tubing, noise, and additional surfaces to clean.
Keep light away from the solution while giving foliage sufficient illumination. Green film on the walls signals that light is entering the root zone and feeding algae. Algae compete for oxygen, coat surfaces, and complicate diagnosis; simply wiping the visible layer without blocking the light source leads to its return. An opaque sleeve that lifts off for inspection is often more useful than permanently sealing the container behind decorative material.
Inspect water level, leaks, plant posture, and odor regularly. Between crops, discard the spent solution appropriately, remove all roots, wash away residue, and sanitize the components according to the chosen product’s instructions. Deeply scratched plastic that retains film should be retired from hydroponic use. Reuse remains worthwhile only while the vessel can be cleaned and trusted. Keeping a dated note of refills, solution changes, and symptoms turns a recycled build into a manageable growing system rather than a series of guesses.
Frequently Asked Questions
Can Any Food Container Be Used for Hydroponics?
No. Choose a sound container with a known food-use history, a cleanable interior, and no persistent odor, deep scratches, cracks, or rust. It must also support a stable lid and effective light blocking.
Do Clear Jars Need to Be Covered?
Yes. Cover the sides with an opaque, removable sleeve to keep light out of the nutrient solution. Leaving the cover removable allows inspections for algae, root condition, deposits, and leaks.
Can I Use Soil in a Recycled Hydroponic Container?
Loose soil is poorly suited to a simple reservoir because it sheds debris and can keep the stem too wet. Use a supported starter plug or a clean, inert hydroponic medium instead.
How Often Should the Container Be Refilled?
Refill frequency changes with vessel size, crop maturity, temperature, and light. Check the marked level regularly, but preserve an air gap after established roots have reached the solution instead of filling to the lid.
Why Are Roots Turning Brown or Smelling Bad?
A foul odor, slime, and soft roots can indicate low oxygen, excessive warmth, contamination, or a crown kept too wet. Review the fill level, clean the vessel, replace questionable solution, and consider active aeration if the problem returns.
Conclusion
A successful recycled build is defined less by clever repurposing than by a container’s safety, access, stability, and ability to exclude light. Begin with one leafy crop in a food-use vessel that can be cleaned by hand, then fit a supportive lid and leave oxygen space above the nutrient solution. Match the reservoir to the plant’s mature demand rather than its seedling size.
Watch refill frequency, root appearance, odor, algae, and lid strength as the crop develops. Those observations reveal whether the vessel remains adequate or whether a larger reservoir or active aeration is warranted. Retire damaged containers instead of extending reuse beyond safe service. A simple first unit with clear records will teach more than a crowded collection of improvised jars, and it provides a dependable basis for expanding to larger household-container gardens.