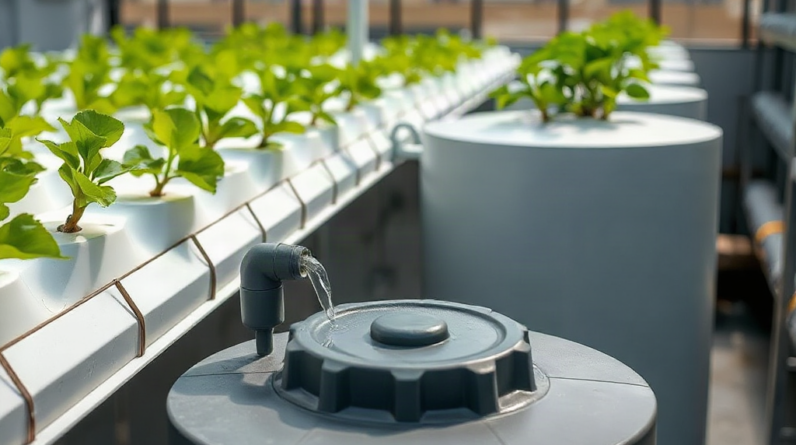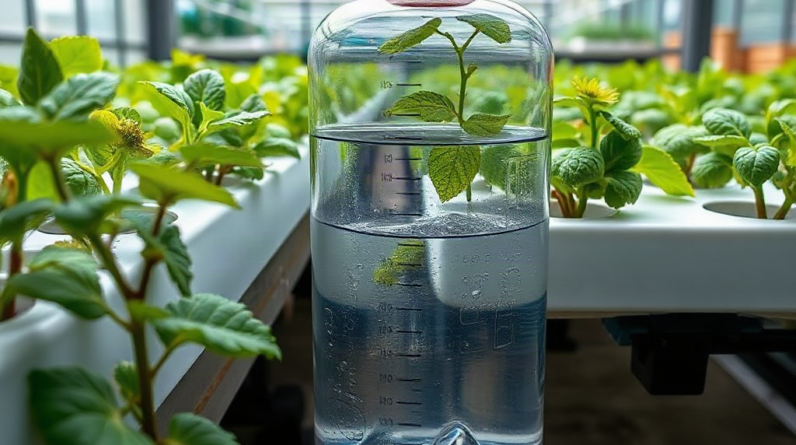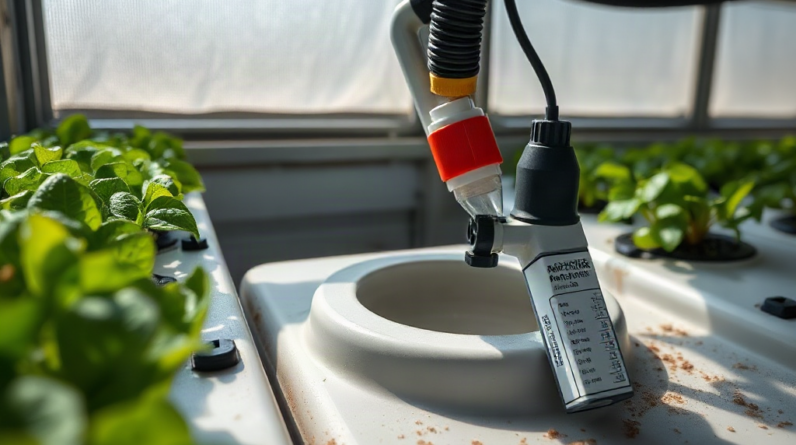
Effective reservoir measurement access for hydroponic systems uses a dedicated, covered port where growers can check nutrient level, temperature, pH, and electrical conductivity without lifting the main lid or disturbing roots. Place the port above representative, well-mixed solution but away from return splashing, concentrated dosing points, and pump heat. Size the opening for clean sampling tools and sensor probes, then shield it from light and falling debris. Reliable access reduces contaminated samples, accidental spills, and skipped checks while making it easier to compare readings taken at the same location and depth.
What a Measurement Port Must Provide
A useful measurement port gives direct access to representative nutrient solution while keeping the reservoir dark, covered, and difficult to contaminate. The opening should accommodate the actual instruments used during routine checks, including a thermometer, pH probe, electrical conductivity meter, sampling syringe, or clean cup. An opening that accepts only one narrow probe may appear tidy but becomes frustrating when calibration checks, water-level measurements, or manual samples are needed.
Consistency matters as much as convenience. Readings taken near the surface can differ from readings lower in the reservoir when circulation is weak, recently added water has not mixed, or warm air heats the upper layer. A probe inserted to a repeatable depth through a fixed port produces more comparable records than a meter dipped wherever space happens to be available. A simple depth stop on the probe cable or sampling tube can make that repeatability practical.
The port must also preserve the functions of the reservoir lid. A loose opening admits light, dust, insects, leaf fragments, and irrigation runoff. Light reaching nutrient solution may encourage biological growth on wet surfaces, while debris can obstruct pumps or alter a small sample. Use an opaque cap, overlapping flap, threaded plug, or removable cover that can be opened with one hand but cannot slide into the tank. Any cap tether should stay outside the solution and away from electrical cords.
Access should not require moving plants, disconnecting irrigation lines, or placing a hand over energized equipment. A grower who must dismantle part of the system to take a reading is more likely to delay the task or test only after visible plant stress appears. By contrast, well-planned reservoir measurement access for hydroponic systems turns inspection into a short, repeatable operation.
Do not assume a transparent level tube replaces direct solution access. A sight tube can show volume, but stagnant liquid inside it may not reflect current temperature, pH, or nutrient concentration. It can also admit light unless shielded. Treat external level indicators as supplements to a covered sampling point rather than universal substitutes.
Choosing the Best Access Location
The best port location represents the mixed reservoir without exposing instruments to turbulence, dosing concentrate, roots, or mechanical damage. A position near the front or service side usually works better than one behind the tank, provided the opening remains reachable after plants reach full size. Plan around the mature canopy and installed support structure, not the empty system seen during assembly.
Avoid placing the port directly above a return outlet. Splashing introduces air bubbles around sensor tips, makes handheld meters difficult to steady, and can throw nutrient solution onto the lid or floor. The opposite extreme is a dead corner with little circulation, where settled material or temperature stratification can produce a misleading sample. A suitable location is normally within the circulating body of solution but offset from the strongest flow.
Dosing location creates another constraint. Concentrated pH adjuster or nutrient stock can temporarily produce extreme readings near the point of addition. If access and dosing share the same opening, wait for full circulation before testing and never allow concentrate to contact a probe directly. A better arrangement separates the dosing opening from the measurement port. This also reduces the chance of pouring solution onto a meter cable or contaminating a sample tool with stock concentrate.
Consider a compact deep-water culture reservoir with a return line entering at the rear and a pump near the left wall. A practical port may sit toward the front-right portion of the lid, far enough from the return to avoid bubbles but close enough to circulating solution for a representative reading. If roots occupy that area later, a rigid sampling tube extending below the root mat may provide cleaner access than forcing probes through roots.
Use the following placement priorities before cutting the lid:
- Reach: The cap and instruments remain accessible with mature plants in place.
- Representation: The sampled solution is mixed rather than stagnant or freshly dosed.
- Protection: The opening is separated from splashes, light, debris, and electrical connections.
- Service clearance: A probe can enter vertically without striking the tank wall, pump, or air stone.
A common mistake is choosing the nearest flat area solely because it is easy to drill. Confirm the space below the lid first. Structural ribs, floats, tubing, and pump cords can block probe insertion even when the surface appears clear. A temporary cardboard template or taped outline lets the grower test hand position and clearance before making an irreversible opening.
Designing Access for Manual and Continuous Measurements
Manual sampling and permanently installed sensors impose different design requirements. A manual port needs enough width for cleaning, sample collection, and several probe shapes. Continuous monitoring usually benefits from a smaller sealed fitting that holds a sensor at a fixed depth and protects its cable from strain. Trying to make one opening handle every task can leave a large gap around a narrow sensor or make removal unnecessarily difficult.
Manual Checks and Grab Samples
Handheld meters should be used in a way that respects their operating instructions, including calibration, storage, rinsing, and any required immersion depth. Measurements may be taken directly in the reservoir when access is safe and the solution is well mixed. A clean sample cup is preferable when the reservoir is cramped, roots could catch the probe, or electrical equipment makes direct handling awkward.
When using a sample cup, rinse it with reservoir solution before collecting the test sample. Draw from the same depth each time, keep the cup free of nutrient concentrate and cleaning residue, and do not pour tested solution back if the probe or container may have contaminated it. Small reservoirs are particularly sensitive to foreign liquids, including calibration standards and probe-storage solution.
Fixed Sensors and Level Devices
A fixed pH, conductivity, temperature, or level sensor needs stable positioning without being trapped permanently. Use a removable holder or bulkhead-style fitting that permits inspection and cleaning. Sensors placed against a wall may collect deposits or sit in weak flow, while probes near an air stone can report erratically because bubbles cling to the sensing surface. Position the sensing end in moving solution, clear of the tank bottom and pump intake.
Cable routing deserves equal attention. Provide strain relief so pulling or snagging the cable does not move the probe or damage its connector. Form a drip loop outside the reservoir before the cable reaches a controller or outlet. Do not enlarge a port by leaving the lid propped open around a cable; the resulting light leak and evaporation undermine the purpose of a covered tank.
Float switches and ultrasonic level sensors are not interchangeable. A float contacts the solution and requires clearance to move without roots or tubing obstructing it. A non-contact sensor needs a clear path to the liquid surface and may be affected by foam, condensation, lid geometry, or turbulence. Before selecting either approach, review the device documentation and inspect the reservoir conditions it will actually encounter.
For systems combining spot checks with automated monitoring, use separate but nearby access points: one sealed sensor mount and one capped service port. This arrangement allows handheld verification without disturbing the installed probe. More detail on planning reservoir measurement access for hydroponic systems should always be applied alongside the meter and controller manufacturers’ immersion, maintenance, and electrical-safety instructions.
Retrofitting and Testing the Access Point
A retrofit should improve measurement access without weakening the lid, creating plastic debris inside the nutrient solution, or compromising cables and plumbing. Emptying and removing the lid is the safest practical approach when the design permits it. Mark the opening only after checking both sides for ribs, hinges, irrigation lines, sensors, and the maximum solution level.
Select the smallest opening that supports the intended task comfortably. A narrow probe-only hole may suit a dedicated temperature sensor, while a larger capped service port is more useful for sample cups and handheld meters. Preserve enough material around the cutout to keep the lid rigid. Thin lids may need a flange or purpose-made bulkhead fitting to distribute pressure rather than relying on a cap that flexes the surrounding plastic.
Cut with a tool appropriate to the lid material, following the tool manufacturer’s safety directions. Support the workpiece, smooth sharp edges, and remove every shaving before returning the lid to service. Plastic fragments are easy to miss and may later reach an impeller or irrigation line. Adhesives and sealants should not be assumed suitable merely because they resist water; verify that the chosen fitting can seal mechanically or that any material used is appropriate for the intended wet environment.
Test the finished port under normal operation rather than judging it while the reservoir is empty. Fill to the usual working level, run pumps and aeration, and check whether splashes reach the cap. Insert each meter and sampling tool to confirm that it clears internal equipment. Close the port, darken the room if practical, and look for light entering around the fitting. Then inspect for condensation or drips near cables and controllers.
A useful commissioning check compares measurements from the new port with a thoroughly mixed sample collected elsewhere in the tank. Large differences may indicate poor circulation, a sampling tube that holds stale solution, or a probe positioned too close to a return or dosing point. Recheck after the system has circulated; persistent disagreement means the location should be corrected rather than averaged away.
Watch the port during the first maintenance cycle. A successful retrofit stays closed between checks, opens without tools, permits repeatable probe depth, and can be wiped clean. Warning signs include residue around the rim, a cap that falls inward, roots entering the opening, persistent condensation on nearby electronics, or readings that change sharply when the probe moves a few centimeters. Those symptoms call for better sealing, repositioning, improved mixing, or a dedicated sampling tube rather than more frequent calibration alone.
Frequently Asked Questions
How large should a reservoir measurement port be?
Make it only as large as needed for the widest sampling tool or probe assembly. A capped service opening must allow comfortable insertion without scraping sensors against the edge, while preserving lid strength and light exclusion.
Can readings be taken through the plant opening?
They can, but roots, net pots, foliage, and support structures often make the location inconsistent and difficult to reach. A separate covered port usually provides cleaner, repeatable access without disturbing the plant.
Should the measurement port be near the pump?
Place it where solution is mixed, but not directly beside the pump intake, return jet, or air stone. Excessive turbulence and bubbles can interfere with sampling and some sensor readings.
Is a sight tube enough for reservoir monitoring?
A sight tube is useful for checking liquid level, but it does not replace representative pH, conductivity, and temperature measurements. Shield transparent tubing from light and keep it clean.
How can a port be kept light-tight around a sensor cable?
Use an opaque fitted gland, removable probe holder, or split cap sized for the cable. Add external strain relief and a drip loop rather than leaving the main lid ajar.
Conclusion
Good measurement access is defined by repeatability, representative solution, and safe operation—not simply by having a hole in the lid. Choose a location that remains reachable after the canopy matures, avoids dosing concentrate and turbulent returns, and gives probes clear access to circulating nutrient solution. Match the opening to the measurement method: a capped service port for manual samples, a sealed holder for fixed sensors, or separate openings when both are used. Before regular operation, test for splashing, light leaks, stale samples, cable strain, and disagreement between locations. If readings vary sharply with probe depth or position, investigate circulation and port placement before adjusting nutrients. A well-executed access point makes routine records easier to trust while preserving the reservoir’s cover and serviceability.
Related Content
- How to Monitor Hydroponic Nutrient Levels Accurately
- Ultimate Guide to Hydroponic Food Production Strategies for 2025
- Hydroponic Water Pump Setup: Essential Steps for Efficient Plant Growth
- Say Goodbye to Traditional Gardening Struggles
- Hydroponic Lettuce Succession Planting Schedule For Continuous Harvests