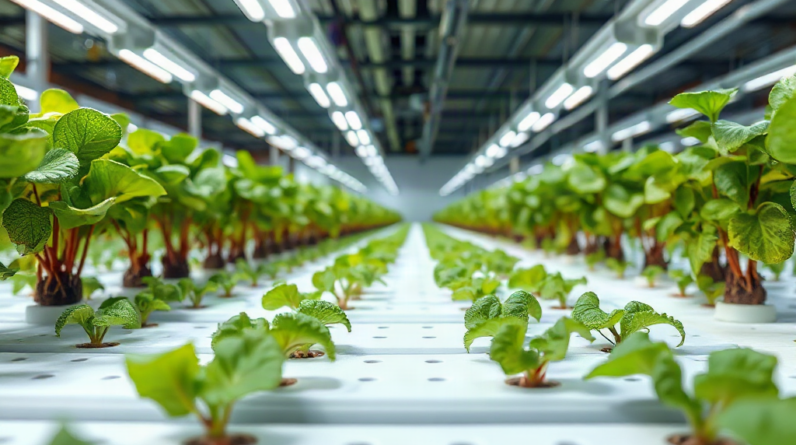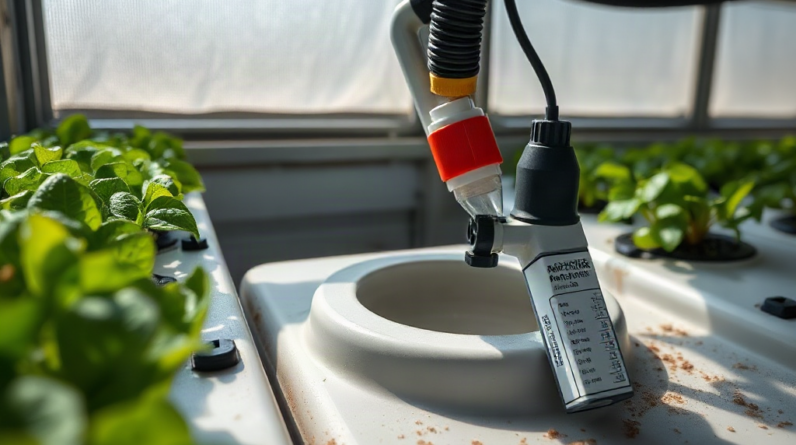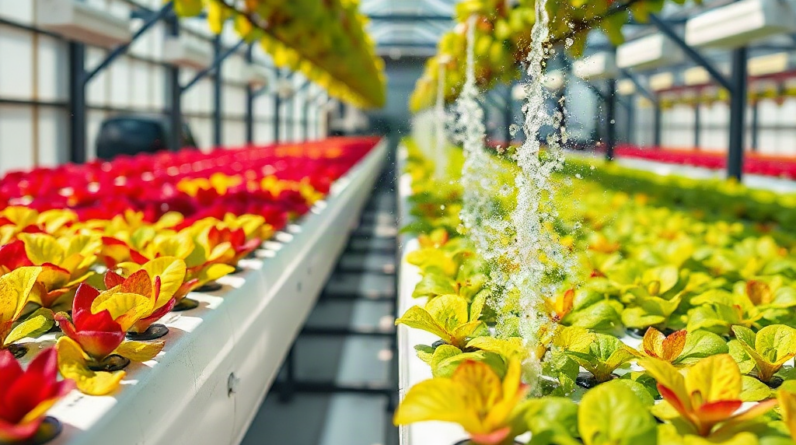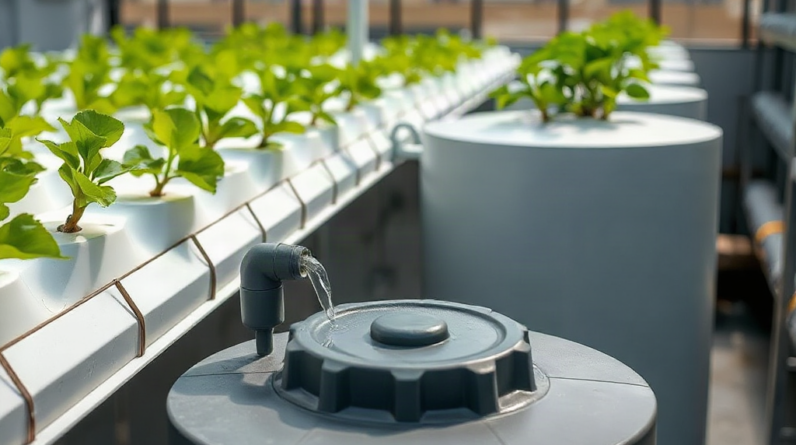
A cleanable tubing layout for hydroponic systems uses short, visible runs with removable connections, accessible valves, and flush points at every low or dead end. Supply tubing should follow a simple manifold pattern, while return lines need continuous fall toward the reservoir or a drainable collection point. Avoid buried fittings, tight bends, unused branches, and fixed sections that cannot be brushed, soaked, or replaced. Label each circuit and install unions or quick-disconnects where pumps, filters, manifolds, and grow channels require service. The finished layout should let you isolate, drain, open, inspect, and rinse each water path without dismantling the growing area.
Design the Water Path Around Cleaning Access
A serviceable layout begins by treating every wetted tube as a component that will eventually need to be opened, inspected, and flushed. Roots, nutrient precipitate, algae, and biofilm can collect wherever water slows or surfaces remain wet between cycles. A line that carries solution reliably when new may become difficult to maintain if it disappears behind a rack, terminates in an inaccessible corner, or cannot be detached without disturbing plants.
Map the water path from the reservoir outlet through the pump, filter, main supply, branch lines, growing sites, return, and reservoir inlet. Each component should remain reachable with ordinary hand tools. Leave enough clearance to release a clamp, turn a union nut, remove a filter screen, and place a container beneath an opened fitting. Visibility is valuable: cloudy or opaque tubing may limit algae growth, but the routing should still allow visual checks for kinks, leaks, swelling, or trapped sediment.
Short, direct runs generally clean more predictably than long loops. Extra tubing increases internal surface area and creates more places for residue to remain. Yet the shortest geometric route is not always the best service route. Running a tube tightly between a wall and grow rack may save a small amount of material while making replacement unnecessarily disruptive. A slightly longer line across the accessible side of the rack is often the more maintainable choice.
Branch architecture matters as much as length. A central manifold with individually controlled outlets lets the operator isolate one bed or channel without shutting down the entire installation. By comparison, a chain of tees may use fewer fittings but can produce uneven flow and leave downstream branches dependent on upstream conditions. Cap unused manifold outlets at the manifold rather than leaving long, stagnant stubs attached.
Use tubing and fittings intended for the pump pressure, solution exposure, and required bend radius. Oversized tubing may reduce friction loss, but it also holds more solution and can drain sluggishly when routed poorly. Undersized lines raise flow resistance and are more vulnerable to partial blockage. A sound Cleanable tubing layout for hydroponic systems balances hydraulic performance with the ability to remove and handle each section.
The common mistake is designing only for normal operation. Before approving a route, imagine the pump is off and the line contains dirty cleaning solution. Identify where that liquid goes, which connection opens first, and whether the released water can be captured without flooding electrical equipment or the floor. If those answers are unclear, the route is not yet service-ready.
Route Supply and Return Tubing for Complete Drainage
Supply and return lines have different jobs and should not be routed by the same assumptions. A pressurized supply can move water through modest elevation changes, although unnecessary rises and tight bends add resistance. A gravity return depends on slope, adequate diameter, and an unobstructed air path. Treating a return like a flexible supply hose often creates sags that retain solution, collect roots, and overflow when flow increases.
Run the main supply along an accessible edge of the growing structure and take short branches to each delivery point. Support the main at regular intervals so it cannot sag when full. Avoid sharp bends that flatten flexible tubing; use a suitable elbow or a broad sweep when the route must change direction. Branches should be similar in length where balanced delivery matters, or fitted with individual controls when distances differ substantially.
Consider a rack with four nutrient-film channels. A practical arrangement places a supply manifold at the inlet end, with one valve and removable branch per channel. The returns leave the opposite end and descend continuously toward a shared return header or directly to the reservoir. If the return header crosses beneath the channels, it should remain removable and should not contain a low pocket below its final reservoir entry.
Gravity returns need a consistent downward route rather than a nominal slope interrupted by dips. Flexible tubing can appear correctly pitched while empty and then sag after filling. Rigid pipe or well-supported tubing is often more predictable for larger return flows. Flexible material remains useful where vibration isolation or easy disconnection is valuable, but it needs enough support to hold its intended geometry.
Keep tubing above the reservoir’s normal solution level when a section must drain by gravity, unless the design intentionally uses a submerged return. A submerged outlet can reduce splashing and noise, but it may retain liquid and complicate inspection. An air gap or accessible discharge point drains more visibly, though it can increase aeration, sound, and salt spray. Choose according to the crop area, oxygenation method, and sanitation routine rather than assuming one return style suits every installation.
Low points are acceptable only when they are intentional and drainable. If a doorway or structural member forces a line downward and then upward, install a drain at the bottom or reroute the line overhead within the pump’s head capability. Do not rely on the pump to purge sediment from a trapped pocket. During shutdown, mark any section that remains full; unexplained standing solution is a sign that the supports, slope, or drain placement requires correction.
Place Valves, Unions, Filters, and Flush Points
Service fittings should divide the installation into sections that can be isolated and removed without draining every grow site. Place a shutoff valve where solution leaves the reservoir, but confirm that the pump cannot accidentally operate against a closed outlet. A union or compatible quick-disconnect on each side of the pump makes removal straightforward. Similar removable joints around filters and manifolds keep routine cleaning from becoming a plumbing rebuild.
Valve position should support both operation and sanitation. Individual branch valves make balancing and isolation easier, but a valve also creates an internal cavity where debris can lodge. Select fittings with a suitable internal passage and include them in the cleaning process. A valve hidden behind foliage may function hydraulically yet fail operationally because nobody can inspect or exercise it conveniently.
Filters belong where they protect the narrowest downstream passages and can be opened without spilling solution onto electrical connections. A pre-pump strainer may protect the pump from large debris, while a downstream inline filter can intercept particles before emitters or small feed tubes. The exact arrangement must follow the pump and filter manufacturers’ requirements; some pumps should not be starved by an overly restrictive inlet filter. Install pressure-rated housings in their specified flow direction.
Flush points should sit at the ends of supply manifolds and at deliberate low points. An end cap that can be removed over a bucket may be sufficient for a small garden. Larger layouts benefit from a short valved drain directed to a safe collection container. The opening must be large enough to release loosened material rather than trapping it behind a tiny drain fitting.
A compact placement checklist keeps the service path coherent:
- Reservoir outlet: accessible isolation point and removable pump connection.
- Filter housing: clearance for opening, screen removal, and spill capture.
- Manifold branches: labeled controls and detachable feed tubes.
- Line ends: removable caps or valves for full-bore flushing.
- Return low points: drainage or a route that empties naturally.
Quick-disconnects improve access, but they are not automatically sanitary. Internal seals, locking grooves, and reduced-bore passages can hold residue. Simple unions may take longer to loosen yet provide a clearer flow path. Inspect seal materials for compatibility with the nutrients and cleaning products actually used, and replace distorted O-rings rather than overtightening fittings to stop leaks.
Label valves and detachable sections by destination, such as “Channel 2 supply” or “Upper rack return,” rather than using unexplained numbers. Add arrows showing normal flow. The labels make a Cleanable tubing layout for hydroponic systems easier to reassemble correctly after soaking or replacement, especially when several branches use identical tubing.
Build and Test the Layout Before Planting
Dry fitting and water testing expose maintenance problems while the rack is still easy to modify. Position the reservoir, pump, manifold, grow units, and return entry before cutting final tube lengths. Allow gentle service loops where a component must move for removal, but do not leave loose coils that become stagnant reservoirs. Mark each cut, keep ends square, and use the fitting method specified for the selected tubing.
Begin the wet test with plain water. Open all intended flow paths, start the pump, and inspect every joint under operating conditions. Watch flexible lines as they fill because pressure can change their shape and create new contact points or sags. Confirm that each growing site receives the expected flow and that the return can handle the combined discharge without backing up.
Next, stop the pump and observe the shutdown behavior. Solution may siphon backward through supply lines, continue draining from elevated channels, or raise the reservoir level substantially. The reservoir needs enough unused capacity to accept predictable drain-back. An anti-siphon feature may be appropriate in some arrangements, but it must be accessible for inspection because small openings can clog. Never assume a check valve removes the need to account for drain-back; check valves can foul or fail to seal.
Test cleaning access as if residue were already present. Isolate one branch, release its pressure safely, remove it, and direct its contents into a container. Open every flush point and verify that water exits with enough velocity to carry visible particles. Pass the intended brush through removable tubing or confirm that each line can be soaked and rinsed separately. A narrow tube that cannot accept a brush may still be maintainable if it is inexpensive and simple to replace, but that replacement should be planned rather than improvised.
Add a harmless visual marker, such as a small amount of food coloring, only if it is compatible with the test setup and will be fully rinsed before planting. It can reveal retained pockets after draining, although plain-water observation is usually adequate. More importantly, inspect transparent test sections or opened endpoints for sediment after flushing. Persistent debris indicates low velocity, a trapped section, or an undersized outlet.
A working layout drains where intended, releases no uncontrolled leaks, and permits one circuit to be serviced without dismantling neighboring circuits. Warning signs include gurgling returns, repeatedly loosening clamps, branch flow that changes sharply when another valve moves, standing water in disconnected tubes, or caps that cannot be opened over a container. Correct those faults before roots and trellising restrict access. Photograph the final routing and record tube sizes, fitting types, and labels so future replacement preserves the serviceable design instead of gradually introducing inaccessible patches.
Frequently Asked Questions
Should hydroponic tubing be clear or opaque?
Opaque tubing usually limits light-driven algae growth, while short transparent inspection sections can help reveal bubbles or debris. Choose based on light exposure, then keep every line accessible for direct inspection and cleaning.
Where should flush valves be installed?
Place them at supply-manifold ends, deliberate low points, and any branch that cannot drain through the reservoir. Each outlet should discharge safely into a container or approved drain path.
Can one return line serve several grow channels?
Yes, if the shared return has adequate capacity, continuous fall, secure supports, and accessible cleanout points. Test it at maximum combined flow and during shutdown before adding plants.
Are quick-disconnect fittings better than unions?
Quick-disconnects speed frequent service, but their seals and internal recesses require inspection. Unions are often simpler internally and may suit sections opened less frequently.
How can dead legs be avoided in a tubing layout?
Cap unused outlets directly at the manifold, remove abandoned branches, and route active lines through to an accessible endpoint. Any unavoidable stub should be short and included in the flushing routine.
Conclusion
Reliable sanitation comes from making every water path visible, separable, and drainable before crops occupy the space. Prioritize a direct supply manifold, continuously falling returns, supported tubing, and accessible connections around pumps and filters. Put flush outlets at line ends and intentional low points, while removing unused branches that can hold stagnant nutrient solution.
Build the route loosely first, test it with water, and examine both running and shutdown conditions. Correct sagging returns, unexpected siphoning, inaccessible caps, and unbalanced branches before final fastening. Then label each circuit and document the fitting sizes. A maintainable layout may use a few more unions, supports, or valves than the simplest installation, but those components earn their place only when they reduce disassembly and provide a clear route for captured rinse water.
Further Reading
Authoritative Sources
- How to Build a Hydroponic System with Conduits
miilkiiagrow.comUse PVC fittings to connect the conduits and form your system's layout. You can design a straight row, a zigzag pattern, or even a vertical ...
- HYDROPONICS RESOURCES
htgsupply.comHOW TO: CLEANING YOUR SUBMERSIBLE HYDROPONIC WATER PUMPS. Article Guide to Hydroponic Systems GUIDE TO HYDROPONIC SYSTEMS … tips and tricks from our team of ...
- A Comprehensive Guide to Building Your DIY Hydroponic ...
hydroponicharmony.wordpress.comDive into the world of DIY hydroponics with our comprehensive guide on building your own diy pvc pipe hydroponic system.
- How to Hydroponics: All the Different Types of Systems ...
franshydroponics.com.auIn this article, we will explain the various system designs that are commonly used to Hydroponically grow plants, and give advice about which ...