Hydroponic system water level markings identify safe fill limits and operating ranges, but their meaning changes with reservoir design and pump status. A maximum line protects air space and prevents overflow, while a minimum line indicates the lowest volume that can reliably cover a pump inlet or maintain the intended root-zone contact. Read the level under the operating condition specified by the manufacturer because recirculating channels temporarily hold water when the pump runs. Recalibrate unclear markings with measured additions, and monitor nutrient concentration after topping up because a correct liquid level does not confirm correct electrical conductivity or pH.
What Each Water Level Mark Usually Means
A water level mark is meaningful only when its reference condition is known. A molded line labeled “MAX” may indicate the highest safe level with the pump off, the normal operating level with the pump running, or simply the nominal capacity used by the manufacturer. Treating all three meanings as interchangeable can cause overflow, pump exposure, or excessive root submersion.
The maximum fill line normally leaves unused space at the top of the reservoir. That headspace accommodates water returning from channels after a pump stops, displacement from net pots and roots, and movement caused by aeration. Filling above the line may appear harmless while the system is running because part of the solution is elsewhere in the circuit. Once the pump stops, however, solution drains back and can reach lid openings, air-line ports, or electrical equipment nearby.
A minimum line usually identifies an operational limit rather than the amount plants require. Below it, a submersible pump may draw air, run hotter, lose prime, or stop delivering an even flow. In a small deep-water culture container, the minimum may instead represent the lowest level that preserves suitable contact between the moist root zone and the nutrient solution. Roots extending deeply into the container do not make an exposed pump safe.
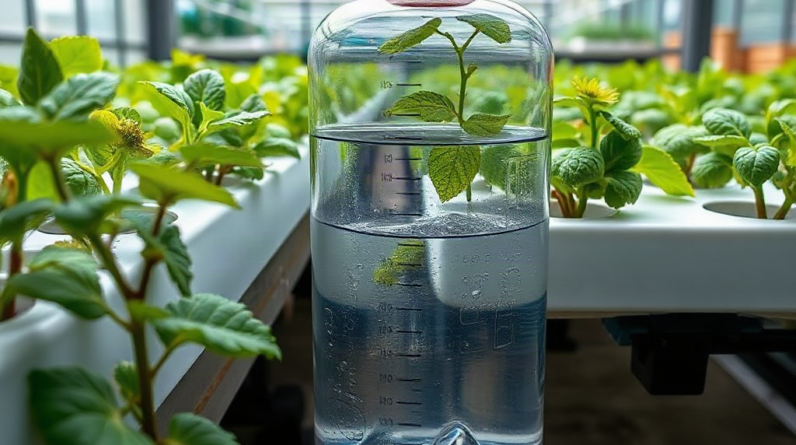
Some reservoirs include several intermediate marks expressed in liters or gallons. These are volume graduations, not instructions to keep the solution at a particular line. They help calculate nutrient additions and estimate consumption. Molded graduations can also be approximate, especially when a container has sloped walls, internal ribs, or equipment that displaces liquid.
Before relying on any marking, identify which of these functions it serves:
- Maximum fill: the highest safe amount without overflow or loss of headspace.
- Minimum operating level: the lowest amount compatible with the pump, float valve, or intended root contact.
- Normal or target range: the preferred band between high and low limits.
- Volume graduation: an estimate of the liquid held at that height.
A common mistake is reading the upper line as a daily target and repeatedly topping up to it without checking nutrient strength. Plants remove water and mineral ions at different rates, while evaporation removes water but leaves dissolved salts behind. The line tells you how much solution remains; an EC or TDS reading and a pH test describe important aspects of its condition. Those measurements answer different questions.
How System Design Changes the Correct Level
Correct liquid height depends on where roots, pumps, return fittings, and air space sit within the system. A mark that is appropriate for one hydroponic method can create poor aeration or unreliable circulation in another. Manufacturer instructions should take priority when available, particularly for compact units with hidden channels or integrated level sensors.
Deep-Water Culture and Raft Containers
Young plants in deep-water culture are commonly positioned so moisture can reach the lower growing medium or emerging roots without saturating the entire plug. As roots lengthen, a modest air gap beneath the net pot can expose part of the root system to humid, oxygen-rich air while lower roots remain in aerated solution. Keeping the liquid pressed against a mature plant’s net pot is not automatically better; it may leave the crown or growing medium persistently wet.
Air stones do not erase the need to observe root placement. Vigorous bubbles can splash the base of a plant even when the standing level is lower. A practical mark should account for that wetting effect, the depth of the net cup, and displacement from a large root mass.
Nutrient Film, Drip, and Recirculating Systems
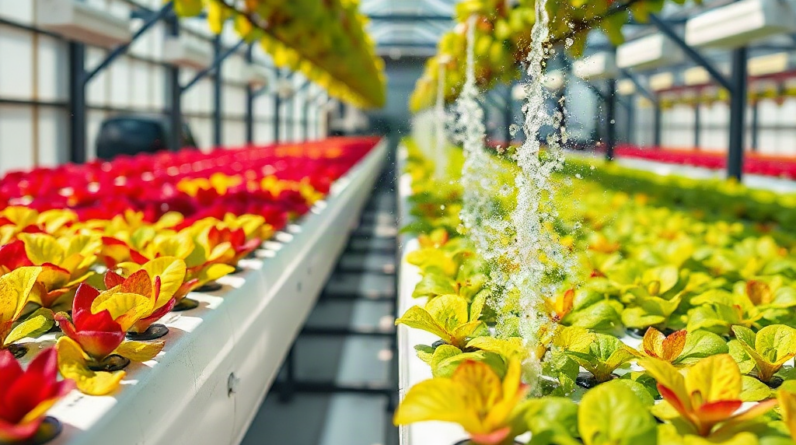
In a nutrient film technique installation, the reservoir level primarily protects circulation equipment and provides enough working volume for stable operation. The roots receive solution in the channels rather than by direct reservoir contact. When the pump starts, the reservoir level falls as tubing and channels fill. When it stops, much of that water returns. The safe upper mark must therefore be checked after drain-back, while the safe lower mark must be checked during operation.
A drip system behaves similarly, although media-filled pots can retain more solution between cycles. If a grower fills the reservoir to its rim while irrigation is active, the return flow after shutdown may cause an overflow. Conversely, setting the minimum line with the pump off may leave too little water once the irrigation circuit fills.
Wick and Kratky-Style Containers
Passive systems have no pump to protect, but level placement still controls the balance between moisture and root-zone air. In a Kratky-style container, the starting level may touch or nearly reach the net cup while seedlings establish. As plants consume solution, the descending surface creates an air zone. Continually refilling to the original height can submerge roots that adapted to air exposure and reduce oxygen around them.
This difference is why Hydroponic system water level markings explained should be applied by system type rather than reduced to one universal distance below the lid. The deciding questions are whether liquid circulates out of the reservoir, whether the roots depend on direct contact, and how much drain-back or displacement the container must hold.
How to Calibrate and Label a Reservoir
Calibration converts an uncertain line into a known volume under a defined operating condition. It is especially useful for homemade reservoirs, translucent sight tubes, replacement containers, and molded tanks whose graduations have not been verified. Empty-container dimensions alone are unreliable when the walls taper or internal equipment occupies space.
Begin with the system clean, level, and assembled as it will be used. Install the pump, air stones, tubing, net-pot supports, and other components that normally displace water. Add measured amounts with a graduated jug or another container of known capacity. After each addition, let surface movement settle and mark the height with the cumulative volume.
- Establish volume marks. Add equal increments, such as one liter or one gallon, and label each cumulative amount.
- Test the pump-on low point. Run the complete circuit and locate the lowest level that keeps the pump inlet fully supplied without vortexing or drawing bubbles. Add a safety margin above that point.
- Test the pump-off high point. Stop the pump, allow channels and lines to drain completely, and confirm that the return volume remains below ports and lid openings.
- Define the normal band. Mark a practical operating range between the protected minimum and maximum rather than relying on a single exact line.
- Record the reference state. Write “pump running” or “pump stopped” beside each operational mark so future readings are comparable.
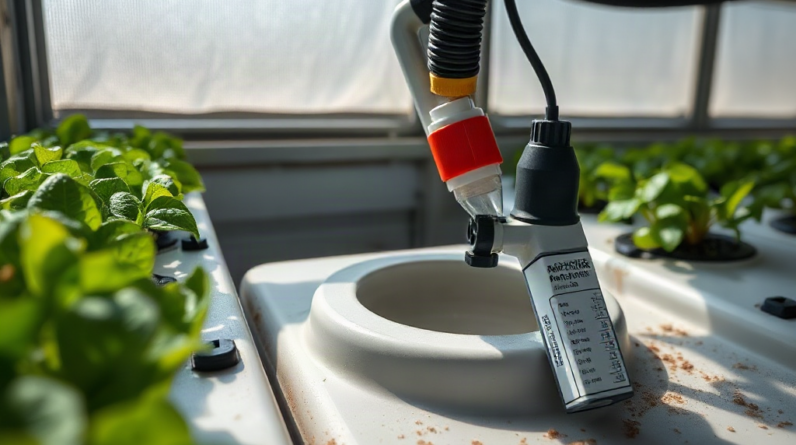
A sight tube attached near the bottom can make an opaque reservoir easier to read, but it must be installed so the liquid in the tube communicates freely with the reservoir. Algae, nutrient deposits, an air lock, or a pinched fitting can make the displayed level lag behind the actual level. Shield a clear tube from light where possible and inspect it rather than assuming it remains accurate.
For a float indicator, verify both endpoints manually. A float can stick against roots, mineral residue, tubing, or the reservoir wall. Electronic sensors present similar limitations: residue may foul probes, and a tilted container can place the sensor at a different effective height from the pump inlet. A physical check is warranted whenever the reading conflicts with pump noise, visible flow, or the known amount added.
Use waterproof labels or shallow exterior marks that do not puncture the container. Include the calibration date if roots or equipment configuration will change substantially. The operating volume of a mature planting may differ from the empty system because roots can displace solution and obstruct float movement. Revisiting Hydroponic system water level markings explained after changing reservoirs or pumps prevents old assumptions from carrying into a new layout.
Reading Level Changes and Correcting Problems
A falling mark confirms net solution loss, but it does not identify whether plants, evaporation, or a leak caused it. Interpretation comes from the rate of change, plant size, environmental conditions, and inspection of the surrounding equipment. Marking the level at the same time each day creates a more useful comparison than occasional visual checks.
Gradual decline is expected as plants transpire and use water. Warm, dry air and strong airflow can accelerate that decline, while a larger leaf canopy generally uses more water than young seedlings. A sudden overnight drop deserves inspection of hose joints, return lines, pump fittings, and the floor beneath the reservoir. In recirculating installations, also check for a blocked return or a channel that is holding more water than usual.
A level that barely changes is not automatically evidence of ideal operation. The pump may have stopped, an emitter may be clogged, or roots may be receiving insufficient flow. Wilting alongside a stable reservoir is more concerning than stability alone. Confirm circulation at the farthest outlet, listen for a pump drawing air, and inspect roots before adding more solution.
Topping up requires a distinction between restoring volume and correcting nutrient concentration. If the level is low but EC has risen, plants or evaporation may have removed proportionally more water than nutrients; adding plain source water may move concentration toward the intended range. If both level and EC have fallen, replenishment may require diluted nutrient solution. Exact adjustment depends on the crop, growth stage, source water, and nutrient program, so the reservoir line should never be used as a dosing formula by itself.
Repeated small top-ups also change the balance among individual mineral ions in ways a single EC value cannot reveal. EC reports total electrical conductivity, not the concentration of each nutrient. Periodic replacement may therefore be preferable to indefinitely correcting the same aging solution, particularly when pH becomes difficult to manage, debris accumulates, or plant performance changes.
Use this compact diagnostic sequence when a reading looks wrong:
- Compare the level under the same pump state and at the same location.
- Check for leaks, blocked returns, trapped water, and root displacement.
- Confirm pump flow and aeration before assuming plants consumed the difference.
- Measure EC and pH before deciding whether to add water, nutrient solution, or replace the reservoir.
- Verify the mark with a measured addition if the container, sensor, or equipment has changed.
The approach is working when circulation remains steady, the pump stays submerged, drain-back leaves safe headspace, and daily readings change at a plausible rate. Frequent overflow, pump cavitation, erratic sight-tube readings, or persistent saturation around plant crowns indicate that the marks or their reference conditions need correction.
Frequently Asked Questions
Should the water level be checked with the pump on or off?
Check both states in a recirculating system. The pump-on reading protects the pump from running low, while the pump-off reading confirms that returning solution will not overflow the reservoir.
Does the maximum line show the reservoir’s total capacity?
Not necessarily. It often marks the highest safe working volume and leaves headspace for drain-back, aeration, roots, and equipment displacement.
Should nutrient solution touch the bottom of every net pot?
No. Seedlings may need initial moisture near the net pot, but established deep-water or passive plants often benefit from an air space once roots extend into the solution.
Can water level markings replace EC and pH testing?
No. Markings show liquid height or estimated volume. EC indicates total dissolved-ion conductivity, while pH describes acidity; neither can be inferred reliably from the level.
Why does a reservoir level rise after the pump stops?
Solution held in channels, supply lines, and grow containers drains back by gravity. The upper mark must leave enough capacity for that return volume.
Conclusion
Useful reservoir marks distinguish measured volume from safe operating limits and identify whether the pump should be running or stopped when a reading is taken. Verify the upper boundary after complete drain-back, establish the lower boundary while the circuit is operating, and leave a margin around both rather than working at the edge.
Calibrate homemade or uncertain containers with measured additions, then recheck them when pumps, tubing, plant supports, or root mass alter displacement. Track levels consistently, but pair those observations with flow checks, leak inspection, EC, and pH. The next practical step is to label the existing reservoir with its reference state and test one full pump cycle. That short check reveals whether the current marks protect against both overflow and pump starvation.