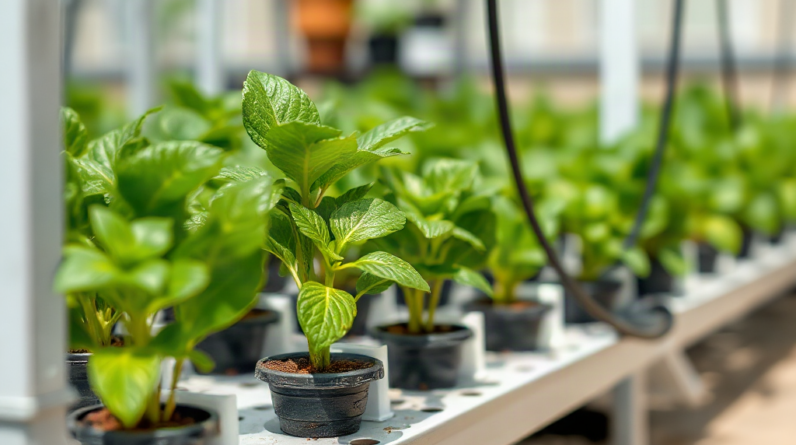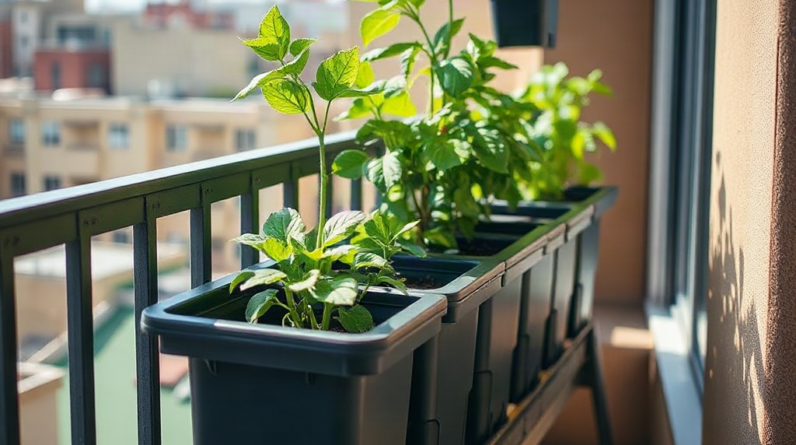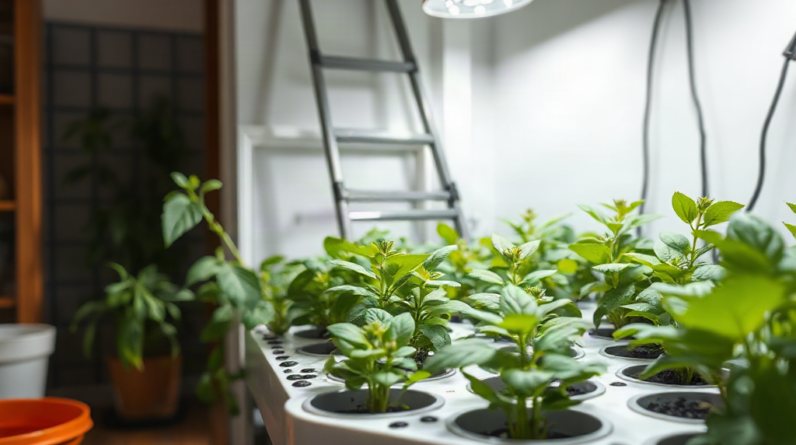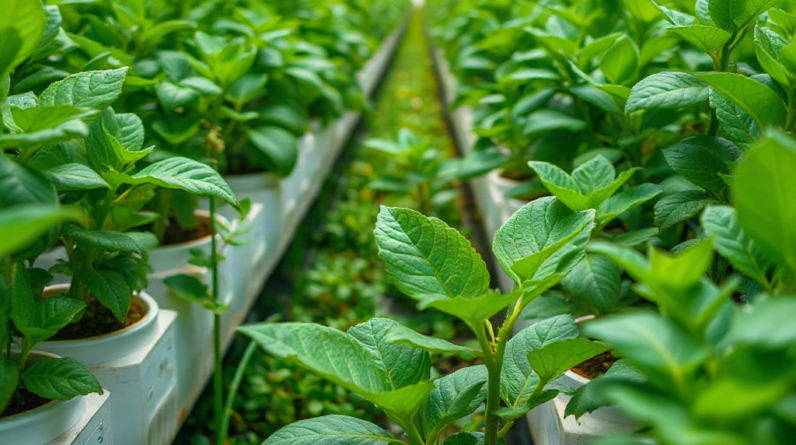
Create a hydroponic pest control strategy by combining crop monitoring, sanitation, pest identification, physical exclusion, and the least disruptive treatment that fits the infestation. Inspect leaf undersides and new growth on a fixed schedule, isolate affected plants, remove debris and algae, and use sticky cards to track flying adults such as fungus gnats or whiteflies. Confirm the pest before applying anything because insecticidal soap, horticultural oil, biological controls, and other products differ in effectiveness and may harm plants or beneficial organisms. Treat the source conditions—such as wet media, standing water, crowded foliage, or contaminated tools—while repeating inspections long enough to catch newly hatched pests.
Build a Pest Monitoring Baseline
A workable pest strategy begins with knowing what normal growth looks like in the particular hydroponic room. Record plant location, crop age, leaf color, root appearance, reservoir condition, and recent changes in temperature or humidity. A baseline makes it easier to distinguish insect damage from nutrient stress, light injury, mechanical damage, or root-zone problems. Without that comparison, growers often spray a plant that is not infested and leave the actual cause untouched.
Inspect new leaves, leaf undersides, stems, net pots, media surfaces, and the area around the reservoir. Aphids may cluster around tender growth, thrips can leave silvery scarring and dark specks, and spider mites often produce stippling before visible webbing appears. Fungus gnats are easier to track as adults with yellow sticky cards, while their larvae may be associated with persistently damp media and algae. A hand lens is inexpensive and can reveal eggs, cast skins, mites, or feeding patterns that are invisible at normal viewing distance.
Use a repeatable inspection schedule rather than checking only when damage becomes obvious. Walk the room in the same direction, examine a sample from each shelf or channel, and note whether symptoms are spreading or remaining localized. The goal is not to create perfect records; it is to detect a trend early enough that removing one plant or correcting a wet media pocket is more practical than treating an entire crop.
A useful monitoring record includes:
- Date, plant zone, crop, and observed symptom.
- Number of insects seen on a card or plant sample.
- Room conditions, irrigation frequency, and recent maintenance.
- Action taken and the date of the next inspection.
The common failure is treating monitoring as a one-time inspection. Pest populations can change quickly after a new plant, open vent, contaminated tool, or warm stagnant corner enters the system. Monitoring is the measurement layer that tells you whether sanitation, environmental changes, or treatment is actually working.
Identify the Pest and Its Entry Point
Correct identification determines whether the response should focus on adults, larvae, eggs, or the conditions supporting reproduction. A sticky card showing small flying insects does not prove that every plant has the same pest. Fungus gnats, shore flies, and winged aphids require different interpretations, while leaf stippling may come from mites, thrips, or environmental stress. Take a close photograph, preserve a sample when possible, and compare the signs with reliable university extension or government pest references before choosing a product.
Trace how the pest arrived and where it is multiplying. Newly purchased seedlings, outdoor clothing, open intake vents, reused net pots, dirty pruning tools, and plant debris can all introduce insects. Hydroponic rooms add distinctive risk points: algae on exposed media can support fungus gnat activity, leaking fittings create persistently wet zones, and dense foliage can shelter pests from both inspection and spray coverage. Finding the entry route matters because killing visible insects while leaving an infested mother plant or contaminated tray guarantees repeated exposure.
Separate pest evidence from nutrient symptoms. Interveinal yellowing that appears uniformly across a crop may suggest a nutrient or pH issue, whereas irregular stippling, distorted new growth, silver trails, sticky honeydew, or clustered insects point more strongly toward pests. A root problem may weaken plants and make damage appear worse, but correcting nutrient conditions will not remove an established insect population.
Isolation is a practical diagnostic tool. Move a suspect plant away from clean plants if the system allows, label it, and inspect neighboring plants before deciding how broadly to act. Do not share scissors, gloves, reservoirs, or runoff containers between isolated and clean areas without cleaning them. Linking this process with how to create a hydroponic pest control strategy keeps identification, containment, and treatment in one documented workflow.
The weak assumption to avoid is that a familiar product is suitable for every insect. A treatment aimed at soft-bodied aphids may perform poorly against mites, eggs, or larvae hidden in media. Identification should come before purchase, not after an unsuccessful application.
Use Prevention Before Treatment
Prevention reduces the number of opportunities pests have to enter, feed, and reproduce. Fit screens to intake openings, keep doors closed when practical, quarantine incoming plants, and remove yellowing leaves or dead roots promptly. Clean tools between plant groups, wash hands after handling outdoor plants, and avoid storing used media, cardboard, or organic debris beside the grow area. These steps are less dramatic than spraying, but they reduce repeated introductions and preserve plant surfaces for observation.
Environmental management should target pest-supporting conditions without stressing the crop. Correct leaks, improve airflow through dense foliage, and avoid leaving media saturated when the crop does not require it. Algae on exposed surfaces can signal excessive light and moisture, so covering the surface and correcting the underlying leak may be more useful than repeatedly killing adult gnats. A fan may improve air movement, but it will not compensate for a contaminated propagation tray or an open route from an outdoor garden.
Sanitation also has limits. Wiping a shelf cannot remove insects already inside curled leaves, and replacing a sticky card does not interrupt a larval stage in damp media. Prevention works best as a barrier system: clean incoming materials, inspect plants, manage the room, and respond to the first confirmed sign. For a small hobby rack, a simple quarantine area and weekly inspection may be enough. A larger room may need separate tools, zone-based records, and a designated clean-to-dirty work sequence.
Prioritize controls in this order:
- Block new introductions and isolate suspicious plants.
- Remove debris, algae, standing water, and heavily infested material.
- Correct moisture, airflow, crowding, or access problems.
- Apply a verified treatment only when monitoring shows it is needed.
Over-cleaning can create its own problems if harsh disinfectants contact roots, leaves, beneficial organisms, or nutrient solution. Keep sanitation of equipment separate from treatment of living tissue, follow product directions, and prevent cleaning residues from entering the reservoir.
Choose Treatment by Risk and Infestation Level
Treatment should match the confirmed pest, its life stage, and the crop’s location. Physical removal, pruning of badly infested leaves, water rinsing where appropriate, and sticky cards may be reasonable first responses to a small localized problem. Insecticidal soap or horticultural oil may be useful against some exposed soft-bodied pests, but coverage is critical and plant sensitivity varies. Test a small area, follow the label, and keep sprays out of the nutrient reservoir unless the product is specifically labeled for that use.
Biological controls can reduce reliance on broad sprays, but they are not instant substitutes for sanitation. Beneficial mites, nematodes, or predatory insects must match the pest and environmental conditions. A broad-spectrum application can undermine those organisms, so decide whether preserving biological control is more valuable than obtaining a rapid reduction in visible insects. That tradeoff is especially relevant in a room using beneficials as a continuing program rather than a single emergency release.
For example, a few fungus gnats around a propagation tray call for moisture correction, algae removal, and monitoring of the media before a room-wide foliar spray. A spreading thrips problem on several plants may require isolation, removal of badly damaged foliage, repeated inspections, and a treatment plan that accounts for eggs or immature stages. A product that knocks down adults but misses protected stages can create the impression of failure unless follow-up timing is built into the plan.
Use only products legally labeled for the intended crop, site, pest, and application method. Labels provide the operational details that determine risk, including mixing, protective equipment, re-entry, harvest intervals, and plant-safety warnings. Do not assume that a product is safe because it is described as natural, organic, or gentle. Record the product, batch or date if available, dilution, treated zone, and observed plant response.
The most damaging mistake is escalating concentration or combining products after one disappointing application. That can burn foliage, contaminate surfaces, harm beneficials, and still leave the pest’s reproductive cycle intact. A measured repeat inspection is more informative than an improvised stronger dose.
Measure Results and Prevent Recurrence
A strategy is successful when pest activity declines without unacceptable crop injury, not merely when visible adults disappear for a day. Compare sticky-card counts, fresh damage, live insects on leaves, and new growth over repeated inspections. Healthy new leaves with no fresh scarring are more meaningful than old damaged leaves becoming greener, because existing injury may remain after the pest has been controlled.
Set a clear follow-up point before treatment. Inspect treated plants for phytotoxicity, including bleaching, spotting, curling, or edge burn, and check untreated plants for spread. If activity continues, revisit identification and coverage before repeating the same method. Persistent fungus gnats may indicate wet media or hidden algae; recurring aphids may point to an incoming plant; and mites that return in a warm dry corner may reflect an environmental pocket rather than treatment failure alone.
Keep clean and suspect zones physically and procedurally separate until monitoring supports reunification. Clean trays and tools, discard heavily infested plant material in sealed waste, and inspect replacement plants before they enter the room. Review the record after the event: where was the first sign, which condition changed, how quickly did the response occur, and which control caused plant stress? That short review turns an isolated incident into a better operating procedure.
Linking pest records with how to create a hydroponic pest control strategy can reveal patterns that a single inspection misses. A recurring problem after every reservoir cleaning may involve tool hygiene or splash transfer, while problems limited to one shelf may involve airflow, a light leak, or an incoming plant. The common misconception is that zero insects must be the goal. A more realistic target is early detection, controlled spread, acceptable crop condition, and fewer repeat introductions.
Frequently Asked Questions
How often should hydroponic plants be inspected for pests?
Inspect at least weekly and increase checks after adding plants, changing room conditions, or finding an active infestation. Examine new growth, leaf undersides, media, and sticky cards.
Should an infested hydroponic plant be removed immediately?
Isolate it promptly when possible, then identify the pest and inspect nearby plants. Removal is most useful when the plant is heavily infested or cannot be treated without risking the rest of the crop.
Can sticky traps control a hydroponic pest infestation?
Sticky traps can reduce and monitor flying adults, but they usually do not address eggs, larvae, or insects hidden on leaves. Pair them with identification, sanitation, and a life-stage-appropriate control.
Are natural pest-control products automatically safe for hydroponic crops?
No. Natural-origin products can still injure plants, harm beneficial organisms, or create residue concerns. Follow the label and test plant tolerance before wider application.
What should be checked when pests keep returning?
Recheck identification, incoming plants, screens, tools, damp media, algae, leaks, crowded foliage, and untreated life stages. Repeated adults often indicate an unresolved breeding site or new introduction.
Conclusion
A dependable hydroponic pest plan is built around observation rather than routine spraying. Track plant zones and pest signs, identify the insect before selecting a control, isolate affected material, and correct conditions such as damp media, algae, leaks, or poor airflow that support recurrence. Use physical and biological options when they fit, and treat labeled chemical products as precise tools rather than universal solutions. Judge the response through new damage, live pest counts, and plant safety over follow-up inspections. The next practical step is to place monitoring cards, create a simple inspection log, and define a quarantine area before the next plant enters the room. That preparation makes a small problem easier to contain and gives every later treatment a clearer purpose.