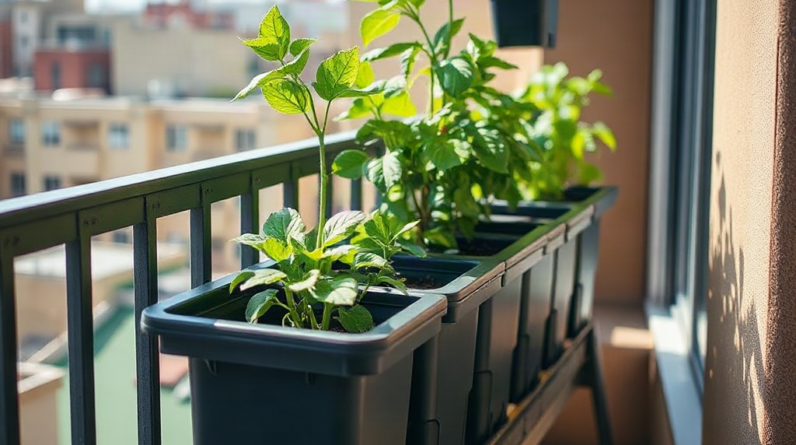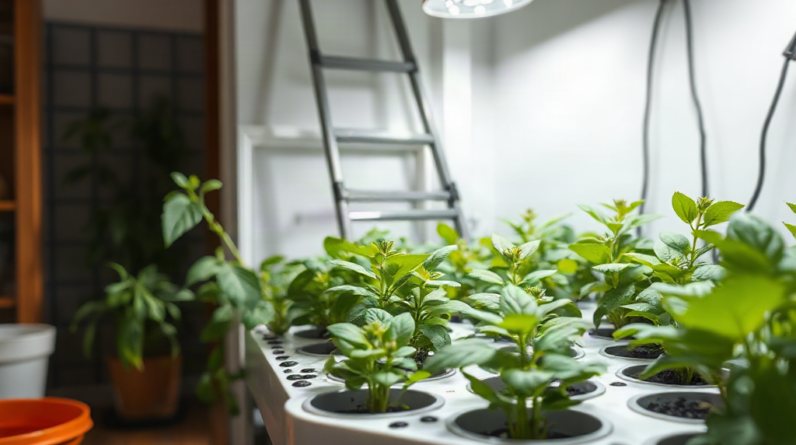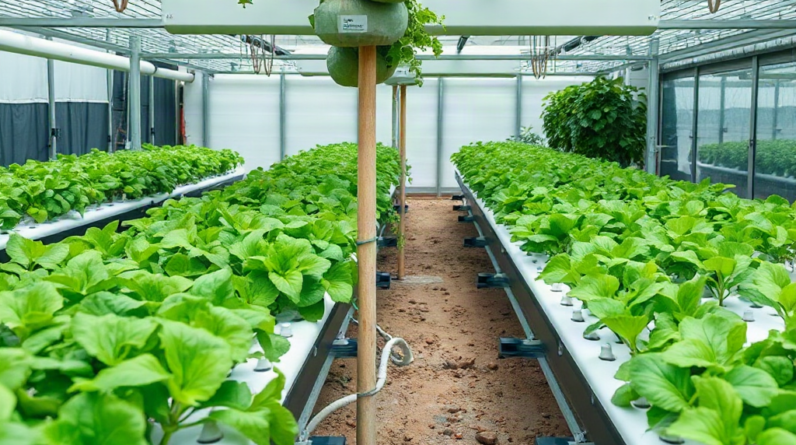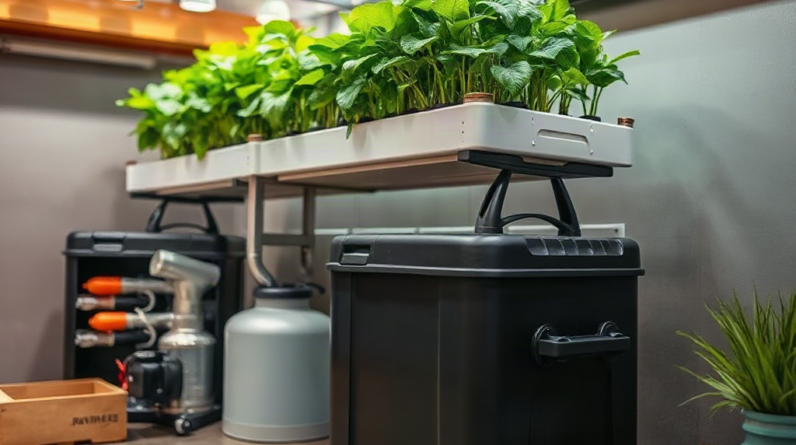
Ensure optimal light distribution in hydroponics by matching fixture coverage to the planted canopy, setting height from the manufacturer’s intensity map, and verifying several locations with a PAR meter rather than judging brightness by eye. Train or space plants so leaves occupy an even plane, then use reflective side surfaces or overlapping fixtures to reduce edge losses without creating a hot center. Recheck photosynthetic photon flux density as plants grow because canopy height, leaf overlap, and fixture distance continually change exposure. Pale upper leaves, scorched margins, leaning stems, and weak growth around the perimeter indicate that intensity or uniformity needs correction.
Define the Target Across the Canopy
Uniformity matters as much as raw fixture output. A powerful lamp can deliver excessive photon density directly beneath its center while leaving corner plants short of usable light. The resulting garden may have compact, stressed plants in the middle and stretched, slow plants at the perimeter even though the advertised wattage appears adequate. Evaluate the illuminated growing area, not the fixture specification in isolation.
Photosynthetically active radiation, or PAR, describes the wavelength range plants use for photosynthesis. A quantum sensor reports photosynthetic photon flux density, commonly abbreviated PPFD, at a particular point. That reading is more useful for canopy planning than lux, which weights light according to human vision. A phone application or lux meter may reveal relative bright and dark zones, but it should not be treated as an accurate substitute for a calibrated quantum sensor when precise crop management is required.
The suitable intensity depends on crop type, growth stage, photoperiod, carbon dioxide availability, temperature, and cultivar response. Seedlings and many leafy greens generally operate under less intense light than mature fruiting plants. A lettuce raft and a trellised tomato system therefore should not share an intensity target merely because both are hydroponic. Use crop-specific guidance from the seed supplier, fixture manufacturer, or a horticultural source, then observe plant response rather than chasing a universal number.
Daily light integral, or DLI, adds time to the intensity decision. It represents the total photosynthetically active light received over a day. Raising PPFD and extending the photoperiod can both increase daily exposure, but they are not always interchangeable. An overly intense lamp may stress tender foliage even when it runs for fewer hours, while a very long photoperiod can interfere with a crop’s required dark period. Fixtures should operate on a dependable timer so each planting receives a consistent schedule.
Set a target range before moving equipment. Record the crop, stage, photoperiod, intended canopy area, and acceptable variation between measurement points. This establishes what success means for how to ensure optimal light distribution in hydroponics. The common mistake is maximizing the brightest reading; the better priority is keeping most productive leaves within an appropriate band without severe center-to-edge differences.
Position Fixtures for Uniform Coverage
Fixture height changes both intensity and footprint. Moving a lamp closer concentrates its output over a smaller area, which can create a bright center and abrupt falloff near the edges. Raising it generally broadens coverage and improves blending, but less light reaches the canopy and more may escape beyond the growing surface. The correct height is therefore a balance between usable intensity, uniformity, heat, and wasted spill.
Begin with the manufacturer’s hanging-height and coverage recommendations for the actual growth stage. Coverage claims can refer to different intensity thresholds, so inspect the published PPFD map when one is available. Confirm that its test height and mapped area match the proposed installation. A fixture described as covering a large vegetative area may illuminate a smaller flowering footprint at the stronger intensity demanded by fruiting crops.
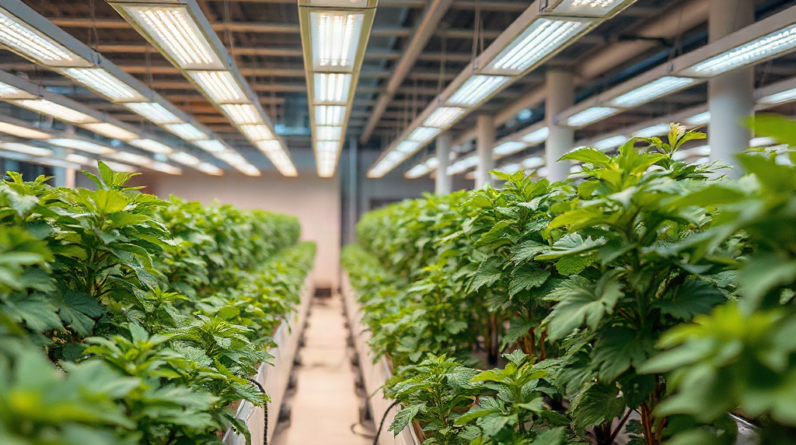
Long channels or rectangular benches often receive more even coverage from several bars than from one intense point-source fixture. Multiple fixtures can overlap their weaker edges, smoothing the transition between bright and dim areas. Overlap must be planned: placing two strong centers too close together merely relocates the hotspot. A practical starting layout divides the planting surface into equal zones, centers a fixture or light bar over each zone, and then uses measurements to refine spacing.
Consider a shelf holding basil in six net pots. If one compact lamp is centered above the middle pair, the outer plants may lean inward and develop longer internodes. Lowering that lamp makes the central exposure stronger but usually worsens edge coverage. Raising it may improve uniformity, provided adequate intensity remains. If the outer readings are still low, a wider bar fixture or two lower-output units is a more effective correction than adding still more power at the center.
Keep fixtures level and parallel to the average canopy. A tilted panel changes distance across the bed, while a lamp mounted according to the tallest plant deprives shorter neighbors. Adjustable ratchet hangers make small corrections easier, but cables must be secure and electrical equipment must remain protected from splashes and condensation. Light placement should never compromise water separation or fixture cooling.
Complete a quick placement check after installation:
- Confirm the illuminated footprint covers every productive plant site.
- Measure the center, corners, edges, and overlap zones at canopy height.
- Inspect for shadows cast by shelves, ducting, trellis frames, or fixture bodies.
- Check leaf temperature and visible stress after changing height or output.
A successful adjustment narrows the center-to-edge difference without pushing the central leaves beyond the crop’s comfortable exposure. Uniformity gained by raising a fixture is not useful if the entire canopy becomes underlit.
Shape the Canopy and Control Reflection
Canopy architecture determines where emitted light actually lands. Even a well-mapped fixture cannot distribute photons evenly through a bed containing tall plants, shaded seedlings, and dense clusters at different heights. Upper leaves intercept light first, so a few dominant shoots can shade productive foliage below and distort measurements taken only at the highest point.
Space plants according to mature spread rather than seedling size. Crowding may appear efficient early in the cycle, yet overlapping leaves later create self-shading, stagnant pockets of humid air, and unequal growth. Rotating movable channels or containers can compensate for small positional differences, but rotation is a management aid rather than a cure for an undersized fixture. Fixed raft beds and trellised crops require deliberate spacing from the outset.
Training is especially valuable for vining plants. Tie or clip stems so growing tips remain at comparable heights, and reposition shoots before one plant rises far above its neighbors. Selective pruning can expose useful leaves and flowering sites, although aggressive defoliation removes photosynthetic area and may slow recovery. Leafy greens usually need less training; sorting seedlings by vigor and avoiding a mixture of very young and nearly mature plants under one fixed lamp often produces a more consistent canopy.
For example, a trellised cucumber that extends above adjacent plants receives much greater intensity because it sits closer to the fixture. Dimming the lamp to protect that shoot leaves the lower canopy short of light. Lowering the tall shoot along the trellis or maintaining a horizontal training line preserves both coverage and intensity. This is a canopy problem first, not a fixture-output problem.
Reflective surfaces can recover some sideways spill. Matte white walls or horticultural reflective film generally spread returned light more diffusely than mirror-like materials, reducing the chance of narrow glare patterns. Keep these surfaces clean and positioned around the growing area without restricting airflow. Foil with wrinkles is a poor choice because it can reflect unpredictably, deteriorate around moisture, and is difficult to sanitize.
Reflection cannot replace direct overhead coverage. Side material mainly improves weak margins and lower-angle exposure; it does not turn an inadequate lamp into one suited to a larger footprint. White deposits, algae films, dust, and dried nutrient spray also reduce reflection and fixture output, so include shields and surrounding surfaces in routine cleaning. The practical goal is an even canopy under correctly sized fixtures, with reflection used as a modest efficiency gain rather than the foundation of the lighting plan.
Measure, Map, and Correct Uneven Light
A light map converts visual impressions into actionable evidence. Take measurements at leaf height on a consistent grid covering the full planted footprint. A small shelf may need center, edge, and corner readings; a larger bench benefits from evenly spaced points that also capture the seams between fixtures. Hold the sensor level, avoid shading it with your body, and allow dimmable fixtures to reach stable output before recording results.
Measure the canopy that plants experience, not an empty floor or reservoir lid. Repeat the map after meaningful changes in plant height, fixture position, dimmer setting, or crop layout. Mark readings on a simple sketch of the bed and compare the lowest, highest, and typical values. The pattern often identifies the remedy: a single strong center suggests excessive concentration, repeated dark edges indicate insufficient footprint, and a narrow low strip may reveal obstruction from a frame or ventilation component.
Correct one variable at a time. First level the fixtures and remove accidental obstructions. Next adjust hanging height in small increments, remap the area, and confirm that the average remains suitable. Change fixture spacing or add another light only if height cannot resolve the pattern. Dimming can manage excessive intensity, but it lowers the whole output and will not independently brighten weak corners. This sequence prevents expensive equipment changes when a simple alignment correction would work.
Plant symptoms add context but are slower and less specific than measurements. Plants leaning toward the center, elongated internodes, small leaves, or persistently slow edge growth can indicate insufficient exposure. Bleaching, upward-curling margins, dry patches near the top, or unusually compact growth may accompany excessive light or heat. Nutrient imbalance, root stress, humidity, and air temperature can produce similar symptoms, so do not diagnose lighting from leaf appearance alone. Compare symptoms with their physical location and recorded light levels.
A useful validation period covers several days of normal operation. Check whether new growth is more even, plants remain oriented upright, and edge-to-center differences stop widening. Monitor canopy and room temperature because added wattage becomes heat that ventilation must remove. In tightly stacked hydroponic racks, improving one shelf can warm the shelf above or create a shadow where plumbing and cables were moved.
Document fixture height, dimmer percentage, photoperiod, map readings, and canopy date. Those records make future cycles easier to reproduce and help separate declining lamp output from changing plant architecture. Readers refining how to ensure optimal light distribution in hydroponics should treat mapping as recurring crop maintenance, not a one-time installation test.
Frequently Asked Questions
How often should hydroponic light distribution be checked?
Check after installation, after every fixture or layout adjustment, and whenever the canopy changes height substantially. Fast-growing trellised plants may need weekly checks, while uniform leafy greens can often be reviewed at major growth stages.
Can a phone app measure hydroponic grow-light intensity?
A phone app may help compare relative brightness across a canopy, but sensor differences, spectrum, and diffusers limit accuracy. Use a calibrated quantum sensor when PPFD decisions affect fixture height, dimming, or crop targets.
Should grow lights be lowered when edge plants stretch?
Usually not as the first response. Lowering concentrates light and may deepen the center-to-edge difference. Map the canopy, then consider raising the fixture, widening fixture spacing, improving overlap, or using a broader light source.
Do reflective walls fix poor light coverage?
Reflective walls can return some escaped light to perimeter leaves, but they cannot compensate for an undersized fixture or a badly uneven canopy. Use clean, diffuse reflective material only after overhead coverage is properly arranged.
Why do plants directly under the same light grow differently?
Differences in canopy height, leaf overlap, root health, airflow, cultivar, and plant age can produce unequal growth despite sharing a fixture. Compare PPFD at each plant’s actual top leaves and inspect the root zone before changing output.
Conclusion
Reliable hydroponic lighting comes from managing a changing surface rather than setting a lamp once and assuming the job is finished. Establish crop- and stage-appropriate exposure, inspect the fixture’s mapped footprint, and measure multiple points at actual leaf height. Correct alignment and obstructions before buying more wattage, then refine height, spacing, and overlap in controlled steps. Keep the canopy level through sensible spacing and training, while using clean reflective surfaces only to recover modest edge losses. Record each adjustment alongside plant response, temperature, and photoperiod. The next practical step is to draw a grid of the current planting area, collect center and perimeter readings, and change the single factor most clearly responsible for the pattern.
Related Content
- 10 Effective hydroponic growing Strategies for 2025: The Ultimate Guide
- How to Start an Organic Hydroponic Herb Farm
- Hydroponic Irrigation System: Essential Components and Effective Methods
- 10 Effective Tips for the Best in Home Hydroponic Garden Strategies in 2025
- Hydroponic Gardening vs. Traditional Soil Gardening