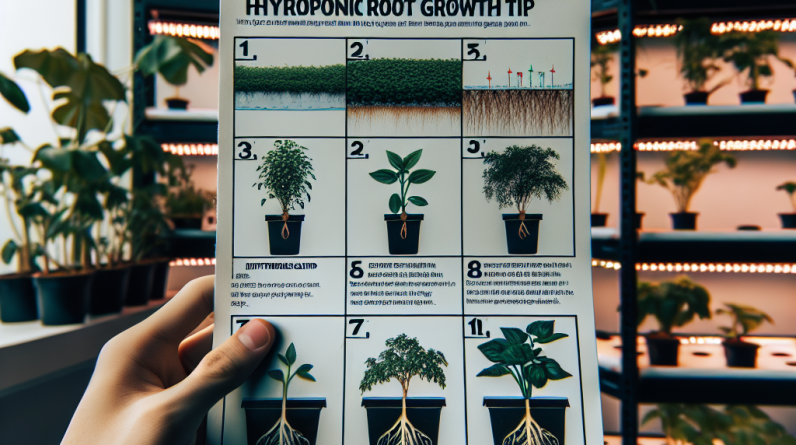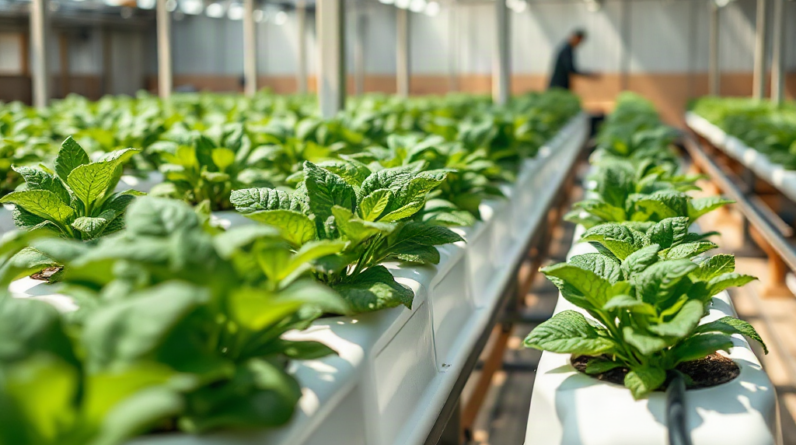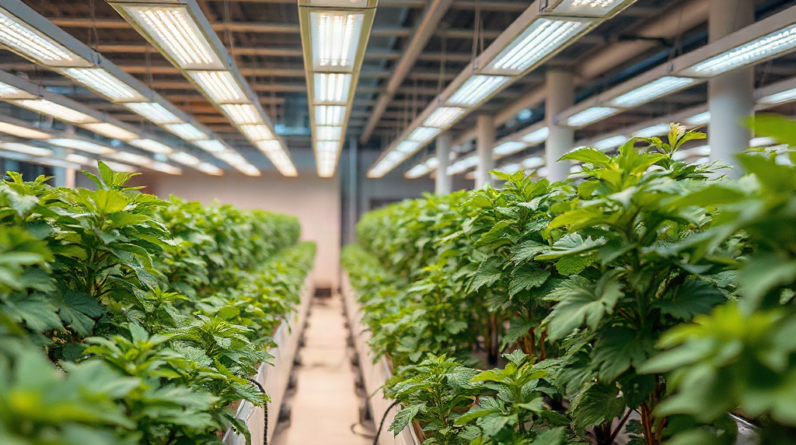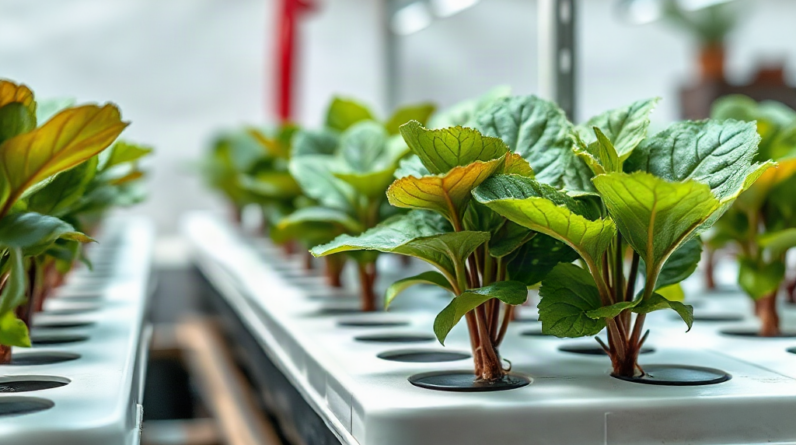
Prevent excessive moisture in hydroponic setups by balancing irrigation timing, root-zone aeration, drainage, and room airflow rather than trying to keep every surface dry. Confirm that nutrient solution drains freely, roots receive oxygen between irrigation cycles, and relative humidity does not remain elevated around dense foliage. Repair blocked return lines, shorten overly long pump cycles, remove standing water, and increase air movement without directing a harsh stream at plants. Track root color, growing-medium saturation, condensation, and reservoir temperature after each adjustment because persistent wetness can encourage algae, edema, fungal growth, and oxygen-starved roots.
Separate Normal Water Exposure From Excess Moisture
Hydroponic plants are supposed to contact water, but leaves, stems, growing media, and roots do not all require the same degree of wetness. A deep-water culture root mass can remain submerged when the nutrient solution is adequately aerated, while the stem base and crown should stay above the waterline. In drip irrigation, the medium should hold enough solution for uptake yet still contain air-filled pore space. Treating all visible water as a problem can lead to under-watering without correcting the actual moisture imbalance.
Excess becomes likely when water remains where the system was not designed to hold it. Examples include puddles beneath channels, a saturated rockwool cube with no drainage interval, droplets lingering inside a dense canopy, or a return chamber that backs up into net pots. These conditions create different risks. Wet foliage and high humidity favor condensation and some foliar diseases, whereas a flooded medium limits oxygen diffusion around roots. Standing nutrient solution exposed to light can also support algae.
Plant symptoms need to be interpreted alongside system conditions. Wilting does not automatically mean a plant needs more water; roots deprived of oxygen may fail to take up water even while surrounded by it. Puffy growth or small blister-like spots may accompany an imbalance between water uptake and transpiration. Brown roots can signal declining tissue, but nutrient staining can also discolor otherwise firm roots. Healthy roots are generally firm rather than slimy, and the reservoir should not develop a swampy or sour odor.
Begin diagnosis by locating the moisture. Check the canopy, crown, medium, root chamber, floor, tubing connections, and reservoir lid separately. Then note whether the condition appears constantly or only after irrigation, after lights turn off, or during humid weather. That distinction determines whether the first correction belongs at the timer, drain, airflow pattern, or room-level humidity control. A grower researching how to prevent excessive moisture in hydroponic setups should therefore define the wet zone before changing equipment.
Correct Irrigation and Drainage Problems
Irrigation should replace the solution plants use while allowing the root zone to retain oxygen. A common failure is extending pump cycles merely because the top of a medium looks dry. Coco coir, rockwool, and expanded clay hold and release water differently, so surface appearance alone is a poor timer. Lift a small container to compare its weight before and after irrigation, inspect moisture below the surface, and watch how quickly runoff leaves the tray.
In drip systems, emitters may apply solution faster than the container can drain. The result is a perched saturated zone at the bottom even when the upper layer appears acceptable. Verify that drain holes are open, containers are not sitting flat against a solid tray, and roots have not formed a mat across the outlet. Tilting channels or trays only as intended by the manufacturer also matters: too little fall permits pooling, while an improvised steep slope may produce uneven delivery from one end to the other.
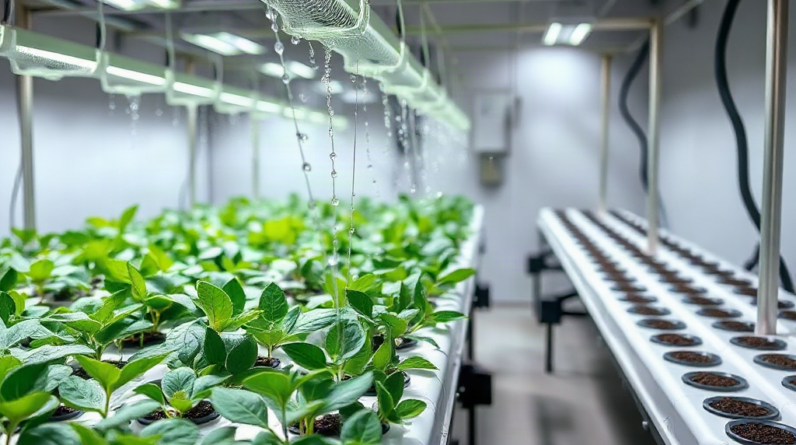
Ebb-and-flow systems require a complete, timely drain after each flood. A standpipe set too high can wet crowns or leave blocks submerged longer than intended. A blocked fitting may create a shallow pool that is easy to miss beneath pots. In nutrient film technique, excessive flow, sagging channels, or obstructed returns can deepen the film and cover more of the roots than planned. Before shortening irrigation indiscriminately, clear physical restrictions and confirm that the return volume reaches the reservoir smoothly.
Use the following correction order so that one adjustment does not hide another:
- Stop leaks and standing water: tighten fittings, clear returns, and empty catch trays.
- Restore drainage: open outlets, elevate containers where appropriate, and remove root obstructions carefully.
- Measure a full cycle: observe application, runoff, and the time required for drainage.
- Adjust duration before frequency: shorten an excessively long event, then evaluate whether the interval also needs changing.
- Recheck plants and medium: look for firmer growth and better aeration rather than judging success by a dry surface.
Longer dry-back periods are not universally safer. Small seedlings in limited media can lose moisture quickly, while mature plants under intense light may use solution rapidly. Conversely, cool conditions and low light reduce transpiration, so a schedule that worked in warmer conditions may leave the medium saturated. Irrigation timing should follow plant demand and system drainage, not a permanent clock setting.
Control Humidity, Condensation, and Air Movement
Room humidity rises when plants transpire and open water surfaces evaporate faster than moisture leaves the growing area. Reservoirs without lids, wet floors, oversized flood trays, and constant misting all add vapor. Dense foliage then creates sheltered pockets where local humidity can remain higher than the reading from a sensor mounted on a distant wall.
Place a humidity sensor near canopy height but out of direct spray, fan discharge, and intense lamp heat. If practical, compare that reading with one outside the canopy. A persistent difference points to stagnant air around the leaves rather than a whole-room problem. Condensation on walls, ducts, reservoir lids, or leaves after lights-off indicates that surfaces are cooling near the air’s dew point. The remedy may require both moisture removal and better temperature management during the dark period.
Air circulation and air exchange perform different jobs. An oscillating fan mixes air around plants, reducing still pockets and helping leaf surfaces dry, but it does not remove water vapor from a sealed room. Exhaust ventilation replaces humid air when outdoor conditions are suitable. A dehumidifier removes water when outside air is equally humid or environmental control requires a closed space. Directing a powerful fan continuously at one section can cause uneven transpiration and stressed leaf edges while shaded interior foliage remains damp.
Canopy management is a low-cost complement to mechanical control. Space plants so neighboring leaves do not form a solid wall, remove dead material promptly, and support sprawling stems away from wet channels. Pruning too aggressively creates its own setback by reducing photosynthetic area and exposing fruit or tender tissue. The better objective is a canopy through which air can move gently, not a sparse plant stripped of productive leaves.
Cover reservoirs and unused openings with opaque, fitted materials while preserving required ventilation and access. Wipe up spills instead of allowing fans to evaporate them into the room. If humidity jumps after every irrigation event, coordinate drainage correction with ventilation or dehumidification rather than treating the air alone. Effective how to prevent excessive moisture in hydroponic setups planning accounts for both liquid water and the vapor released from it.
Protect Oxygen Levels Around the Roots
Root-zone moisture becomes damaging primarily when it displaces oxygen or creates stagnant areas. Oxygen moves through air much faster than through water, which is why pore space matters in media-based systems. In water culture, aeration and circulation must compensate for continuous submersion. Warm nutrient solution generally holds less dissolved oxygen than cooler solution, while roots and microorganisms continue consuming it.
For deep-water culture, inspect whether air stones produce bubbles across the root area rather than in one corner. Kinked airline, weak pumps, clogged diffusers, or an air pump placed where it draws hot air can reduce effective aeration. More bubbling is not a substitute for controlling excessive reservoir heat, and violent turbulence that splashes crowns creates a different moisture problem. Keep the solution at the intended level so an air gap remains beneath the net pot as roots develop.
Media systems rely on drainage and renewed air entering the pores after solution flows out. Fine or compacted material retains more water than a coarse, open mix. Adding a drainage amendment may help future plantings, but changing the root medium around an established plant can damage roots. For the current crop, safer corrections usually involve improving outlets, reducing excessive application, and increasing the interval only after observing plant demand.
Recurring slime, odor, rapid root browning, or falling plant vigor calls for more than adding peroxide or another reservoir treatment. Such products can mask symptoms without fixing high temperature, dead zones, organic debris, or poor aeration, and they may not be compatible with beneficial-microbe programs. Remove decaying roots and plant debris with clean tools, service pumps and air stones, and clean system surfaces between crops according to equipment and input-label directions.
Improvement appears as firm new roots, stable water uptake, less odor, and foliage that maintains normal posture through the light cycle. Old damaged roots may not return to their previous appearance, so judge recovery by new growth and system behavior. If roots continue deteriorating after drainage, aeration, temperature, and sanitation are corrected, inspect for pump failure, solution chemistry problems, or a plant disease rather than repeatedly reducing irrigation.
Use a Moisture-Control Inspection Routine
A short inspection repeated at consistent times reveals patterns that a single reading misses. Check once during the active light period and again near the transition to darkness when possible. The aim is not to chase every fluctuation; it is to detect persistent pooling, slow drainage, overnight condensation, and changes in root condition before they affect the entire crop.
Start at the source and follow the water path. Confirm the reservoir level, observe the pump cycle, inspect each delivery point, and trace runoff back through the return. Then examine the plant environment: touch-test suspicious medium below the surface, look beneath trays, check crowns for splashing, and inspect interior leaves. Record humidity and temperature beside the time and plant stage. A reading without context cannot show whether lights, irrigation, or weather caused the change.
After making one meaningful adjustment, allow enough time to observe its effect unless an active leak or overflow requires immediate action. Changing fan speed, irrigation duration, reservoir level, and dehumidifier settings simultaneously may stop visible moisture but makes the cause impossible to identify. For example, if channels pool only during a pump cycle, clear and test the return before purchasing a larger dehumidifier. If drainage is fast but droplets remain on leaves overnight, focus on air mixing, nighttime temperature, and moisture removal.
Signs that control is improving include complete drainage after each cycle, no standing water outside the intended reservoir, gentle leaf movement throughout the canopy, fewer condensation events, and firm new roots. Warning signs include media that never becomes lighter, water touching stem bases, repeated algae films, sour odors, droplets persisting deep in foliage, or humidity that remains high despite exhaust operation. The last condition may indicate undersized ventilation, humid incoming air, or an uncovered water source.
Seasonal and crop changes require schedule revisions. A newly transplanted crop releases less vapor than a mature canopy, while cool, cloudy periods reduce water use. Clean sensors periodically and compare questionable readings with another device before redesigning the system. This measured routine is more reliable than reacting to a single wilted leaf or adopting fixed moisture limits that ignore the hydroponic method, medium, plant size, and growing-room conditions.
Frequently Asked Questions
Can hydroponic roots be too wet?
Yes. Roots can suffer when saturated media or stagnant solution limits oxygen. Water exposure itself is not the problem in a properly aerated water-culture system; inadequate oxygen, poor circulation, excessive warmth, and decaying material create the greater risk.
Should a fan blow directly on hydroponic plants?
Use gentle, indirect circulation that moves leaves slightly across the canopy. A strong continuous stream can dry or stress exposed foliage while failing to reach humid pockets inside dense growth.
Why does condensation appear after the grow lights turn off?
Air and surfaces cool after lights-off, while plants and open water may continue adding moisture. If surfaces approach the dew point, vapor condenses. Better air mixing, reduced open water, nighttime dehumidification, or steadier temperature control may help.
How can I tell whether hydroponic media is staying too wet?
Check below the surface, compare container weight over time, and observe drainage after irrigation. Media that remains heavy and saturated, develops algae or odor, or coincides with declining roots deserves a drainage and timer review.
Will shortening irrigation cycles fix excessive moisture?
Only if application exceeds plant demand or the medium’s drainage capacity. Clear blocked drains, correct pooling, and verify emitter output first; otherwise, shorter cycles may leave some plants dry while the underlying obstruction remains.
Conclusion
Moisture control begins with identifying exactly where water persists and whether it is restricting oxygen, wetting foliage, or raising room humidity. Trace irrigation from the reservoir through delivery and return lines before changing timers, then match each correction to the affected zone. Free-flowing drains, appropriate reservoir levels, covered water surfaces, distributed air movement, and dependable aeration address different parts of the problem.
Inspect the system through a complete irrigation cycle and around lights-off, when hidden pooling and condensation are easiest to detect. Change one variable at a time when conditions are not urgent, and judge progress through drainage speed, new root condition, canopy dryness, odor, and environmental readings. Persistent deterioration after these fundamentals are corrected warrants a broader check of temperature, sanitation, solution management, and plant health rather than increasingly severe dry-back periods.