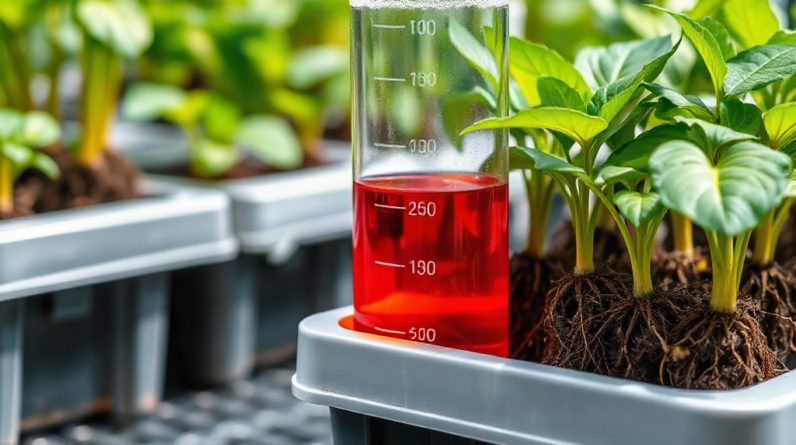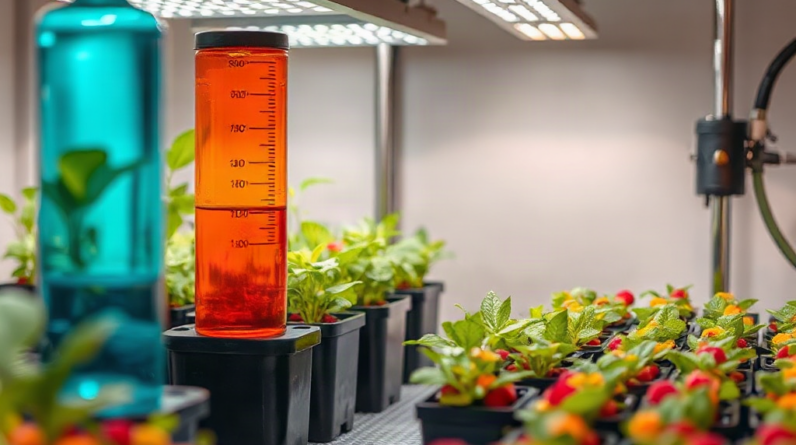
To troubleshoot nutrient solution heating issues, record reservoir temperature at several points in the light cycle, compare it with room temperature, and isolate heat from pumps, lamps, plumbing, and nearby equipment. Check the reading with a second thermometer before changing the system, then test suspected devices individually to see how quickly each one warms the water. Correct the source with equipment relocation, ventilation, insulation, shorter pump exposure, or an appropriately sized chiller rather than relying on repeated ice additions. Continue monitoring dissolved oxygen, root appearance, water level, and temperature recovery because warm solution can reduce oxygen availability and increase plant stress even after the immediate heat source is removed.
Confirm the Temperature Problem Before Correcting It
A single high reading does not reveal whether the reservoir is steadily overheating, experiencing a short daily peak, or being measured incorrectly. Begin by checking the thermometer against a second device placed in the same water for several minutes. Keep both probes away from reservoir walls, return lines, air stones, and pump outlets, where localized conditions can distort the reading. A probe touching a sun-warmed lid may report the surface temperature rather than the bulk solution temperature.
Record the solution temperature when the lights switch on, near the middle of the light period, just before lights turn off, and several hours into darkness. Note room temperature and reservoir water level at the same times. This simple temperature pattern separates continuous heat gain from a temporary spike. If both air and water warm together, room climate or lighting is the likely driver. If the water rises while the room remains stable, submerged equipment, exposed plumbing, or direct radiant heat deserves closer attention.
Water volume changes how quickly the problem appears. A small container beneath a compact growing area can gain heat rapidly from one submerged pump, while a larger reservoir changes more slowly but may retain unwanted heat overnight. Compare readings only when the tank is at a similar fill level. Otherwise, normal differences in thermal mass can look like an equipment fault. A reservoir that is low because plants have consumed water will heat faster than it did immediately after topping up.
Inspect plants and roots without assuming every symptom comes from temperature. Warm solution can coincide with drooping during the brightest part of the day, slower water uptake, reduced dissolved oxygen, or roots that lose their clean appearance. Those observations are warnings, not a diagnosis. Incorrect pH, excessive nutrient concentration, poor aeration, blocked circulation, and root disease can produce overlapping symptoms. Smell, discoloration, or deteriorating roots calls for sanitation and root-zone assessment as well as temperature correction.
For a compact diagnostic record, capture these details for at least one full light-and-dark cycle:
- Water: temperature, level, pH, and electrical conductivity.
- Environment: room temperature, lighting schedule, and direct sunlight exposure.
- Equipment: pump, air pump, fan, and chiller operating times.
- Plant response: midday wilt, overnight recovery, water uptake, and root condition.
The common mistake at this stage is reacting to the warmest number with ice or a large water change. That may hide the timing of the fault and create a rapid temperature swing. Reliable measurements give how to troubleshoot nutrient solution heating issues a clear starting point: prove when the heat arrives before attempting to remove it.
Trace Heat Entering the Reservoir
Reservoir heat usually comes from the surrounding room, radiant energy, electrical equipment, or warm water returning through the system. Test these paths separately instead of changing several variables at once. If three adjustments are made together, a cooler reading will not show which correction worked or whether the improvement will last through a hotter day.
Start with physical exposure. Look for sunlight striking the tank, dark tubing crossing a bright shelf, a reservoir positioned beside a dehumidifier exhaust, or an uninsulated container sitting on a warm floor. Grow lights can heat the lid and upper water layer even when room air seems acceptable. Move a portable light or shade the reservoir temporarily, then compare the temperature rise over the same part of the next light cycle. Opaque, reflective insulation can reduce radiant gain, but it must not trap heat from a pump or block access needed for cleaning.
Submersible pumps transfer part of their electrical energy into the water. The effect is easy to miss because the pump may be functioning normally. To test it, operate the reservoir under normal conditions, record the rate of warming, and then run a comparable period with the pump removed or replaced by a safe temporary circulation arrangement. Never stop circulation in a system where roots could dry out or channels could be left without flow. A safer comparison for nutrient film or drip equipment may be to test the pump in a separate container holding the same volume of water.
Air pumps create a different pathway. An air pump placed in a hot grow room sends warm air through the solution, although aeration remains valuable because warmer water holds less dissolved oxygen. Moving the air pump to a cooler, clean-air location may reduce heat input without sacrificing oxygenation. Do not place it where it can draw pesticide mist, dust, outdoor contaminants, or carbon dioxide from combustion equipment.
Trace the complete return route as well. Solution can warm while traveling through black irrigation lines, shallow channels under intense fixtures, or buckets exposed to room heat. For example, a cool central tank may receive substantially warmer return water near the end of the light period. Measure both the outgoing and returning flow with the same thermometer. A wide difference points away from the reservoir itself and toward the growing circuit.
Check control equipment last, including heater thermostats, chiller sensors, timers, and automation settings. An aquarium-style heater left from seedling production may still be energized, or a chiller probe may be positioned near its own cold outlet and shut the unit down prematurely. The weak assumption is that powered equipment either works perfectly or fails completely. Sensors can drift, relays can stick, vents can clog, and a working pump can still be a meaningful heat source. Isolating one component at a time produces a defensible diagnosis.
Choose a Cooling Method That Matches the Heat Load
The appropriate correction depends on whether the system faces a small daytime rise or sustained heat that continues through the night. Removing the source is usually more efficient than cooling against it. Shade, airflow around the reservoir, relocation away from hot equipment, reflective insulation, and cooler return-line routing should be considered before purchasing active refrigeration.
Ventilation is useful when the room is warmer than intended and outside or conditioned air can carry heat away. It is less effective when incoming air is equally hot or humid, and stronger exhaust may alter humidity around the crop. A fan aimed at the reservoir exterior can improve heat exchange only when the surrounding air is cooler than the water. Blowing hot room air across the tank will not solve the underlying load.
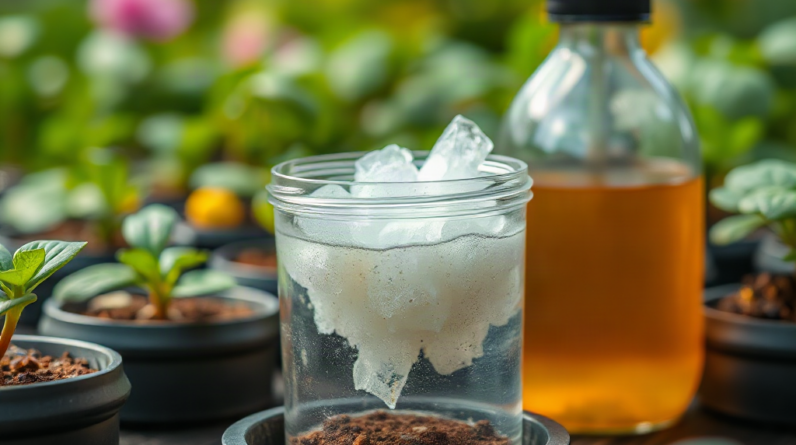
Frozen bottles may provide temporary relief in a small home reservoir, but they are difficult to control. They can create cold zones beside roots, alter readings when placed near a probe, and require frequent handling that introduces contamination risk. Sealed bottles are preferable to loose ice because melting ice changes solution volume and nutrient concentration. Treat this as a short bridge during equipment failure or an unusual heat event, not as dependable daily control.
A water chiller becomes more appropriate when temperature remains elevated after passive heat sources have been reduced, especially in warm rooms or larger recirculating systems. Capacity must reflect water volume, room conditions, pump heat, lighting, plumbing exposure, and the required temperature pull-down. Selecting solely by reservoir capacity can underestimate heat entering from trays and return lines. The chiller also needs clear ventilation; placing it inside a sealed grow tent may cool the water while adding its rejected heat to the same enclosed air.
Evaporative cooling can lower temperature where air is dry and air exchange is adequate, but it raises water consumption and changes nutrient concentration as pure water is lost. It is far less useful in humid conditions. Monitor water level and replace evaporated water appropriately rather than automatically adding concentrated nutrient solution. Insulation has the opposite limitation: it slows both heat gain and heat loss. It performs well when the reservoir begins cool and faces a daytime heat pulse, but it can preserve excess warmth if the tank is already hot at night.
Cooling should be gradual enough to avoid abrupt root-zone changes. Correcting a warm reservoir by rapidly driving it far below its normal operating range replaces one stress with another and can promote condensation on plumbing. Use staged adjustments, mix the reservoir thoroughly, and measure away from the cooling outlet. Readers reviewing how to troubleshoot nutrient solution heating issues should match the method to the measured heat load rather than choosing the most powerful device available.
Verify Recovery and Prevent Repeat Overheating
A successful correction changes the daily temperature curve, not merely the reading taken immediately afterward. Repeat the same measurement schedule used during diagnosis and compare similar light periods, room conditions, and reservoir levels. Look for a lower peak, a slower rise, and dependable recovery during darkness. If the tank cools briefly but returns to the same peak, the cooling method lacks capacity or an active heat source remains.
Keep circulation and aeration under review while correcting temperature. Warm solution carries less available oxygen than cooler solution, while roots and microorganisms continue consuming oxygen. Additional aeration may provide useful short-term protection, but it does not neutralize persistent overheating or restore damaged roots. Confirm that air stones are producing even bubbles, pumps are moving the expected flow, filters are clear, and roots are not obstructing returns. Excessively vigorous pumping can add heat, so more circulation is not automatically better.
Watch pH and electrical conductivity after cooling. Temperature compensation varies among meters, and evaporation during a hot period can concentrate dissolved salts. A sudden correction based on an unverified meter may make the nutrient imbalance worse. Allow a sample and meter to stabilize, follow the instrument manufacturer’s calibration procedure, and interpret readings alongside water-level changes. Top up according to the crop and system’s established practice, then remix before deciding whether nutrient strength needs adjustment.
Sanitation deserves attention when heat has persisted. Examine root debris, biofilm, clogged emitters, and stagnant corners. Clean accessible equipment using products and concentrations suitable for the system, and never mix cleaning chemicals unless their labels explicitly permit it. If roots are extensively discolored, soft, or foul-smelling, cooling alone should not be treated as proof that the crop has recovered. Separate affected plants where practical and assess the complete root-zone problem.
Preventive control works best with two independent safeguards. Use a reliable monitoring thermometer plus a separate high-temperature alert or controller when crop value justifies it. Position the sensor in well-mixed solution, secure it so water level changes do not expose it, and check it periodically against another thermometer. Clean chiller intake screens, keep condenser airflow unobstructed, inspect tubing for sunlight exposure, and confirm pump timers after power interruptions.
The strongest sign of recovery is stability across several comparable cycles accompanied by normal water uptake and roots that are not continuing to decline. Warning signs include wider temperature swings, overnight heat retention, repeated controller cycling, rising conductivity caused by evaporation, or a return line that remains much warmer than the tank. A written log turns those changes into early warnings and makes future how to troubleshoot nutrient solution heating issues faster and less disruptive.
Frequently Asked Questions
Why does nutrient solution get hotter than the grow room?
Submersible pumps, radiant light, warm return lines, and misplaced sensors can make the solution warmer than the measured room air. Compare outgoing and returning water, then test powered components individually.
Can frozen bottles safely cool a hydroponic reservoir?
Sealed frozen bottles can provide temporary cooling, but they may create cold spots and require sanitary handling. Use them as a short-term measure while correcting the heat source or restoring cooling equipment.
Should an air pump be turned off when the solution is warm?
Usually not, because warm water holds less dissolved oxygen. Move the pump's air intake to a cooler, clean location if it is introducing hot air, while maintaining suitable aeration.
Where should the reservoir temperature probe be placed?
Place it in well-mixed solution away from tank walls, direct light, pump outlets, and chiller discharge. Secure it below the lowest normal water level and periodically compare it with another thermometer.
When is a water chiller necessary?
A chiller is reasonable when passive corrections cannot control sustained heat. Size it for the entire circulating water volume and heat load, and provide ventilation for the heat its condenser releases.
Conclusion
Useful temperature control begins with a verified reading and a full light-cycle log. Compare water and room conditions, inspect the entire circulation route, and test pumps, lighting exposure, air intake, and controls one at a time. Passive changes are economical when the heat gain is modest; persistent loads may justify a properly ventilated chiller. Avoid using repeated ice additions or extreme set points as substitutes for diagnosis.
After making a correction, track the reservoir through several comparable cycles and watch dissolved-oxygen support, water level, conductivity, root condition, and equipment behavior. Stable peaks and normal overnight recovery show that the solution is moving in the right direction. Continued warming, deteriorating roots, or rapid controller cycling means the underlying load, sanitation problem, or equipment capacity still needs attention.